



Matomo is an open-source web analytics platform you host yourself, so visitor data is stored on your own server. It reports on visitors, page views, referrers, and more, and it works as an alternative to Google Analytics. This article shows how to install and configure Matomo on a Kamatera server and connect it to a WordPress site.
Provision a Matomo server
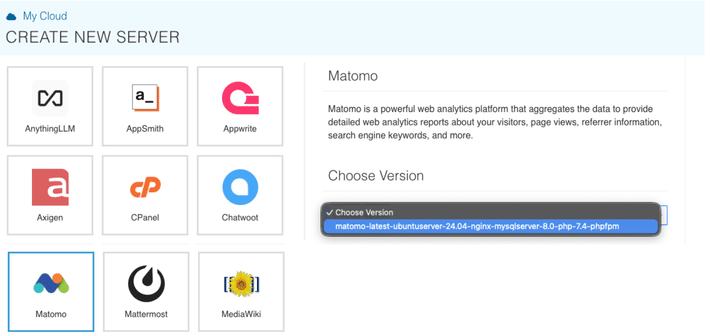
First, provision a Kamatera Matomo server as described here.
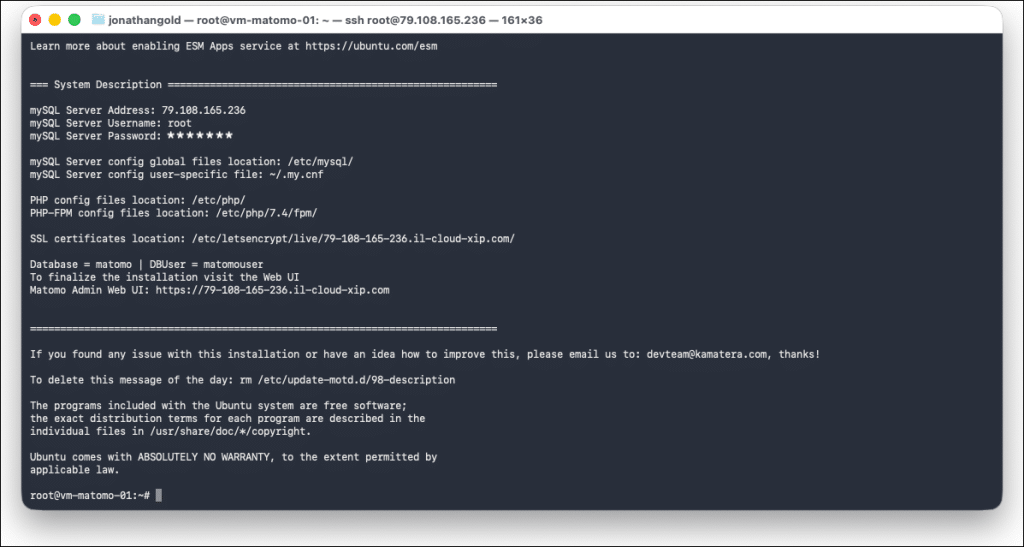
Once the server is provisioned, connect through the Kamatera console or a local SSH terminal. The application banner is displayed after you log in.
Install and configure Matomo
In your browser, open the Matomo Admin Web UI.

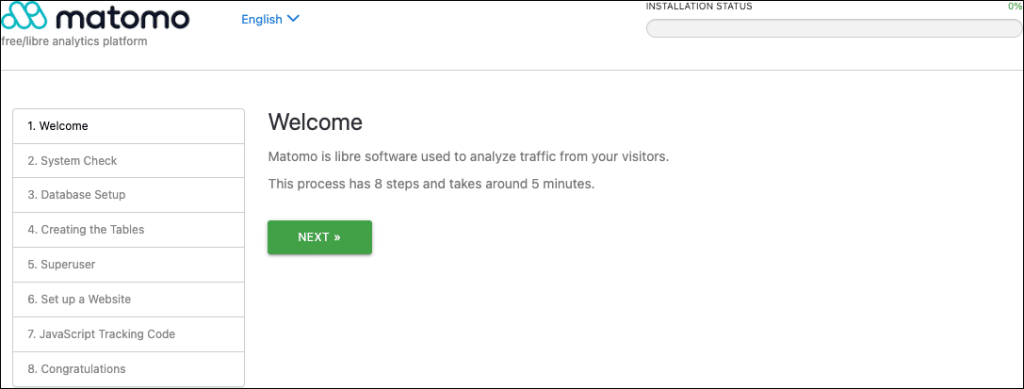
In the Welcome Screen, click Next.
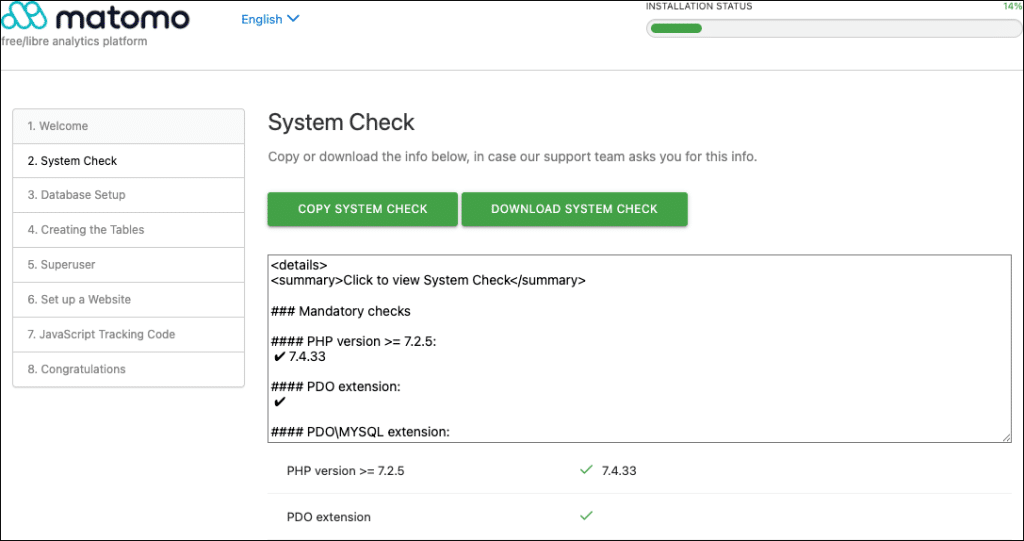
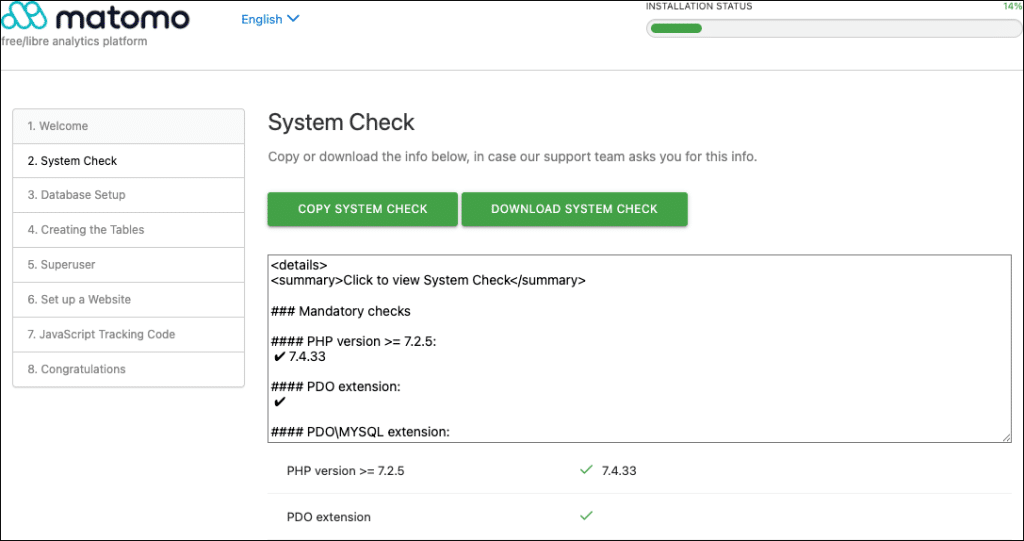
Review the information displayed in System Check and click Next.
 Change these values in Database Setup:
| Field | From | To |
|---|---|---|
| Database server | 127.0.0.1 | localhost |
| Login | admin | matomouser |
| Password | default | Your MySQL server password |
Click Next.
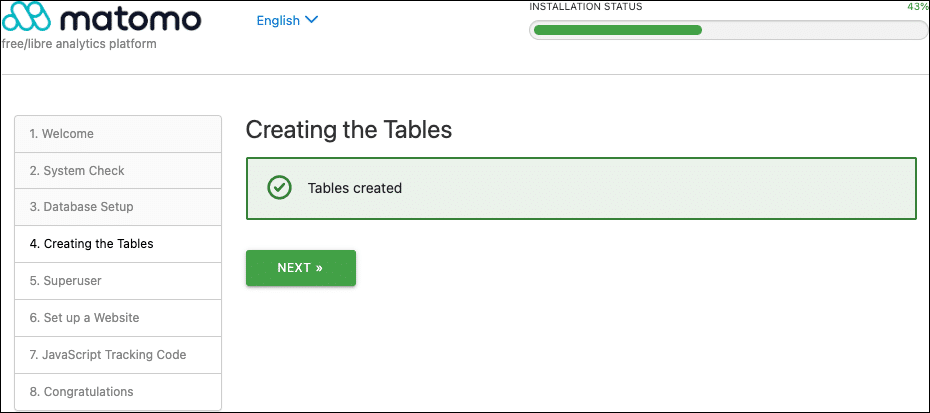
In “Creating the Tables”, click Next.
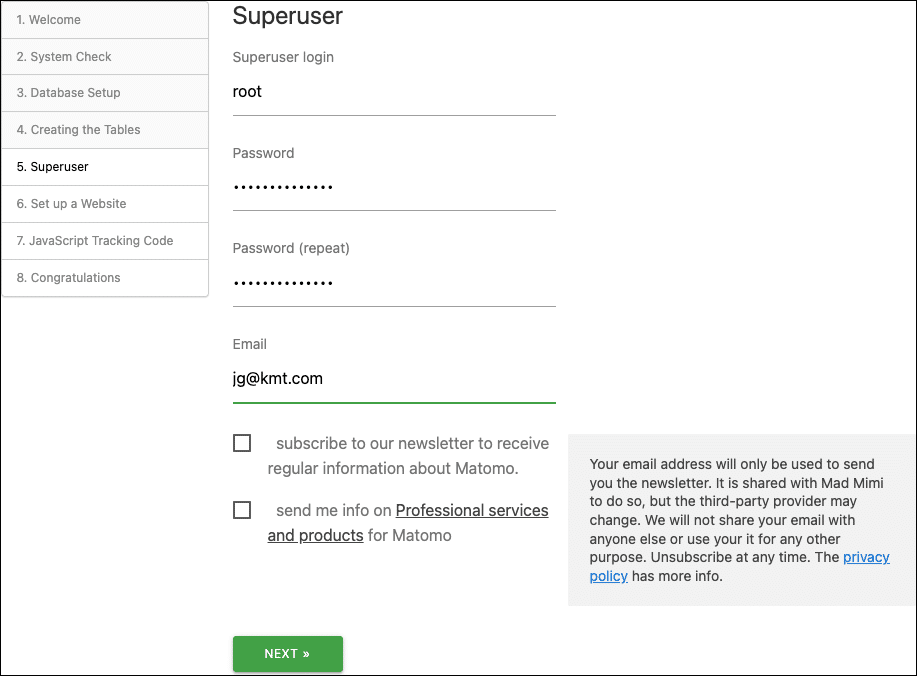
Populate the Superuser credentials and click Next.
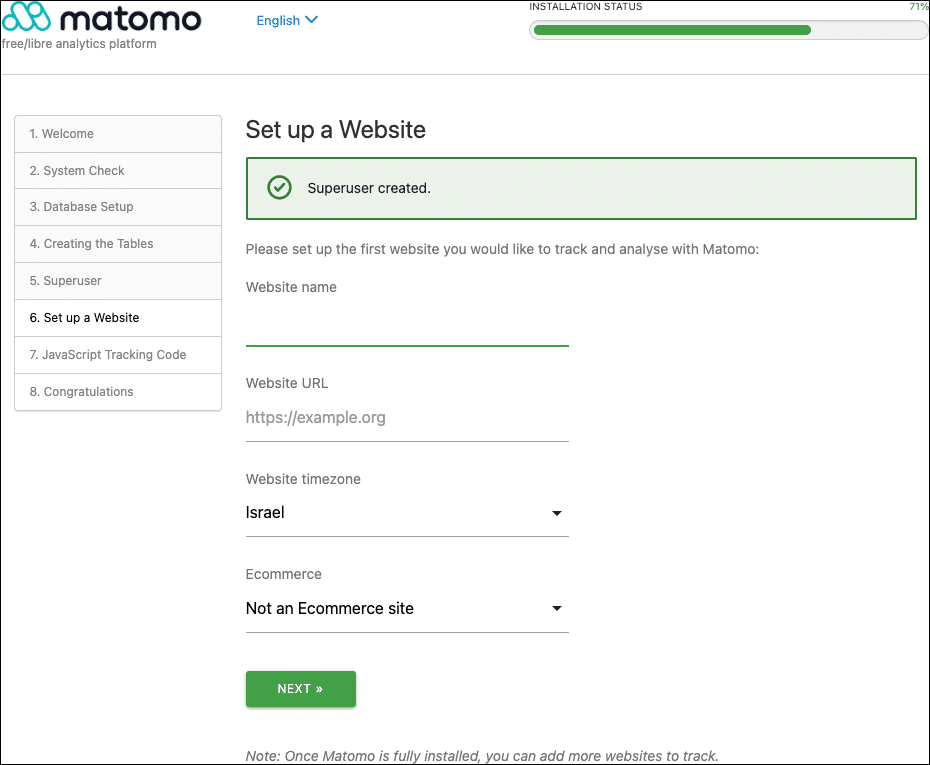
In “Set up a Website”, provide the details of your website and click Next.
Accept the Default tracking code and click Next.
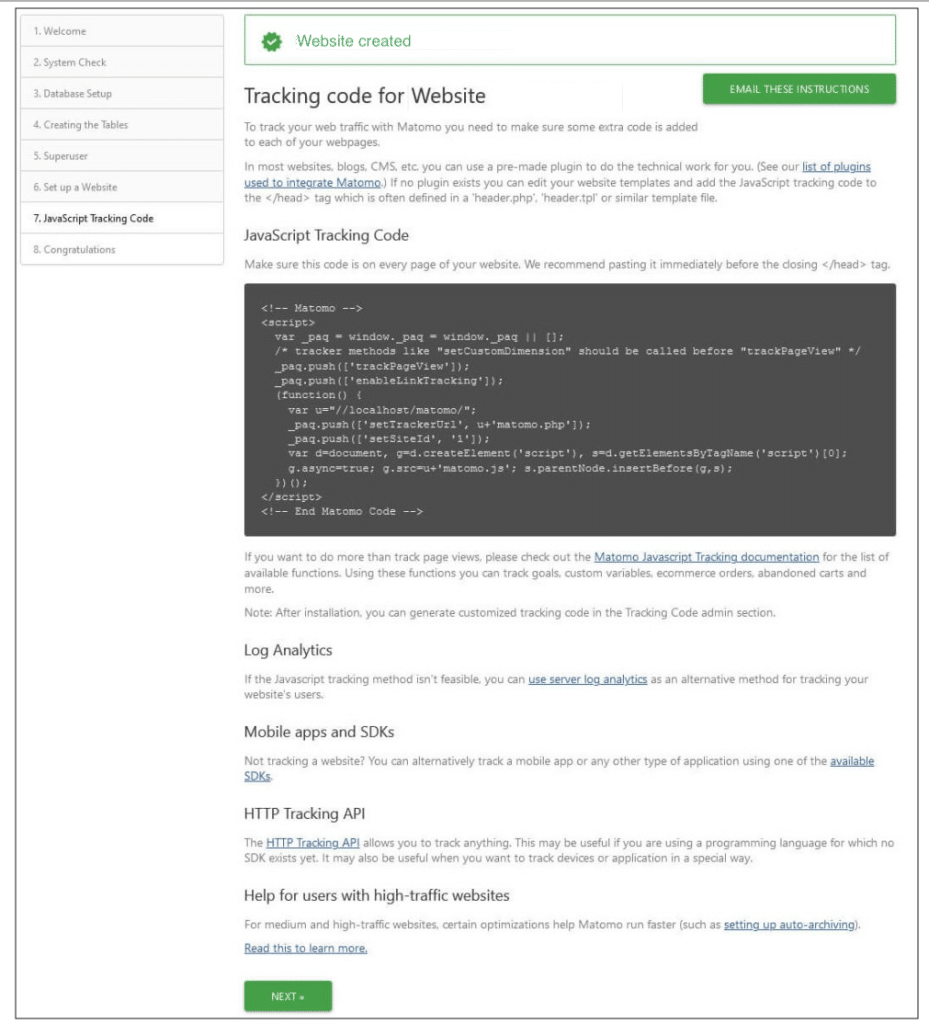
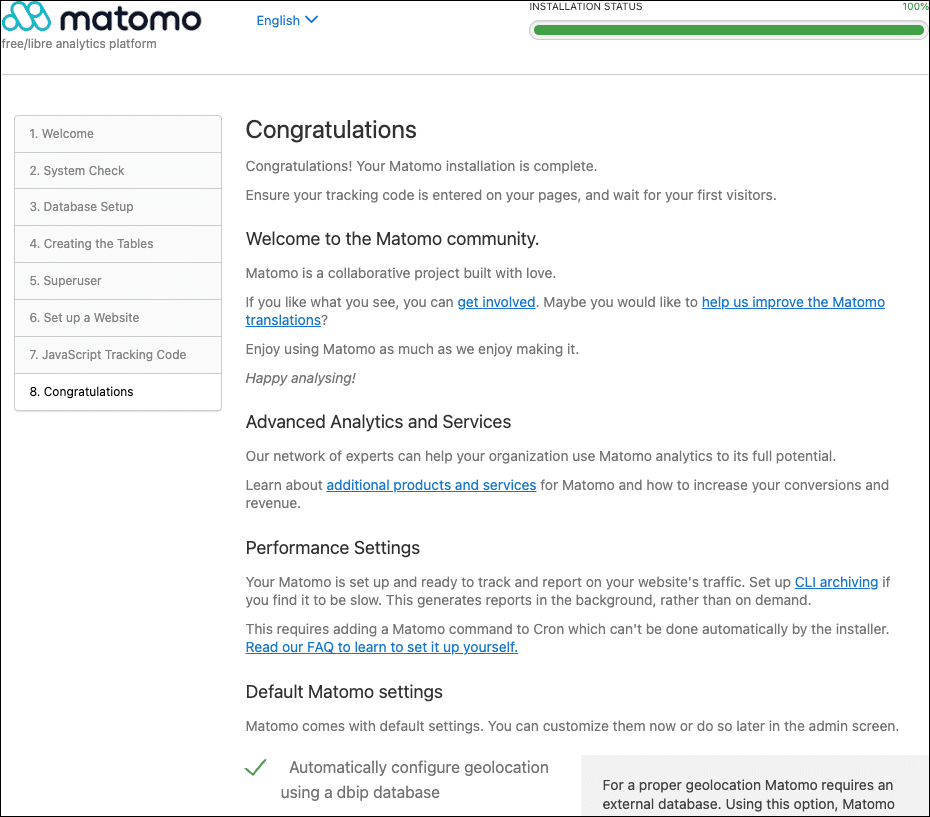
Scroll to the bottom of the Congratulations page.
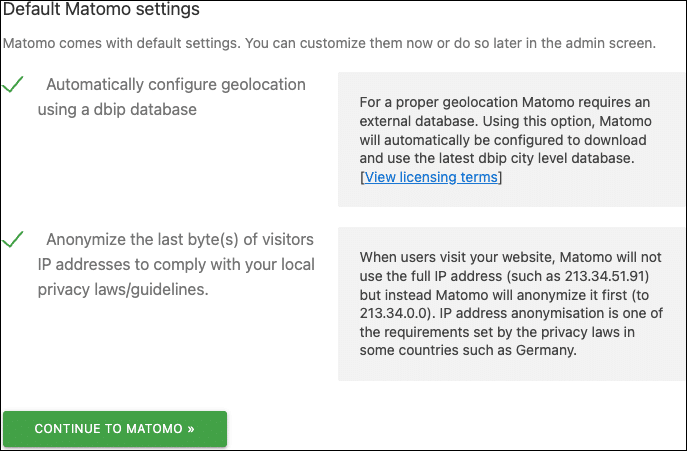
Click “Continue to Matomo.”
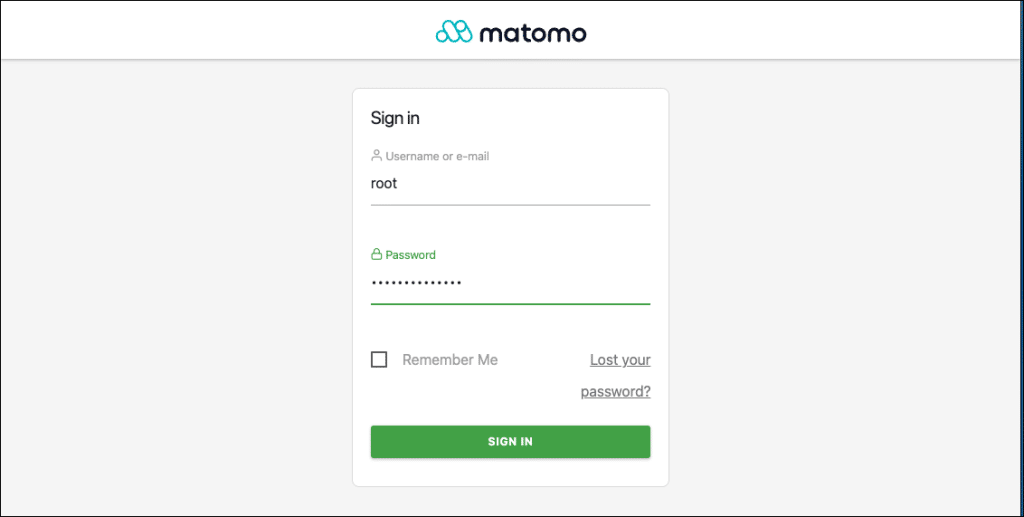
In Sign in, provide your superuser credentials and click SIGN IN.
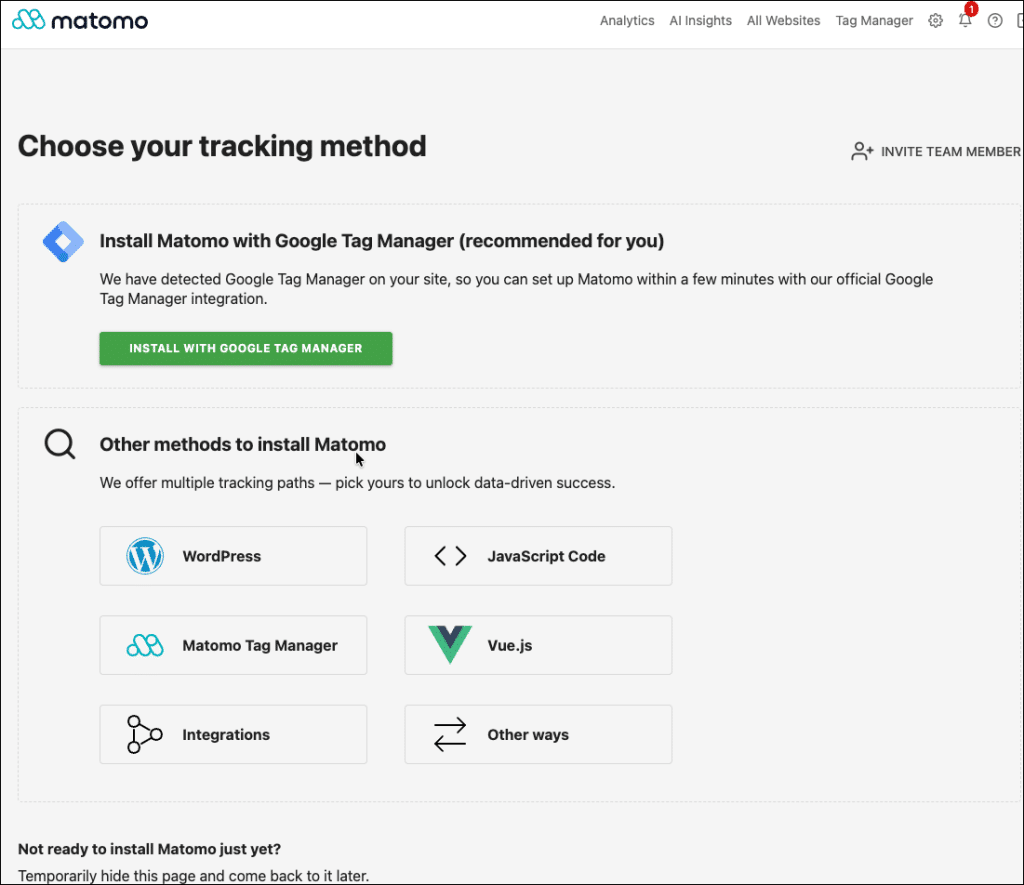
Matomo shows the “Choose your tracking method” page. This article demonstrates tracking a WordPress website, but a few additional configuration steps are needed first.
Extra Matomo configuration
Tracking a WordPress site requires an authentication token. Before generating one, connect Matomo to an SMTP mail server. From the menu bar, click the Administration icon.

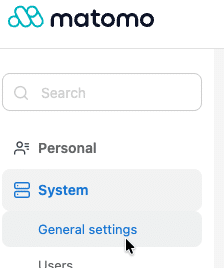
From the sidebar, click System > General Settings.
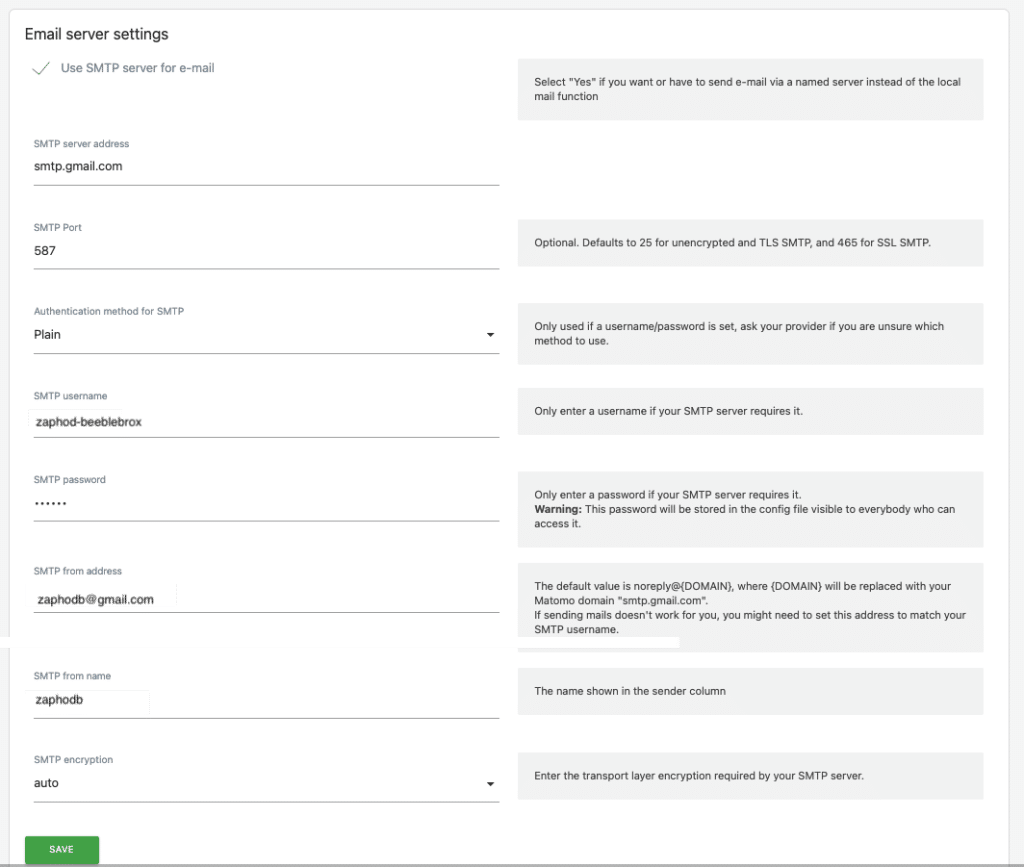
Enter your SMTP mail server settings. The table below shows an example configuration for Gmail.
| Field | Value |
|---|---|
| SMTP server address | smtp.gmail.com |
| SMTP port | 465 |
| Authentication method for SMTP | Login |
| SMTP username | Your Gmail address |
| SMTP password | An app-specific password (not your regular Gmail password) |
| SMTP from address | The email address you want messages sent from |
| SMTP from name | The sender name you want displayed |
| SMTP encryption | SSL |
Note: Gmail requires two-step verification and an app-specific password for SMTP access. Using your regular Gmail password will not work. To generate one, enable two-step verification on your Google account, then create an app password for mail and use that in the SMTP password field.
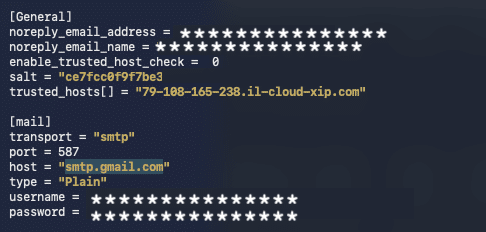
Edit the Matomo configuration file. In your SSH session, open it with:
nano /var/www/matomo/config/config.ini.php
Under the “General” section, set the following values:
| Field | Value |
|---|---|
| enable_trusted_host_check | 0 |
| trusted_hosts[] | Your Matomo Admin Web UI address |
Also, find the port setting under [database] and remove the quotes around it, so the value is treated as an integer rather than a string.
Verify the changes work by running:
cd /var/www/matomo
./console core:test-email <your-email>
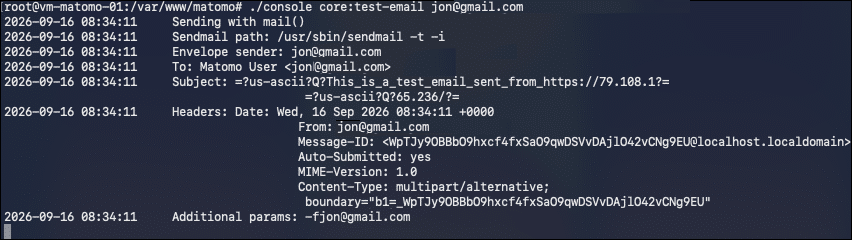
If NGINX is already secured with Let’s Encrypt on this server, certbot renews the SSL certificate automatically. To confirm renewal is working, run:
sudo certbot renew --dry-run
If you haven’t already secured NGINX with Let’s Encrypt, follow this guide to install certbot and obtain a certificate.
Configure WordPress tracking
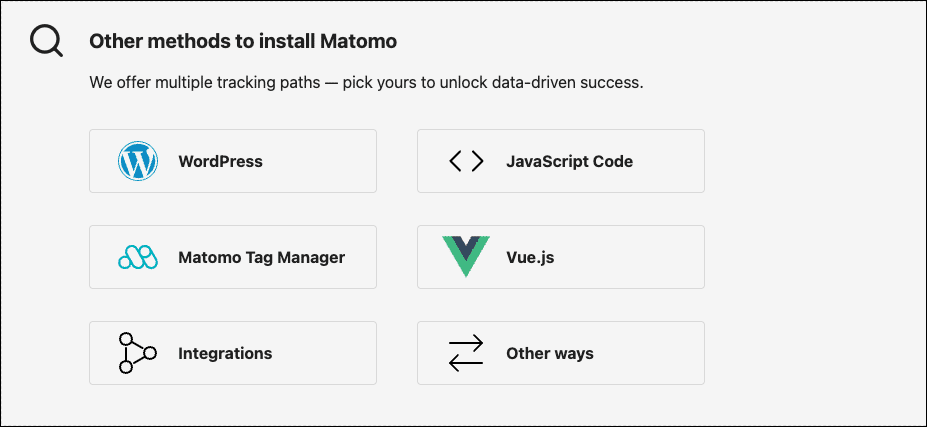
Open Matomo’s choose your tracking method (home) page and click “WordPress.”
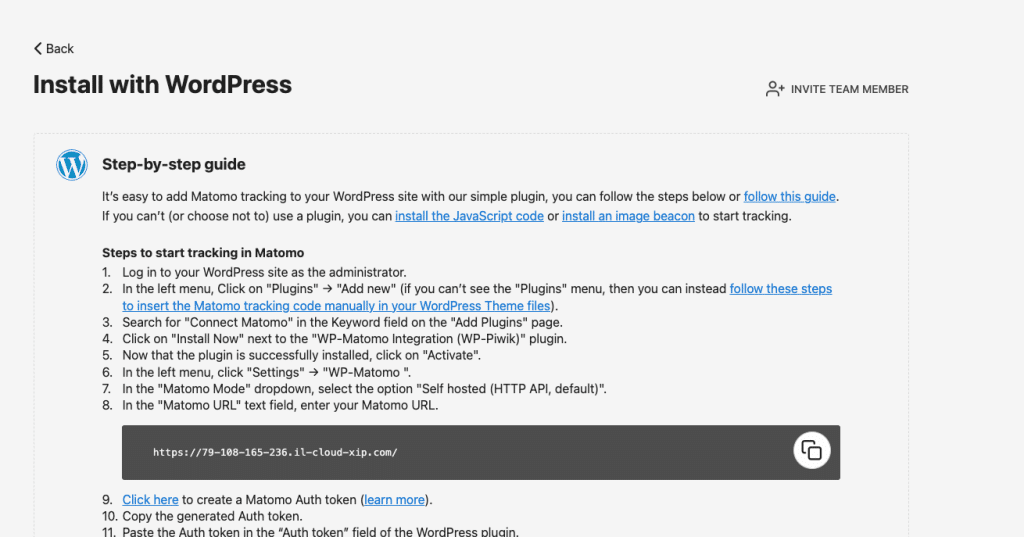
First, install the Matomo plugin as described in the Install with WordPress page.
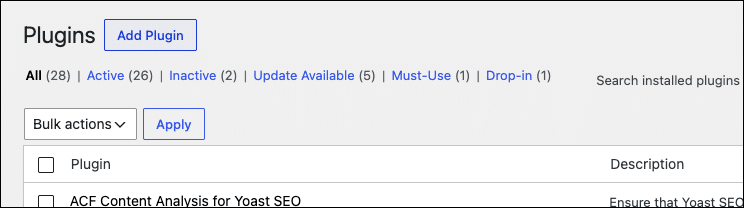
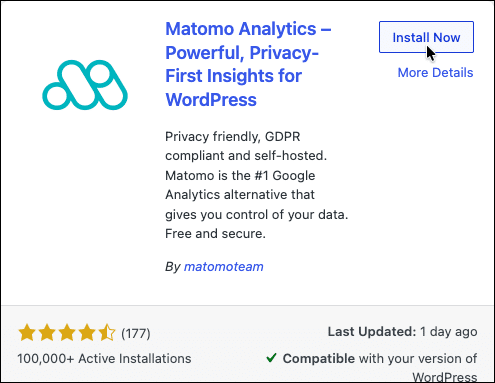
Open your WordPress site’s Plugins page and click Add Plugin.
Install and activate Matomo.
Before configuring the plugin, return to Matomo to create a Matomo Auth token. In Step 9, click Click here.

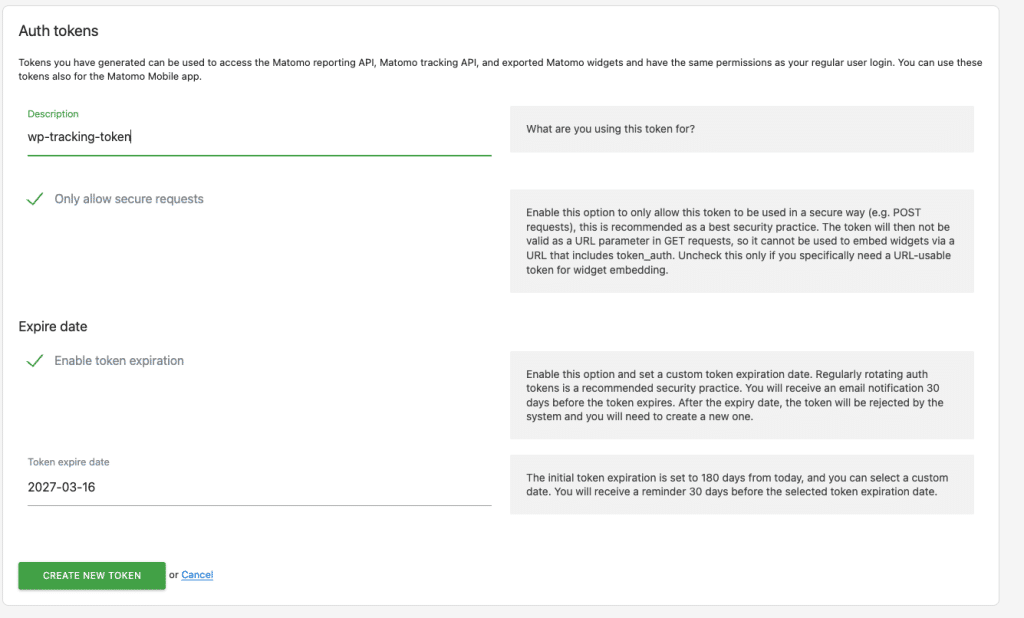
In Auth tokens, populate the Description field and click CREATE NEW TOKEN.
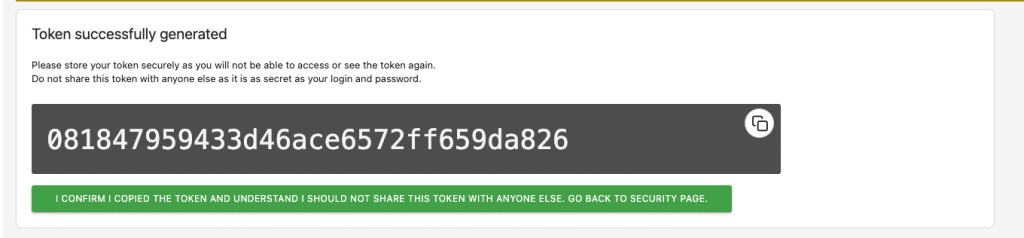
Copy the generated token to a text file and save it.
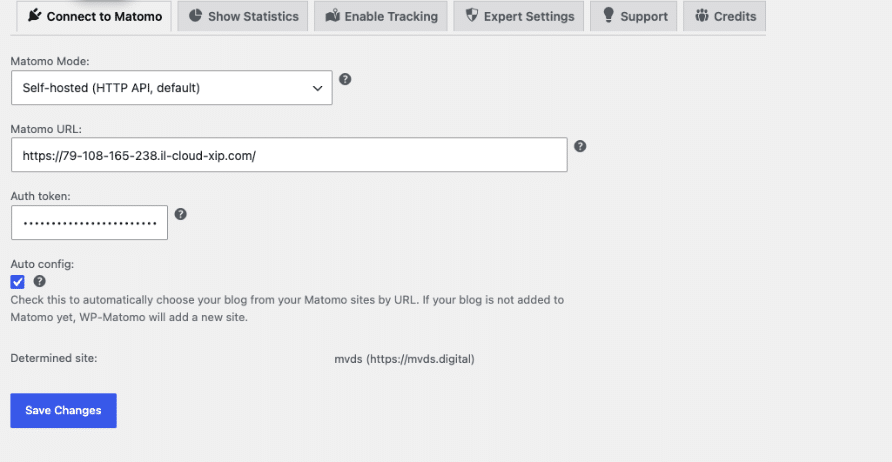
In WordPress’s Plugins page, locate Connect Matomo and click Settings.

In the Connect to Matomo tab, set the following options:
| Field | Value |
|---|---|
| Matomo Mode | Self-hosted |
| Matomo URL | Your Matomo Admin Web UI address |
| Auth token | The auth token you generated |
Click Save.
Click the Enable Tracking tab. From Add tracking code, choose Default tracking.
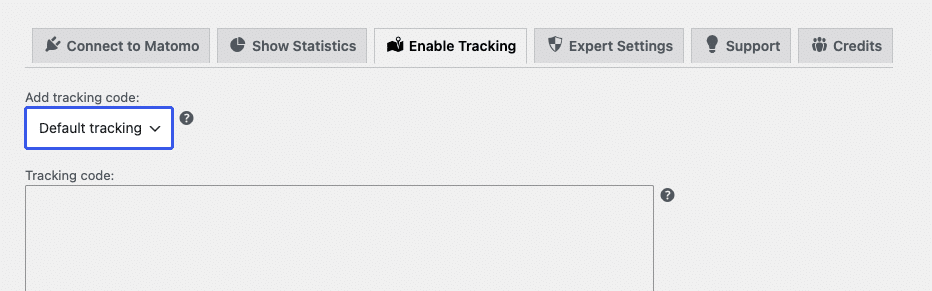
Click Save Changes.

Return to Matomo. At the bottom of the page, click Test Installation.

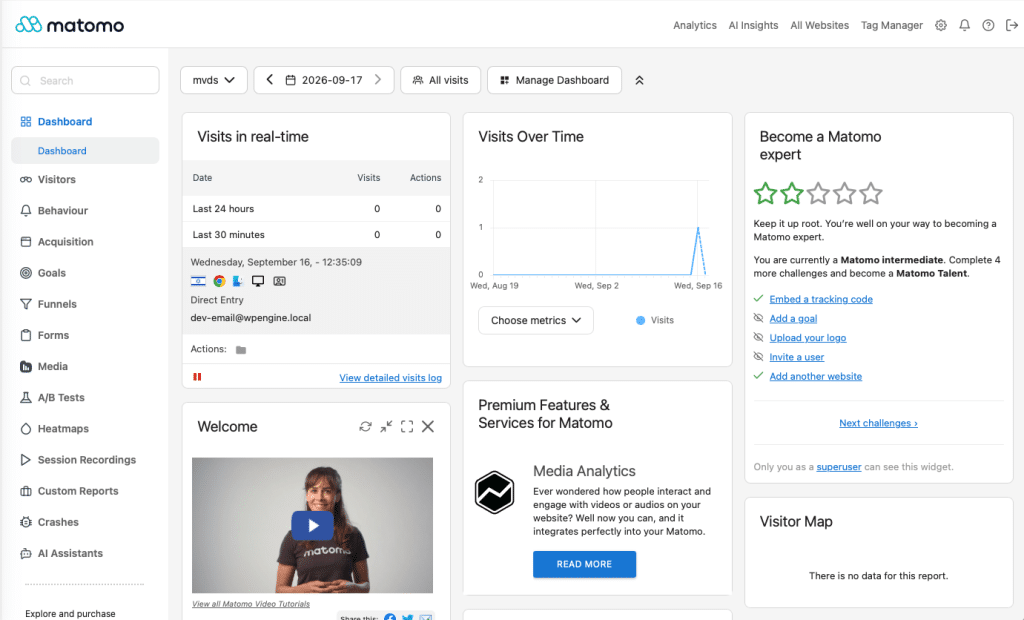
If everything works, a message is displayed. Now you can open the Dashboard and start tracking and analyzing your website.
Conclusion
Self-hosting your analytics with Matomo keeps visitor data on infrastructure you control. It reports on the same core metrics as most analytics platforms, visitors, page views, and referrers, without sending that data to a third party.