



Saving email attachments by hand gets old quickly. n8n, a low-code workflow automation tool, can do it for you, and you can extend it with your own JavaScript when you need more control.
In this article, you will learn how to provision an n8n server on Kamatera and build your first workflow. The workflow reads emails from a Gmail inbox, extracts their attachments, and uploads them to Google Drive.
Step 1: Provision an n8n server
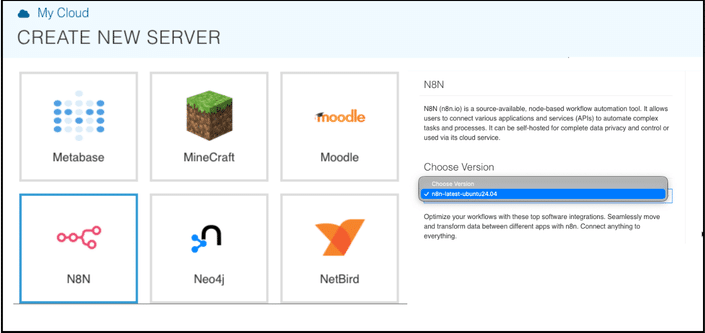
First, provision an n8n server as described in our guide “How to Operate a Linux Server on Kamatera.”
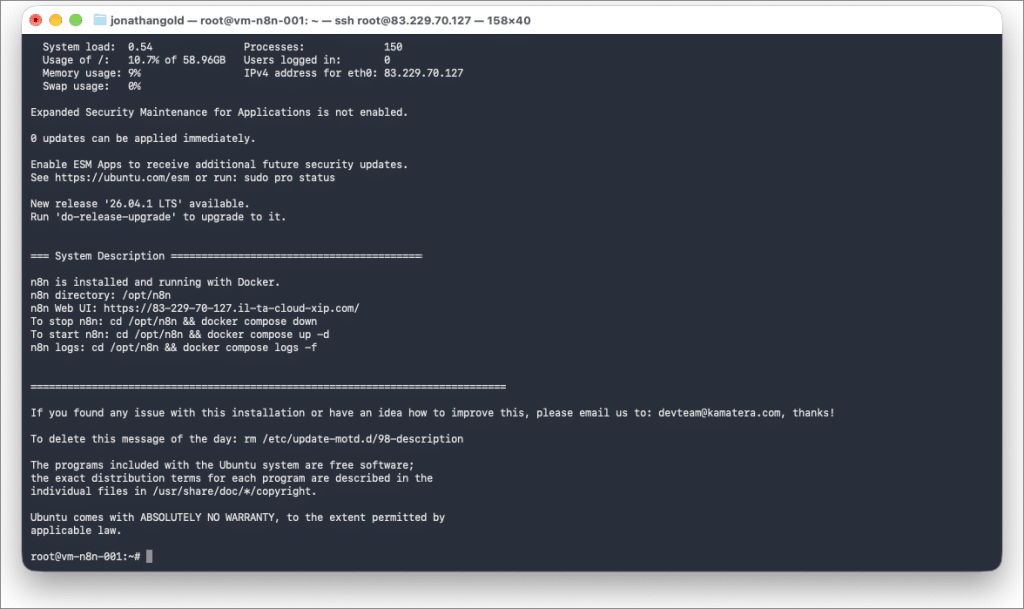
After the server is provisioned, connect to the server via the Kamatera console or a local SSH terminal window. After a successful login, the application banner is displayed.
In the console, type docker ps. In the response, verify that the n8n Docker container is running.

Step 2: Configure n8n
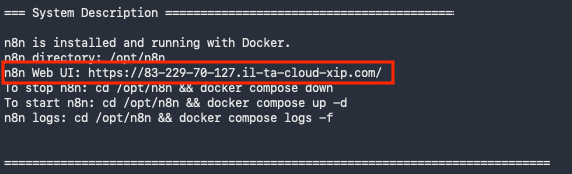
From your SSH session, copy the URL of the n8n Web UI.
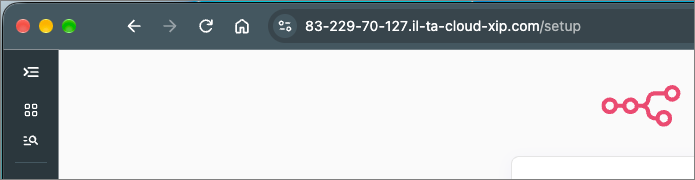
In your browser, paste the URL. The Setup page opens.
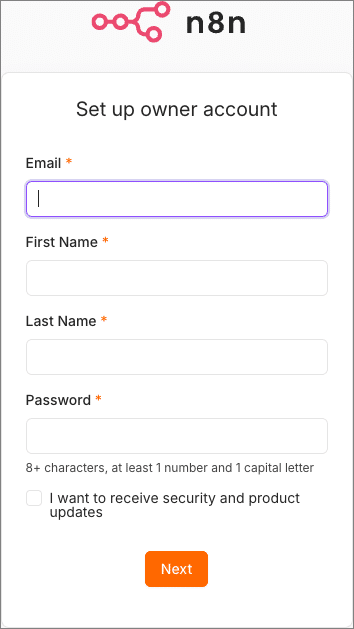
Populate the Setup page with your credentials and click Next.
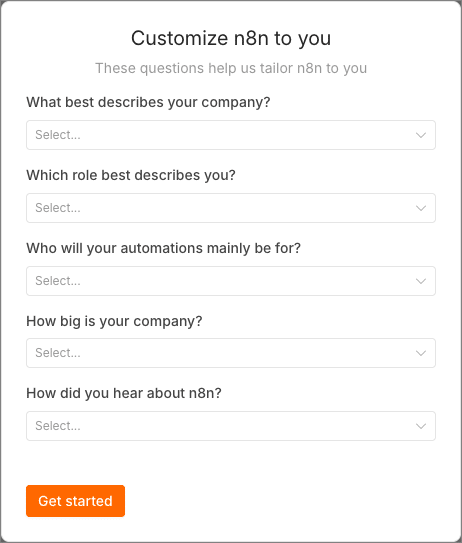
Answer the question in Customize n8n and click Get Started.
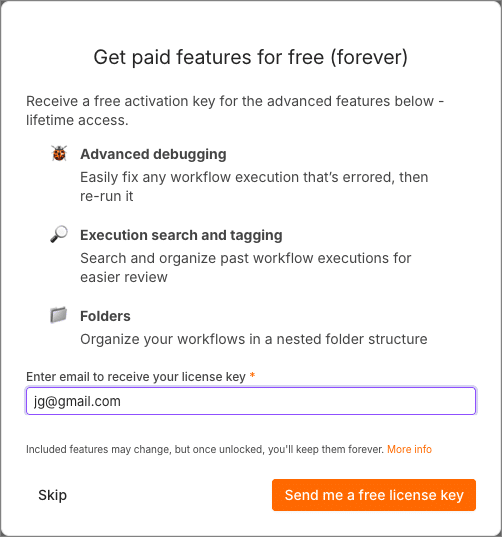
Generate a license key to activate n8n’s advanced features. Type your email address to generate a license key and click Send me a free license key.
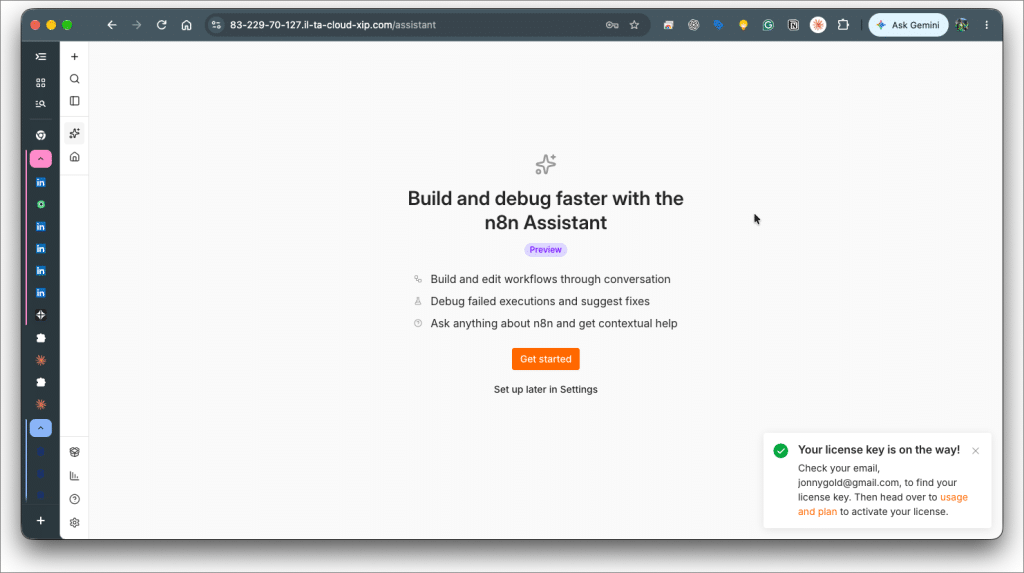
After the n8n assistant opens and displays a license key confirmation message, click Get started.
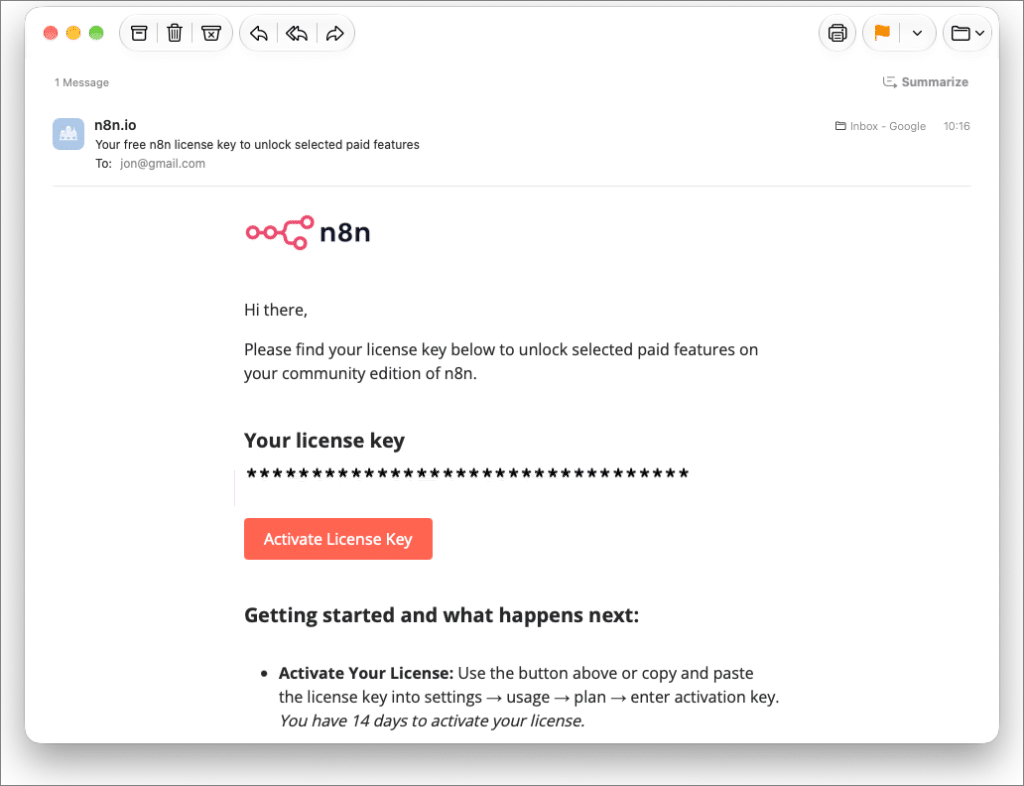
When you receive this email, click Activate License Key.
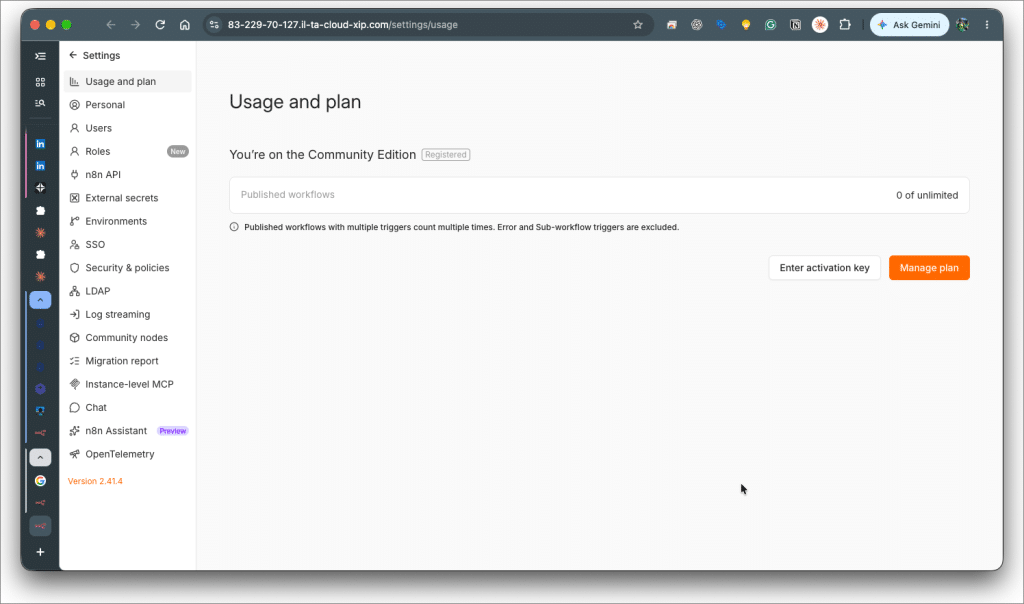
In Usage and plan, click Enter activation key and follow the instructions.
Step 3: Start a workflow
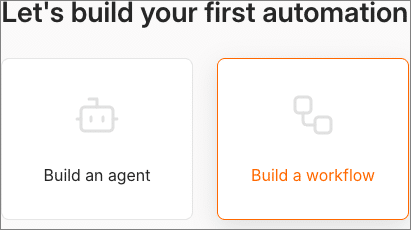
Now that we’ve configured n8n, we can start building our workflow. In the n8n assistant, click Build a workflow. The Personal window opens.
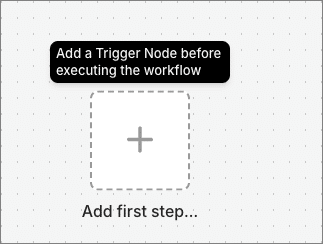
First, create a trigger node that launches the workflow. In the Editor, click Add first step.
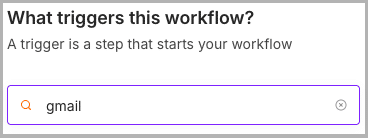
Type Gmail in What triggers this workflow?
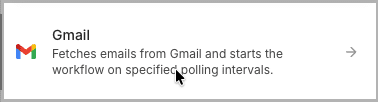
From the list, click on Gmail.
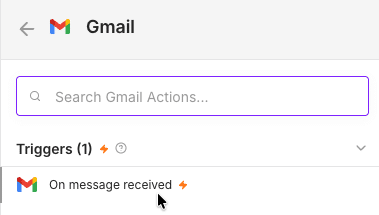
From the Gmail Triggers list, choose On message received.
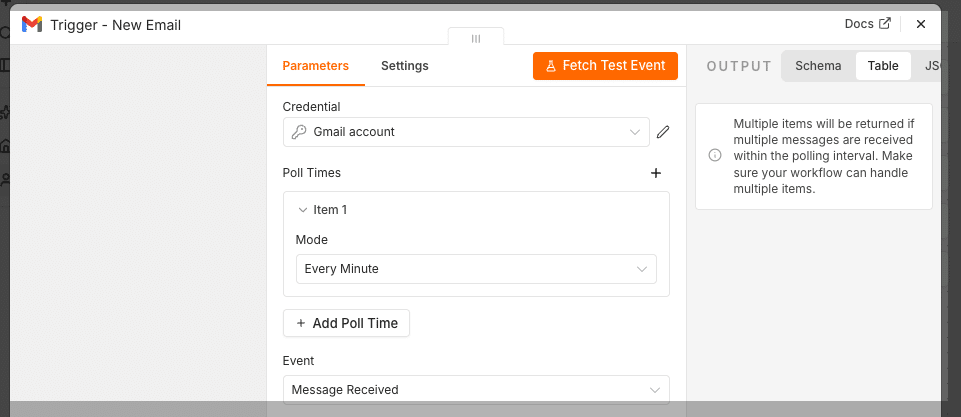
The Gmail Trigger dialog box opens. Rename the trigger so later steps can reference it. At the top of the Gmail Trigger dialog, click the node name, type Trigger – New Email, and press Enter.

Step 4: Create Gmail credentials
In this step, we create and authorize credentials that let n8n access Gmail.
Click Credential > Create New Credential.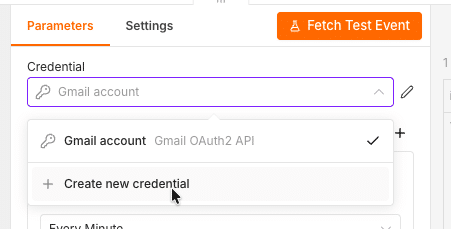
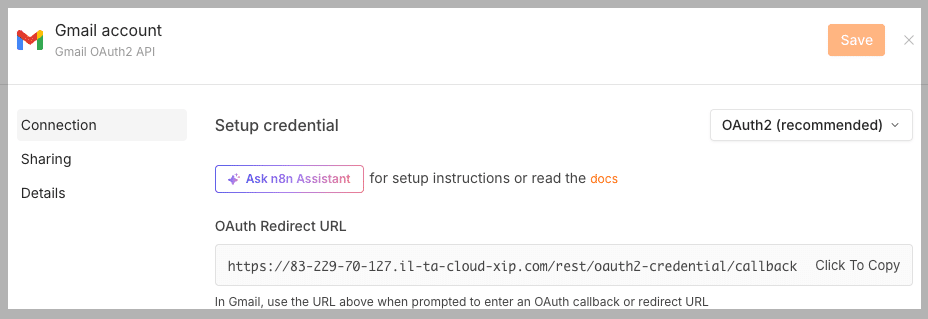
The Gmail account dialog opens.
Open Google Cloud Console.

From the menu bar, click Console.

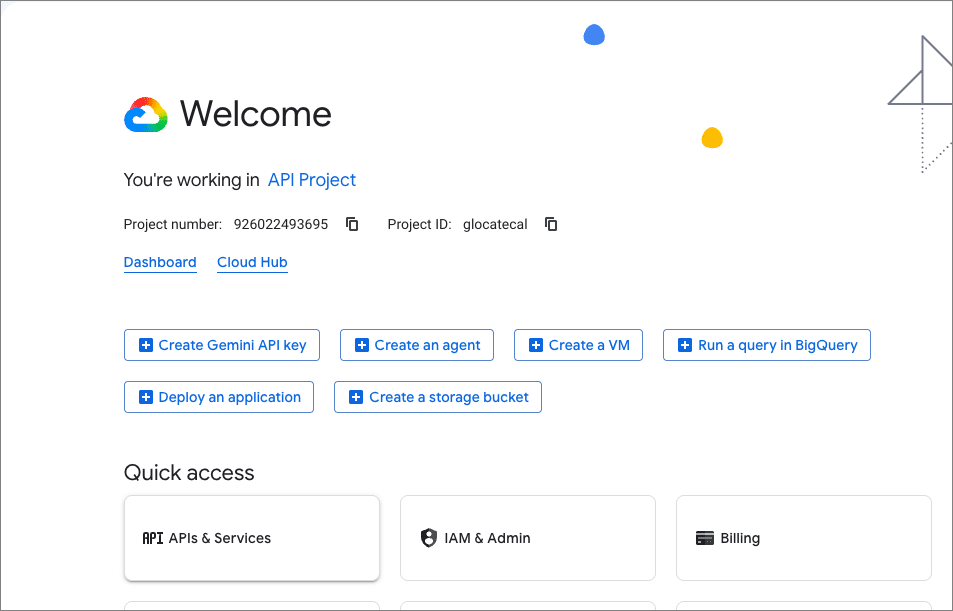
Under Welcome, click APIs & Services.
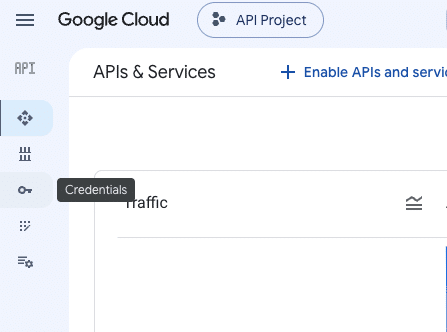
In the APIs & Services sidebar, click Credentials.
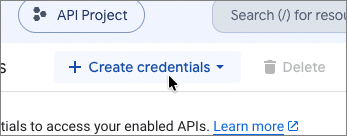
In Credentials, click Create credentials.
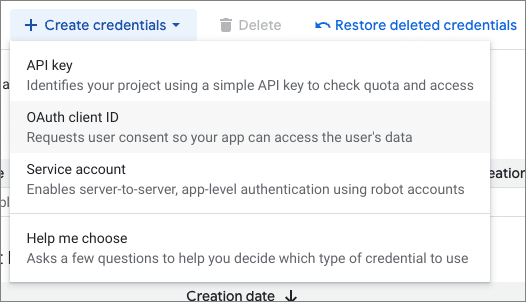
From the menu, choose OAuth client ID.
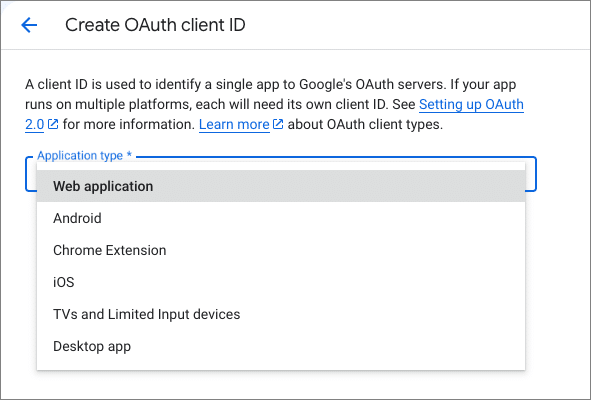
In Create OAuth client ID, choose Web application.
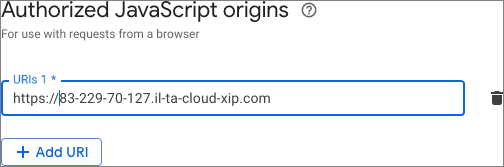
From Step 2, insert your n8n Web UI URL into Authorized JavaScript origins.
From n8n’s Gmail account dialog, copy the OAuth Redirect URL and paste it into Authorized redirect URIs.
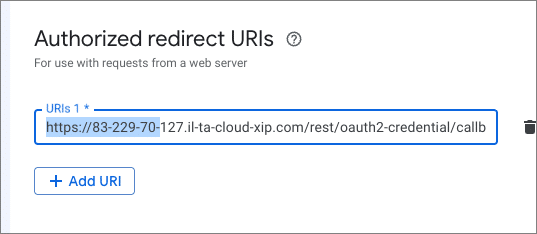
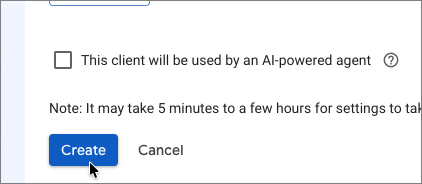
Click Create to generate the credentials.
From OAuth client created, copy the Client ID.
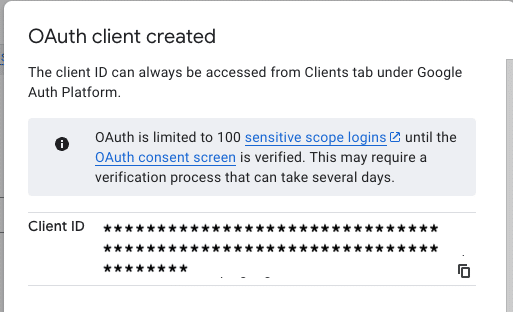
In n8n’s Gmail account dialog, paste the ID.

Return to the Google Cloud dialog and copy your client secret.
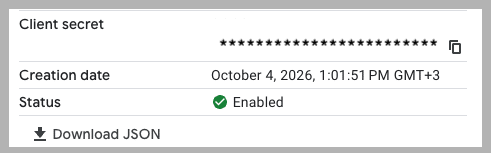
In n8n’s Gmail account dialog, paste the secret.

To save the credentials for future reference, click Download JSON. Then, click OK to close the dialog box.

In n8n’s Gmail account dialog, click Sign in with Google.
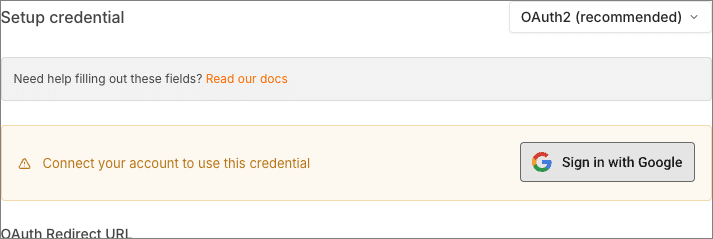
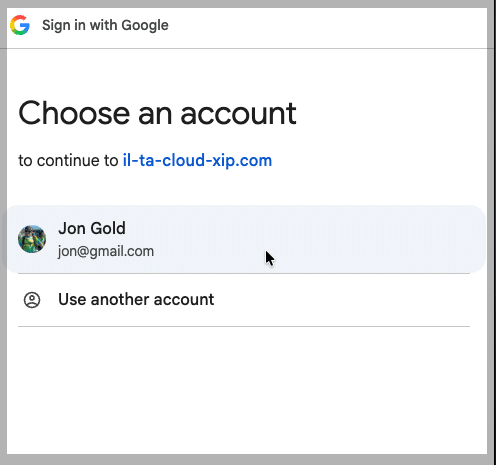
Under Choose an account, select a Google account. Then select the permissions you want to grant to the account.
Step 5: Filter emails
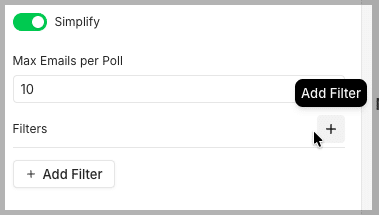
After you connect the trigger to a Gmail account, filter the list to include only emails with attachments. To add a filter, click Add Filter.
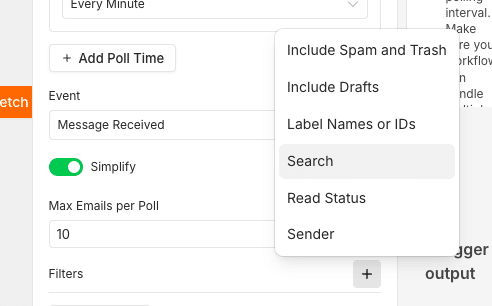
From the menu, click Search.
 In the Search box, type: has:attachment.
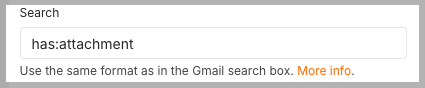
To close the dialog and save your changes, click the X in the top right corner.
Step 6: Extract attachments
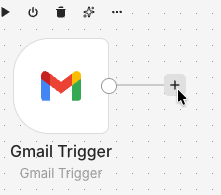
Our trigger gives us a list of emails with attachments. Before uploading them to Google Drive, we need to extract the attachments from the emails. In this step, we will add custom JavaScript code that extracts each attachment and adds it to a list. Click the + icon at the end of the Gmail Trigger connection.
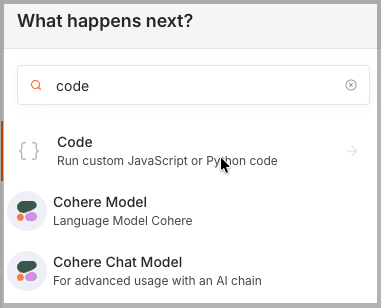
Type code in What happens next? From the list, choose Code.
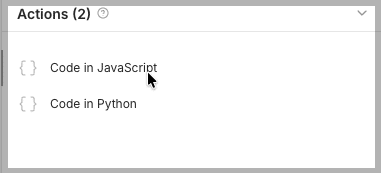
From the actions list, choose Code in JavaScript.
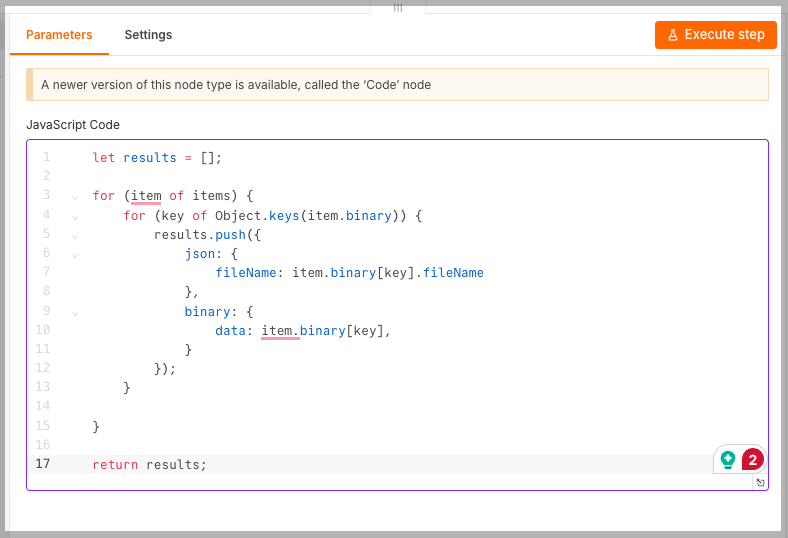
Add custom JavaScript code that extracts each attachment to a list. To avoid overwriting existing files in Google Drive, the code assigns each file a unique name.
let results = [];
for (item of items) {
for (key of Object.keys(item.binary)) {
results.push({
json: { fileName: item.binary[key].fileName },
binary: { data: item.binary[key], }
});
}
}
return results;
To close the dialog and save your changes, click the X in the top right corner.
Step 7: Upload attachments to Google Drive
We’ve reached the final stage in building our workflow. Click the + icon at the end of the Code in JavaScript node.
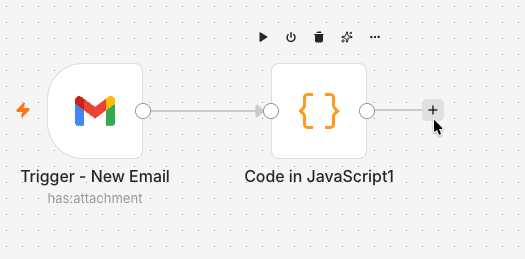
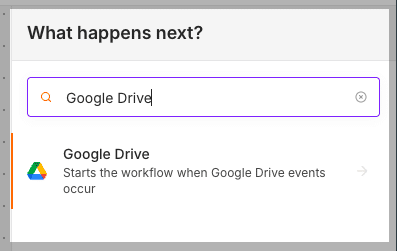
Type Google Drive in What happens next? From the list, choose Google Drive.
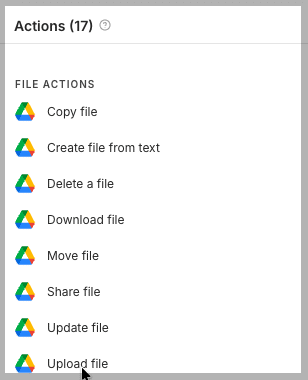
From FILE ACTIONS, choose Upload File. The Upload dialog opens.
Set the Google Drive API credentials, as described in Step 4.
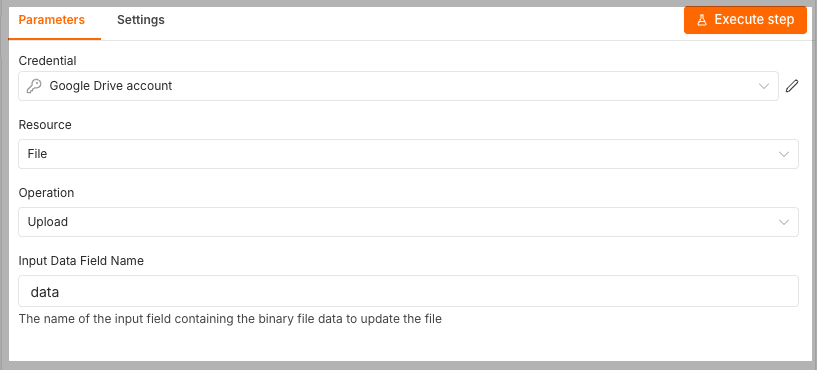
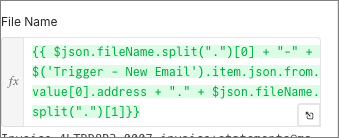
To help identify the origin of each file, add a line of custom code that combines the filename and sender email address. In the File Name box, enter the following code to rename the uploaded file.
{{ $json.fileName.split(".")[0] + "-" + $('Trigger - New Email').item.json.from.value[0].address + "." + $json.fileName.split(".")[1] }}

Step 8: Execute the workflow
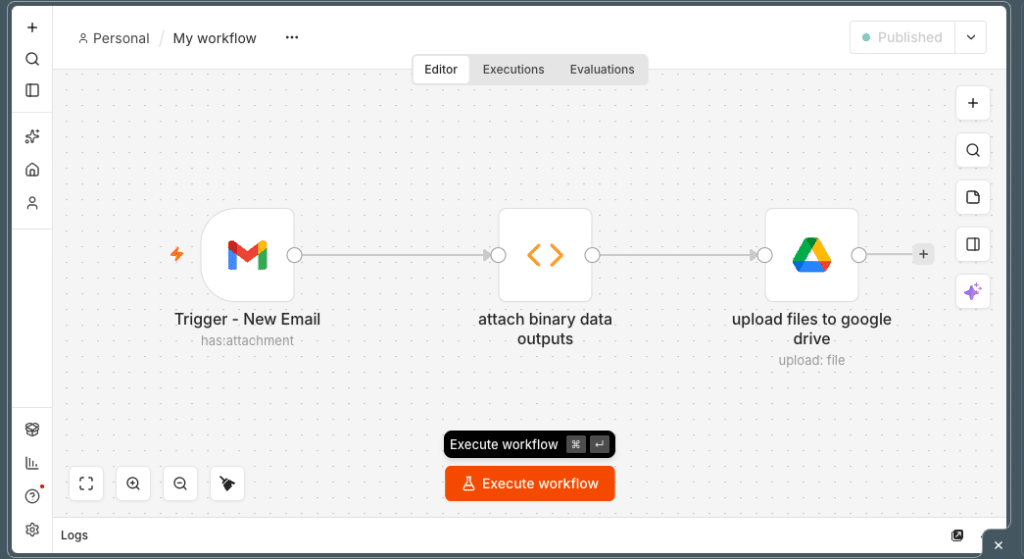
After creating our workflow, let’s see it in action. In the Editor tab, click Execute workflow.
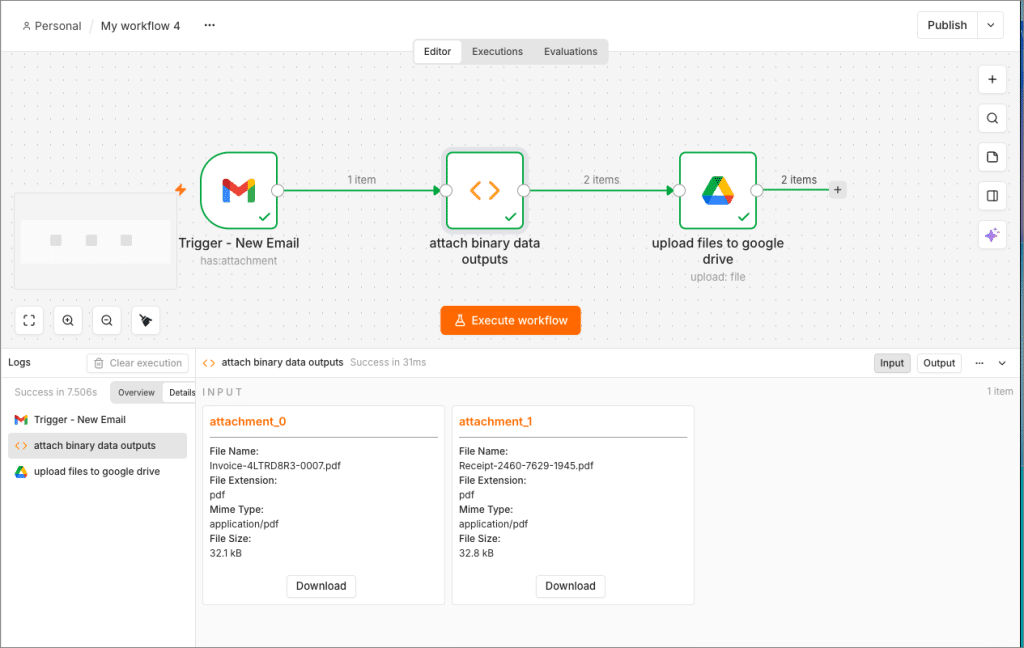
On completion, review the workflow logs and output.
Open Google Drive and verify that the files were uploaded.

Conclusion
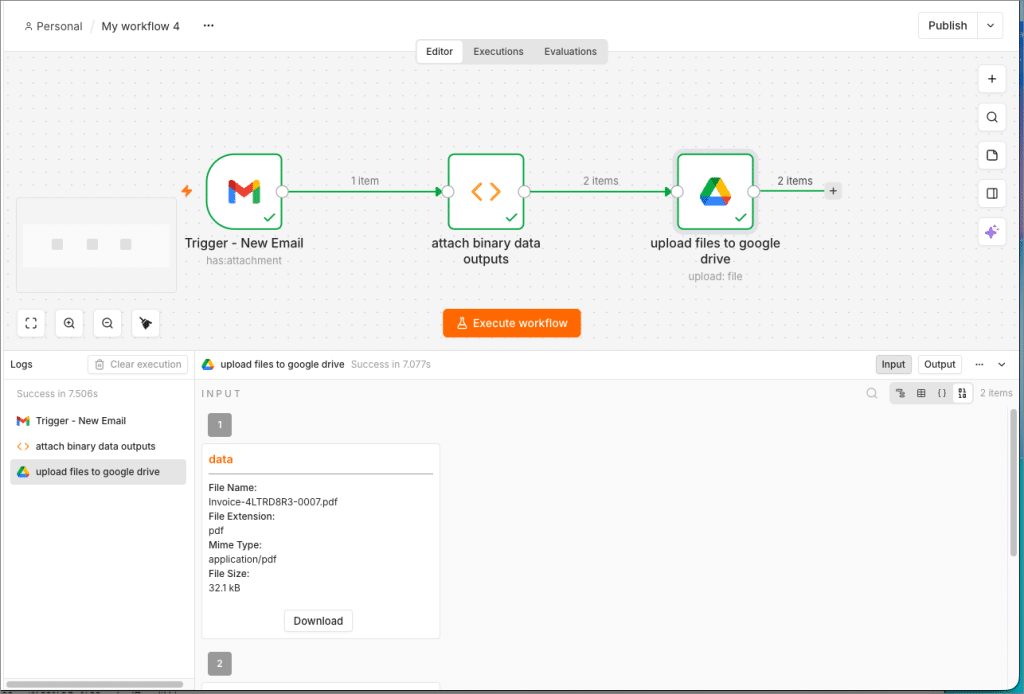
In this article, you provisioned an n8n server on Kamatera, configured n8n, and built a workflow that extracts attachments from Gmail emails and uploads them to Google Drive. Along the way, you connected n8n to Gmail and Google Drive and added custom JavaScript to a Code node.
From here, you can extend the workflow by adding filters, conditional logic, or nodes for other services.