



SSH is the standard protocol for remote access to Linux servers, using public-key cryptography to authenticate and encrypt client-server connections over untrusted networks. Its ubiquity and simplicity also make it a common target for attackers, since a misconfigured SSH server is one of the first things automated scanners look for.
A properly hardened setup rejects unauthorized connection attempts immediately and keeps the exchanged data and commands unreadable to anyone intercepting the traffic. This article walks through practical steps for hardening SSH on a cloud server running Ubuntu.
Getting started
You can harden your Ubuntu server from the Kamatera console or a local terminal window.
To launch the console
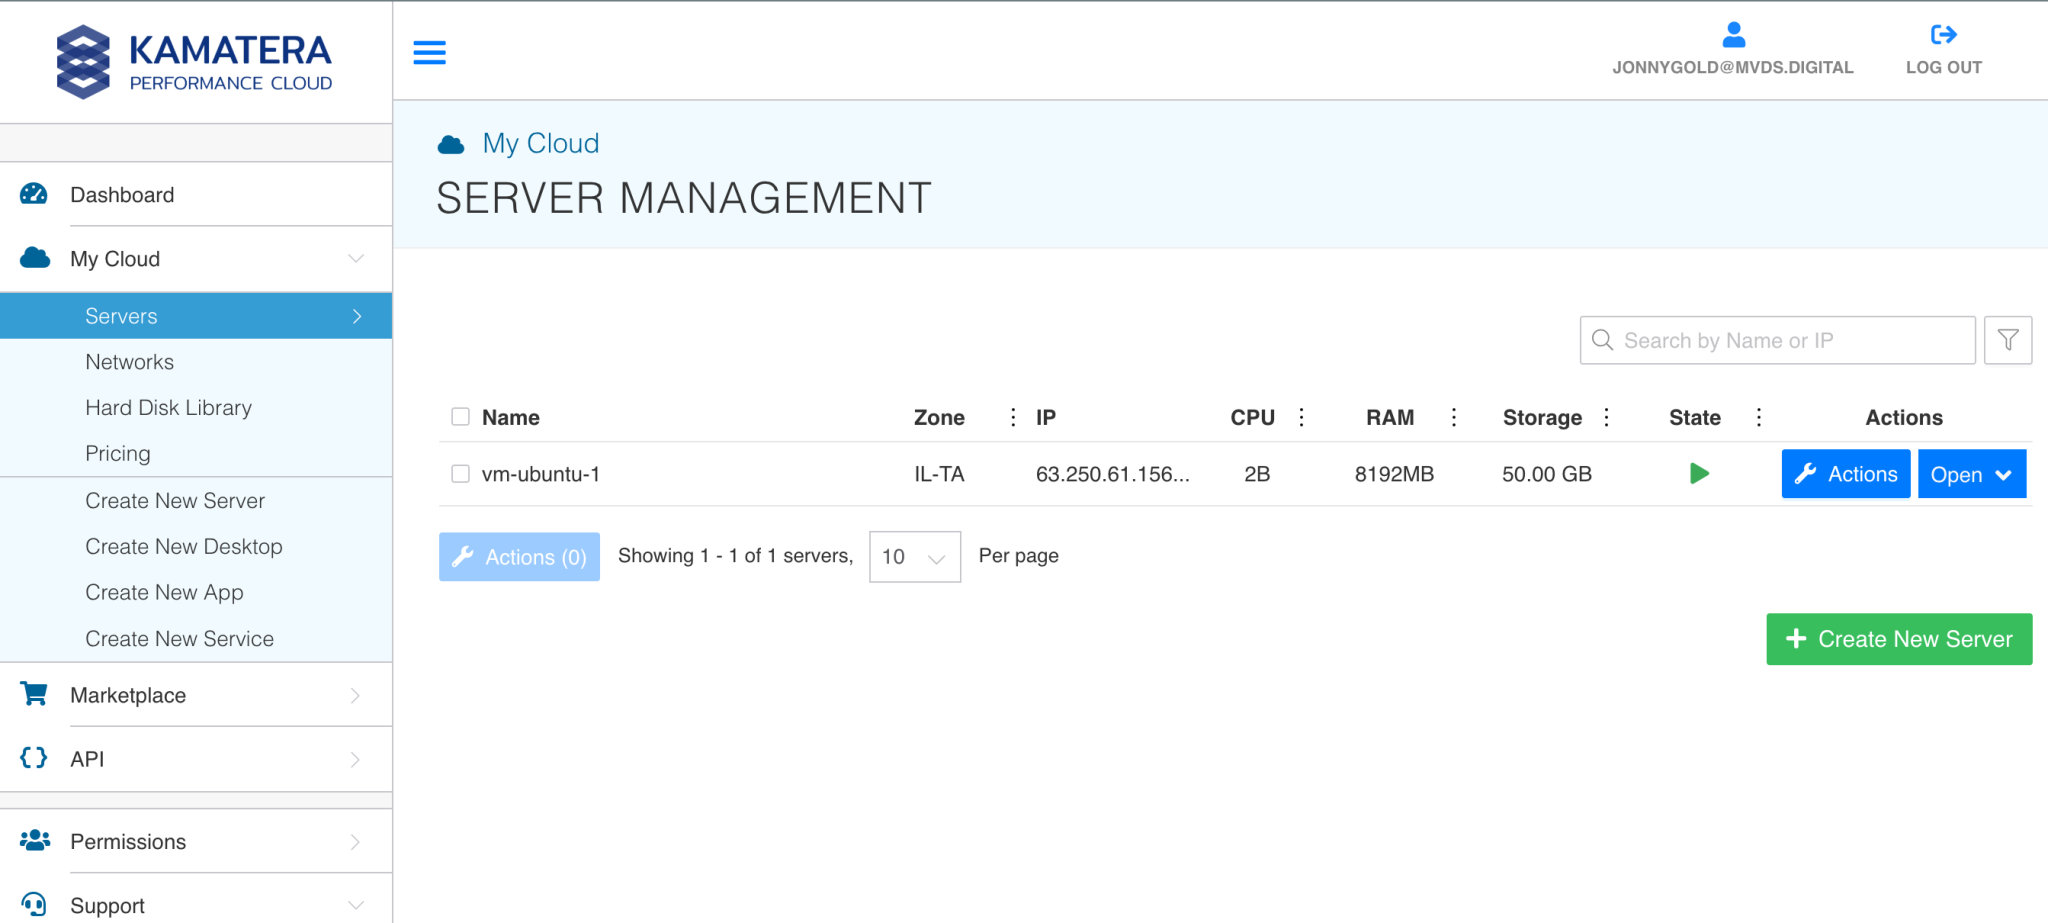
- Log in to Kametera and open My Cloud > Servers.
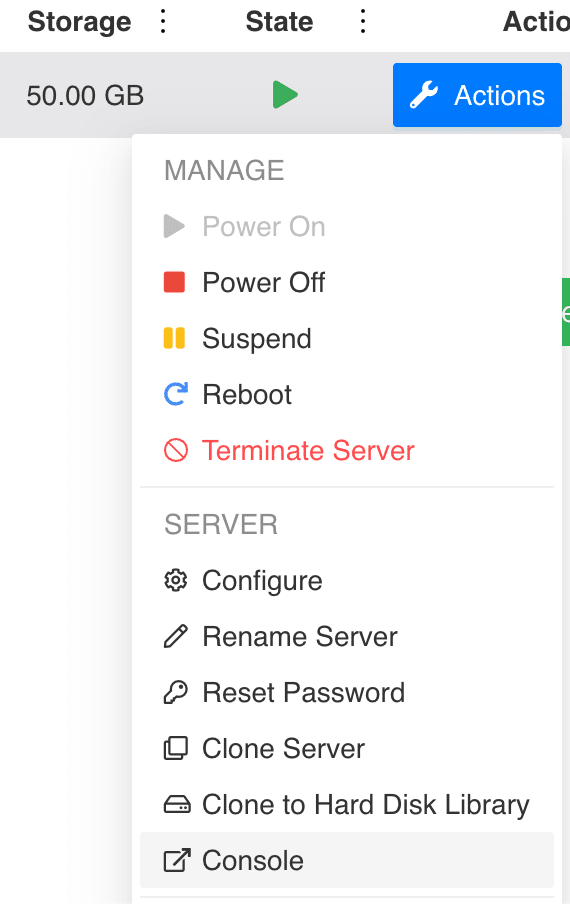
From a server’s Action menu, choose Console.
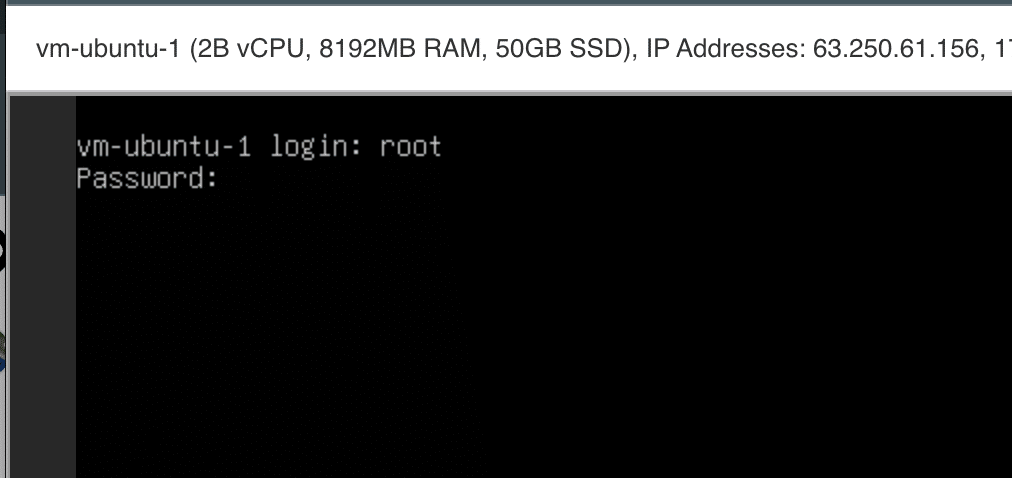
In the Console window, type your credentials.
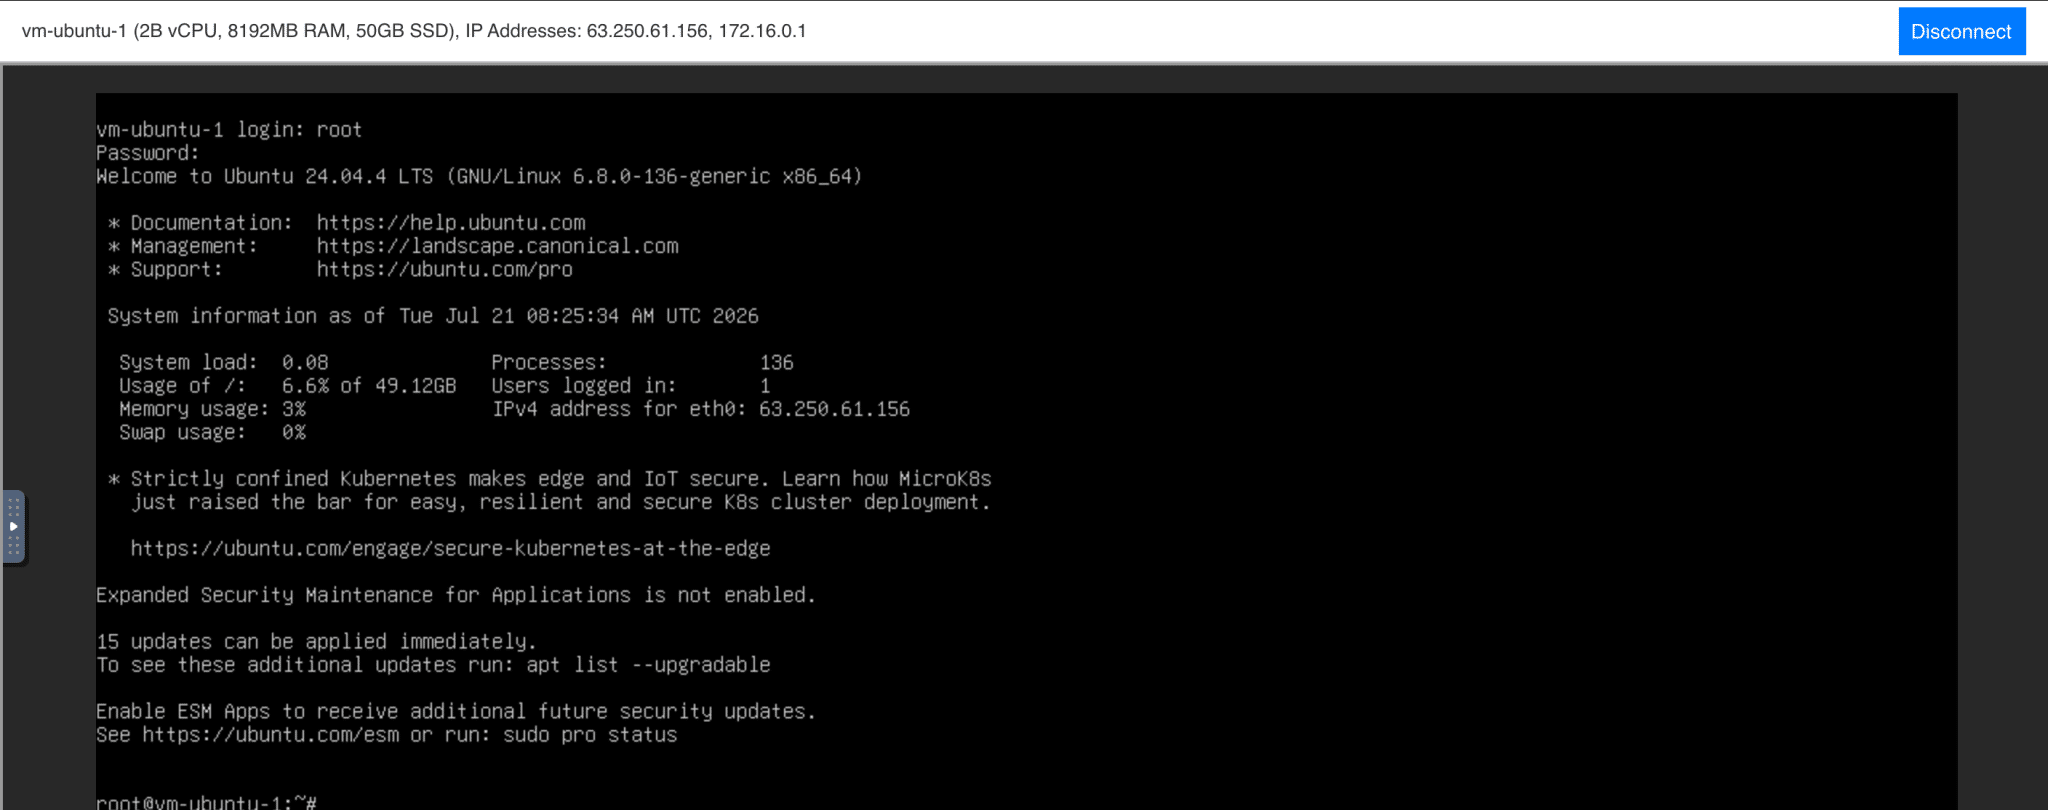
Use the console to harden your server.
To connect locally via SSH
- Log in to Kametera and open My Cloud > Servers.
- Click Open.
- From your Server Overview, copy the Public Internet IP (WAN).
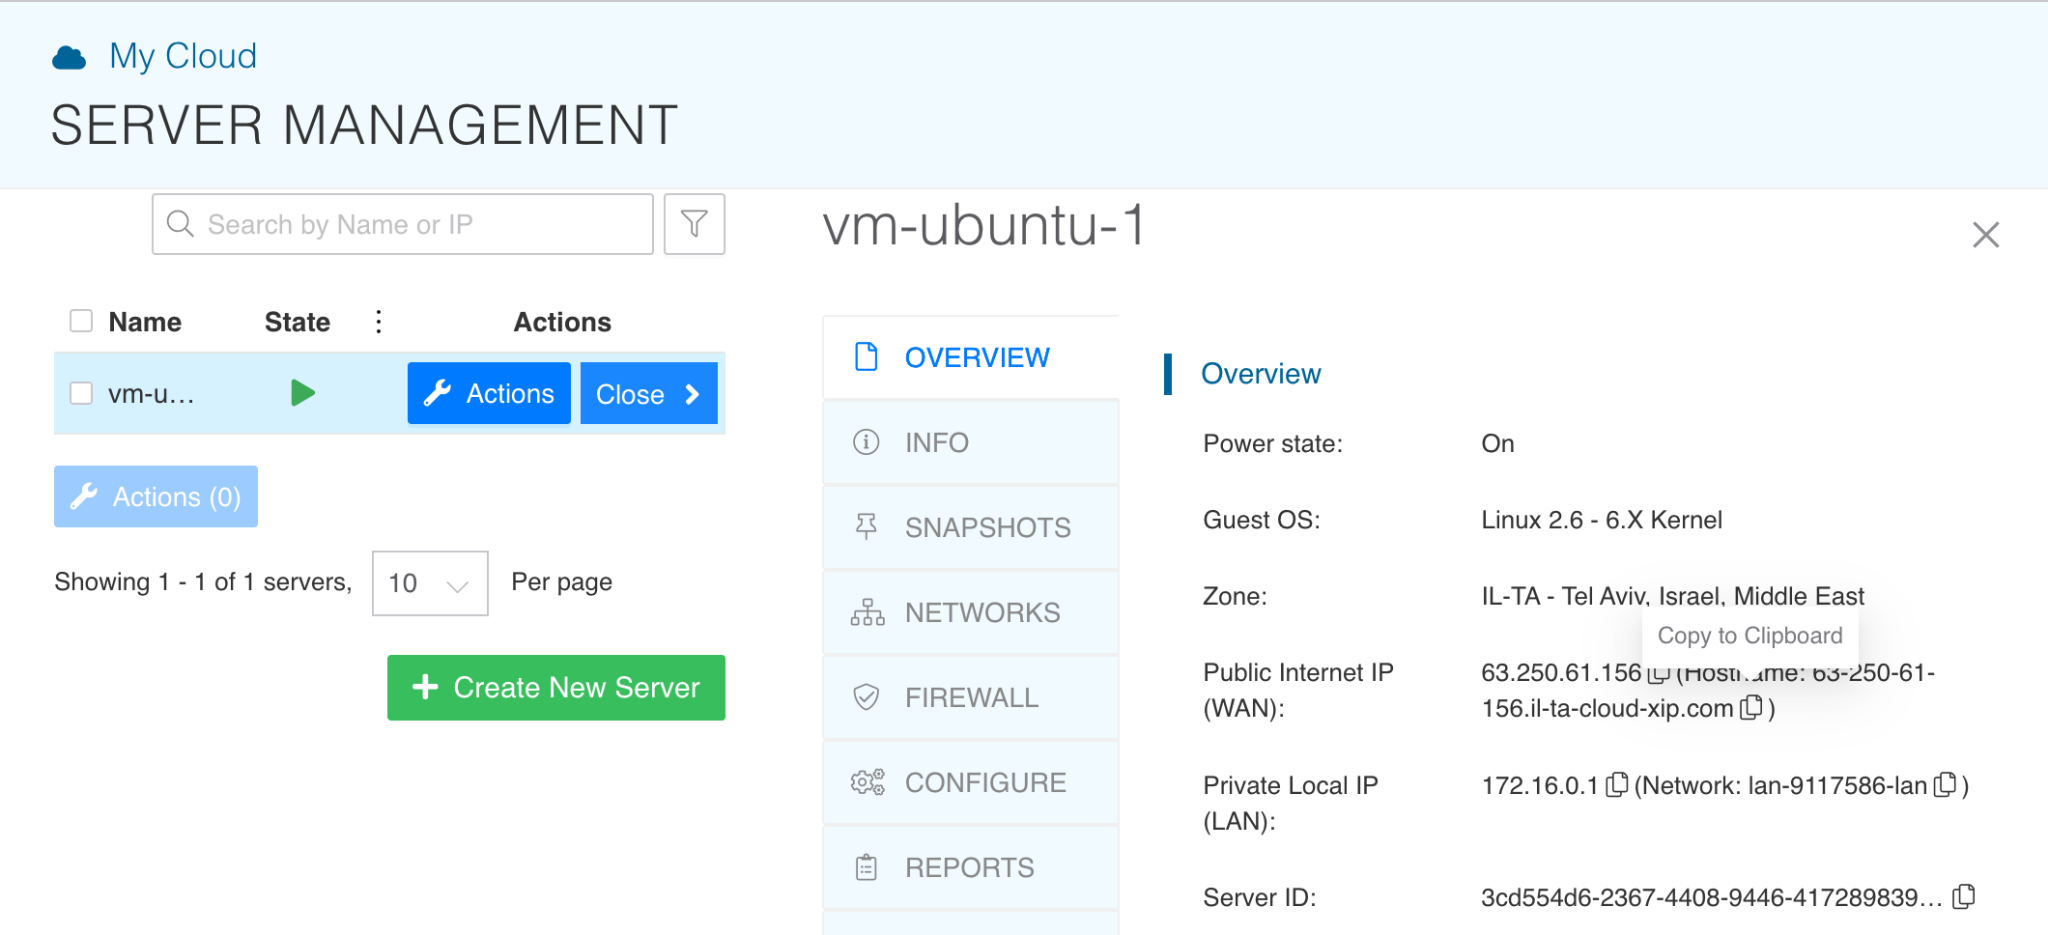
4. On your device, open a terminal window
5. At the prompt, type the command:
ssh root@
and paste the ID and press Enter.
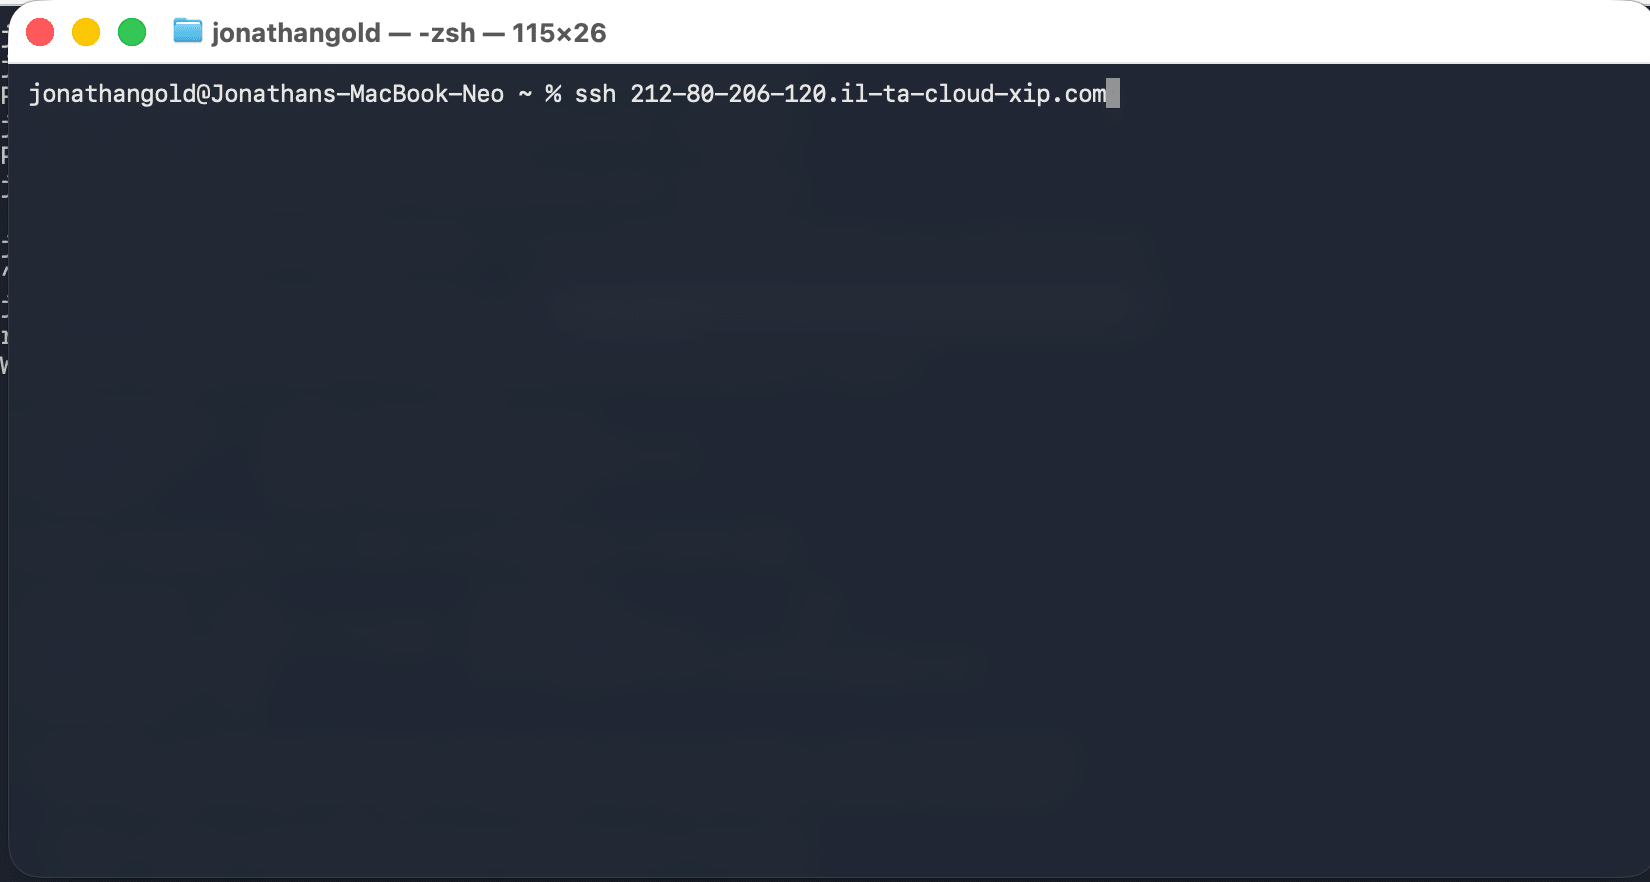
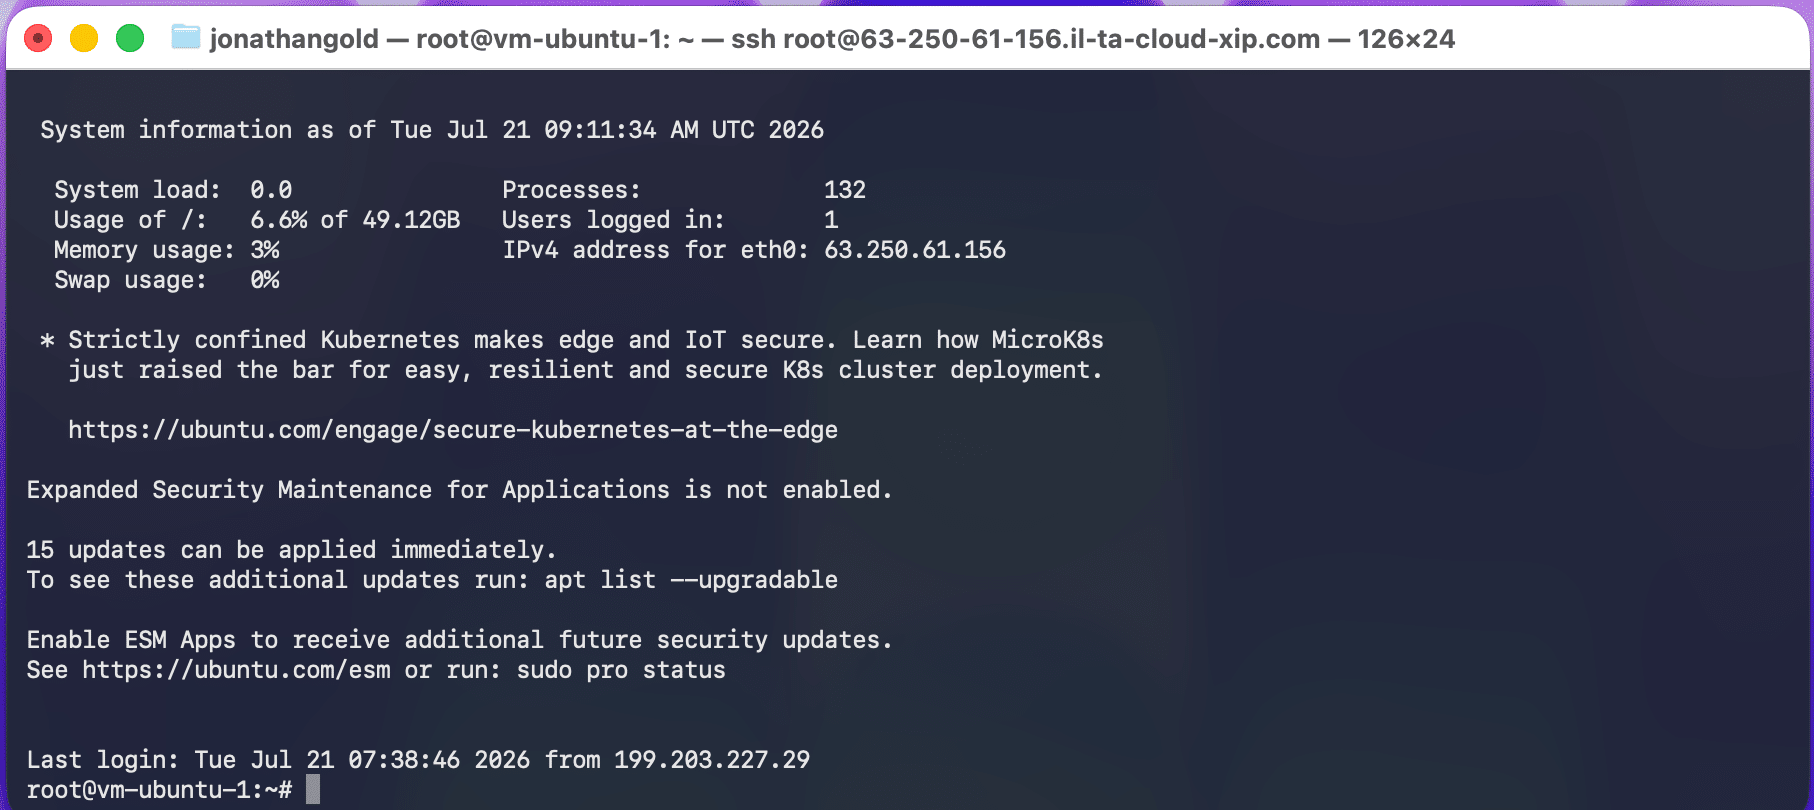
6. When requested, type your password.

7. Use the console to harden your server.
Hardening SSH on your server
The following steps are based on recommendations in the Center for Internet Security’s CIS Ubuntu Linux 22.04 LTS Benchmark. Each section title includes a reference to the corresponding benchmark control.
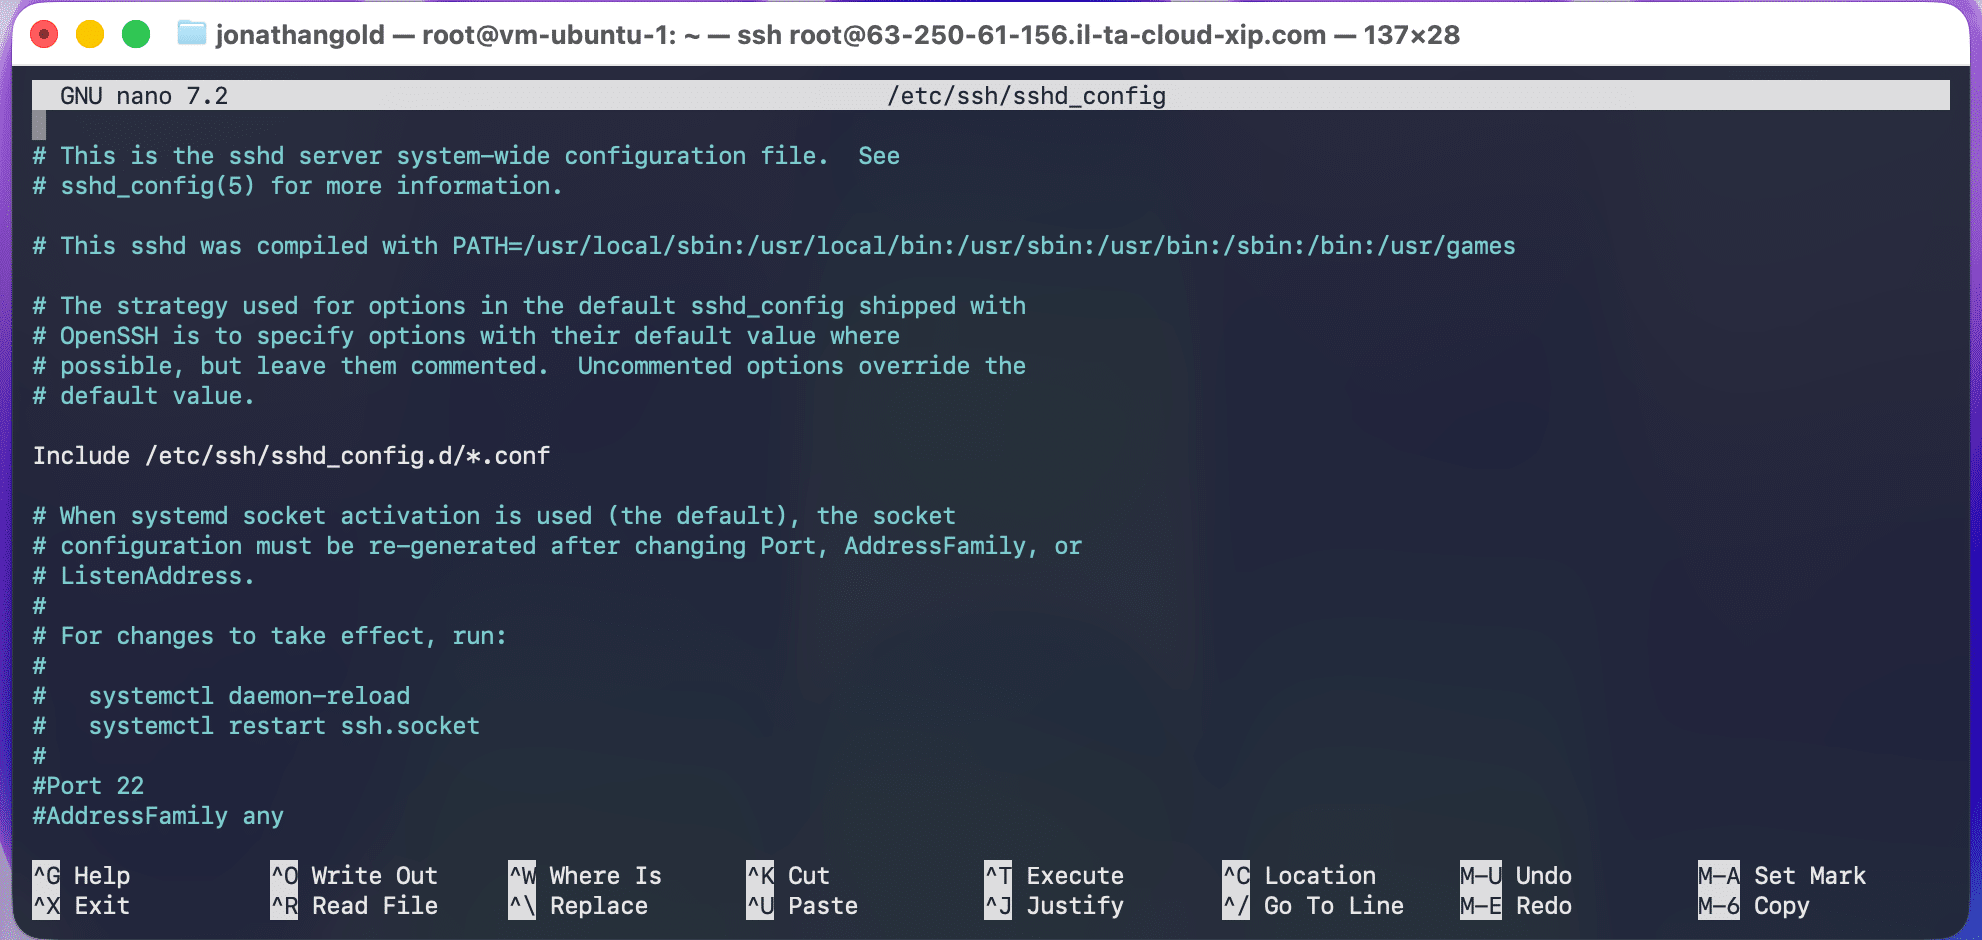
You can edit the SSH configuration file in your preferred editor, such as VI (VIM) or Emacs. If you’re less experienced with the terminal, you can open one directly from the Ubuntu desktop. The nano editor is also a friendlier option for editing configuration files. To open the SSH config file with nano, run:
nano /etc/ssh/sshd_config
Restrict SSH users (5.1.4)
One of the most effective ways to prevent unauthorized access is to explicitly control which users and groups can connect over SSH. Linux lets you allow or deny access by individual user or by group.
To restrict access, open
/etc/ssh/sshd_config
-
For users, set
AllowUsers <userlist>
; and/or
DenyUsers <userlist>
, where </,
userlist>
; is a space-separated list of names in
user@host format.
-
For groups, set
AllowGroups <grouplist>
;and/or
DenyGroups <grouplist>
, where
<grouplist>
is a space-separated list of group names.
Configure strong ciphers (5.1.6)
To ensure data security, SSH encrypts data exchanged between clients and servers using a cipher, an algorithm that encrypts and decrypts data based on a mathematical formula and a key. Stronger ciphers make it harder for an attacker to compromise the connection. CIS recommends configuring SSH with strong, approved ciphers rather than relying on default, weak, or legacy encryption methods.
To configure strong ciphers:
-
At the command prompt, type:
sshd -T | grep '^ciphers'
-
Review the returned list, for example:
ciphers chacha20-poly1305@openssh.com,aes128-ctr,aes192-ctr,aes256-ctr,aes128-gcm@openssh.com,aes256-gcm@openssh.com
-
Check that it doesn’t include any weak ciphers, such as
3des-cbc, aes128-cbc, aes192-cbc, or aes256-cbc.
-
If weak ciphers are present,
open /etc/ssh/sshd_config.
-
Locate the Ciphers line, a comma-separated list of values.
-
Update it to include only strong ciphers, such as
chacha20-poly1305@openssh.com or aes256-gcm@openssh.com.
Disable system forwarding
SSH supports several forwarding protocols, including X11, TCP, and StreamLocal, which admins use to view remote data, run graphical applications, or tunnel other traffic through an SSH connection. Left enabled, these same features give attackers a way to pivot through your server: forwarding can be used to reach other systems on your network, exploit vulnerabilities in the X11 protocol, or tunnel traffic in and out undetected.
This last point is what makes forwarding-based attacks particularly hard to catch: because the traffic rides inside SSH’s encrypted channel, it looks like ordinary SSH activity to network monitoring tools. That makes forwarding an effective way to establish a backdoor or exfiltrate data without triggering alerts.
To disable system forwarding:
-
Open
/etc/ssh/sshd_config.
-
Locate DisableForwarding.
-
Verify that it’s set to:
DisableForwarding yes
Disable host-based authentication (5.1.11)
Ubuntu can authenticate connection requests based on a list of trusted remote hosts, defined in a .rhosts file or in /etc/hosts.equiv. Disabling host-based authentication removes this trust mechanism and requires each connection to authenticate on its own merits.
To disable host-based authentication, open
/etc/ssh/sshd_config,
locate HostbasedAuthentication, and verify it’s set to no:
HostbasedAuthentication no
Disable login with empty passwords
SSH can be configured to let a user log in with just a username and no password at all. That’s convenient for the user, but from a security standpoint, it means anyone who reaches the login prompt is already in, no credential needed. It also makes automated attacks trivial: a script that simply cycles through a list of usernames with an empty password string can compromise multiple accounts with minimal effort.
To disable login with empty passwords:
-
Open
/etc/ssh/sshd_config.
-
Locate
PermitEmptyPasswords.
-
Verify that it’s set to:
PermitEmptyPasswords no
Disable root login (5.1.20)
Ubuntu uses a tiered system of access privileges. Standard users have limited permissions, while the root user has unrestricted access to the system. Disabling SSH access for the root account prevents an attacker who compromises a single credential from gaining full control of the server.
To disable SSH root login, open
/etc/ssh/sshd_config,
locate
PermitRootLogin,
and verify it’s set to no:
PermitRootLogin no
Enable pluggable authentication (5.1.22)
The Pluggable Authentication Module (PAM) is a standard framework for user authentication across Linux applications. PAM can enforce additional authentication requirements based on session context, such as IP address, time, or location.
To enable PAM, open
/etc/ssh/sshd_config,
locate UsePAM, and verify it’s set to yes:
UsePAM yes
Conclusion
Hardening SSH is one of the most effective ways to reduce your server’s attack surface. By restricting which users and groups can connect, enforcing strong ciphers, disabling unnecessary forwarding and host-based authentication, blocking empty passwords, disabling root login, and enabling PAM, you close off the most common paths attackers use to compromise a remote server.
Its greatest strengths, near-universal adoption and ease of use, are also its biggest weaknesses. SSH’s convenience makes it possible to execute a wide range of tasks from the most basic, like retrieving files, to complex tasks such as backups and software debugging. But when incorrectly configured, it can give anyone complete access to your code and data.
If you want to get the most out of your Kamatera servers, especially Ubuntu-based hosts, hardening SSH against potential attacks is a must. CIS Benchmarks give you everything you need to deploy your servers safely, so we picked seven easy-to-implement recommendations to get you started, including disabling root login, using strong encryption, and disabling system forwarding.
Once you’ve made these changes, restart the SSH service for them to take effect:
sudo systemctl restart sshd
Our recommendations are a great start, but CIS has additional SSH-related benchmarks worth checking out that will take your system security to the next level. Revisit your SSH configuration periodically, especially after major Ubuntu updates, to confirm your settings still align with current CIS benchmark recommendations.