



Terraform is an infrastructure-as-code (IaC) tool created by HashiCorp. You describe the servers, storage, networks, and DNS entries you want in configuration files, and Terraform creates and manages them through your provider’s API.
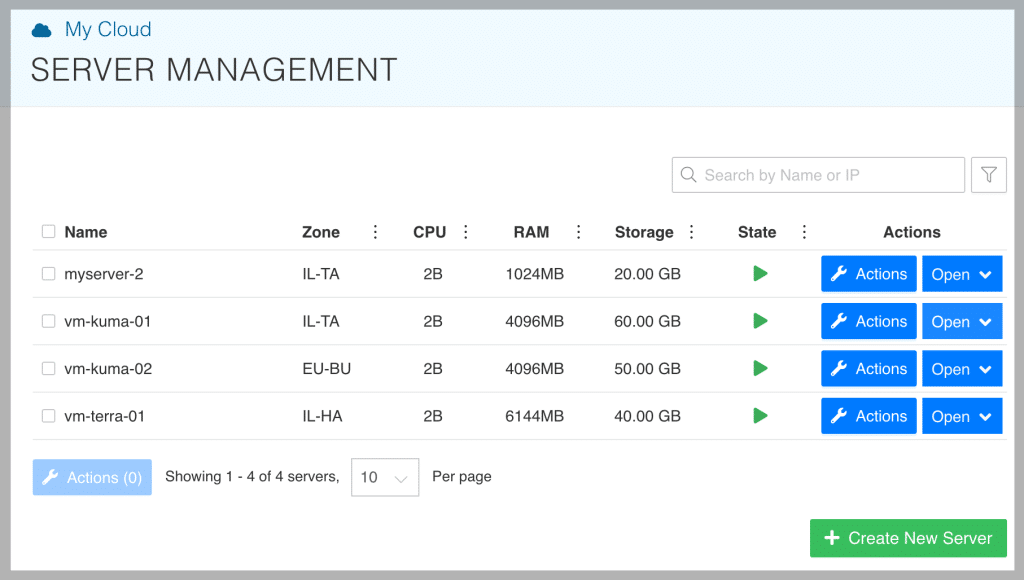
This article shows you how to install Terraform on an Ubuntu server and use it to provision a Kamatera cloud server. When it finishes, the new server appears in the Server list in your Kamatera console.
Step 1: Provision an Ubuntu server
Terraform runs on most major operating systems. For simplicity, this article installs it on a Kamatera Ubuntu server. If you don’t have one yet, learn how to create one here.
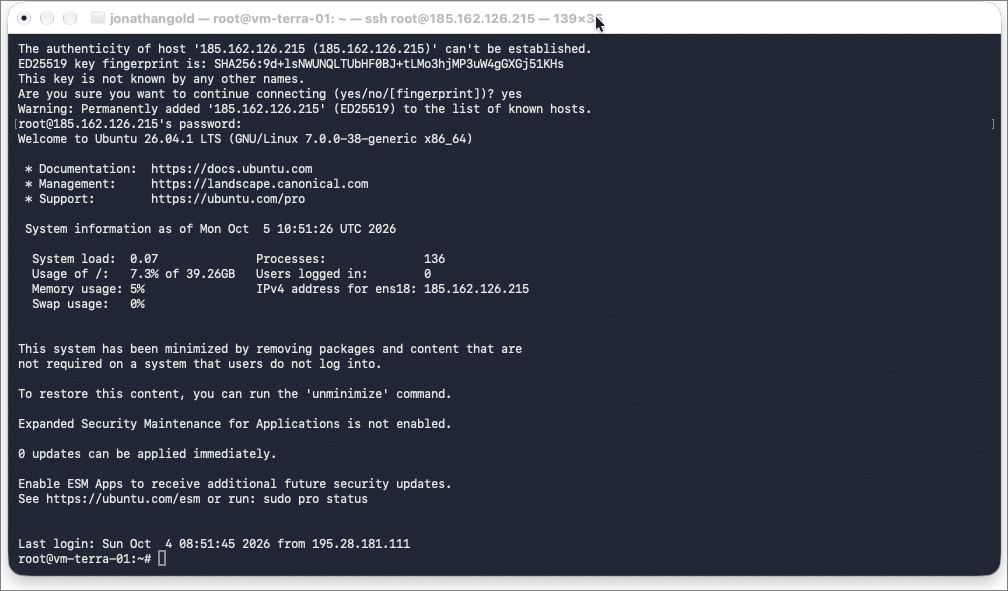
When the server is ready, connect to it through the Kamatera console or from a local SSH terminal. After you log in, the server’s welcome banner appears.
Step 2: Generate a Kamatera API key
Terraform needs a Kamatera API key to create servers on your behalf. To generate one:
In the Kamatera console sidebar, click API > Keys.
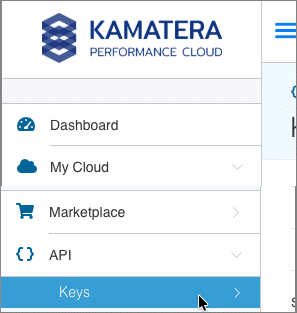
The API Keys page opens.
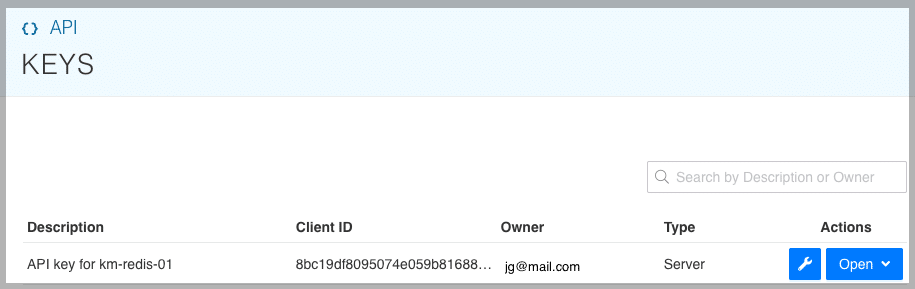
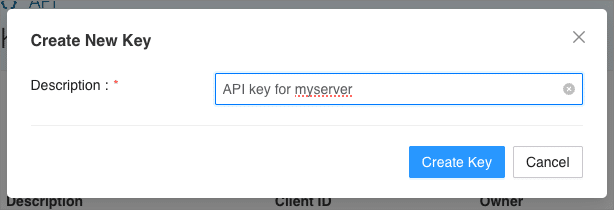
Click Create New Key.
In the Create New Key dialog, type a description for the key and click Create Key.
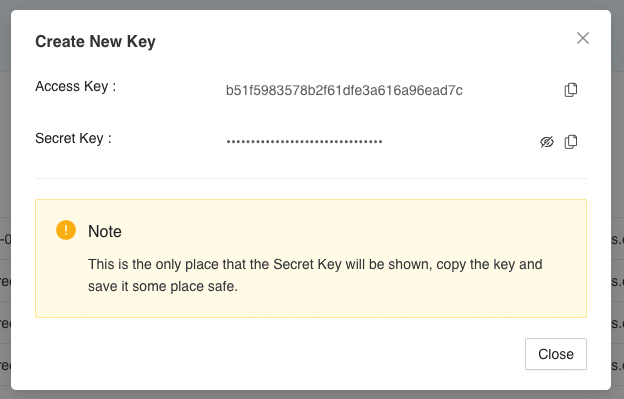
The dialog displays the access key and the secret key. You need both in the next step. Keep the dialog open, or copy both keys to a text file before you close it.
Step 3: Set environment variables
Terraform reads your Kamatera API credentials from environment variables. In your SSH session, run the following command, replacing <Access Key> with the access key from Step 2 and removing the angle brackets:
export KAMATERA_API_CLIENT_ID=<Access Key>
Then set the secret key the same way:
export KAMATERA_API_SECRET=<Secret>
These variables last only for the current SSH session, so set them again if you reconnect before Step 7. After you set both, you can close the Create New Key dialog.
Step 4: Install Terraform
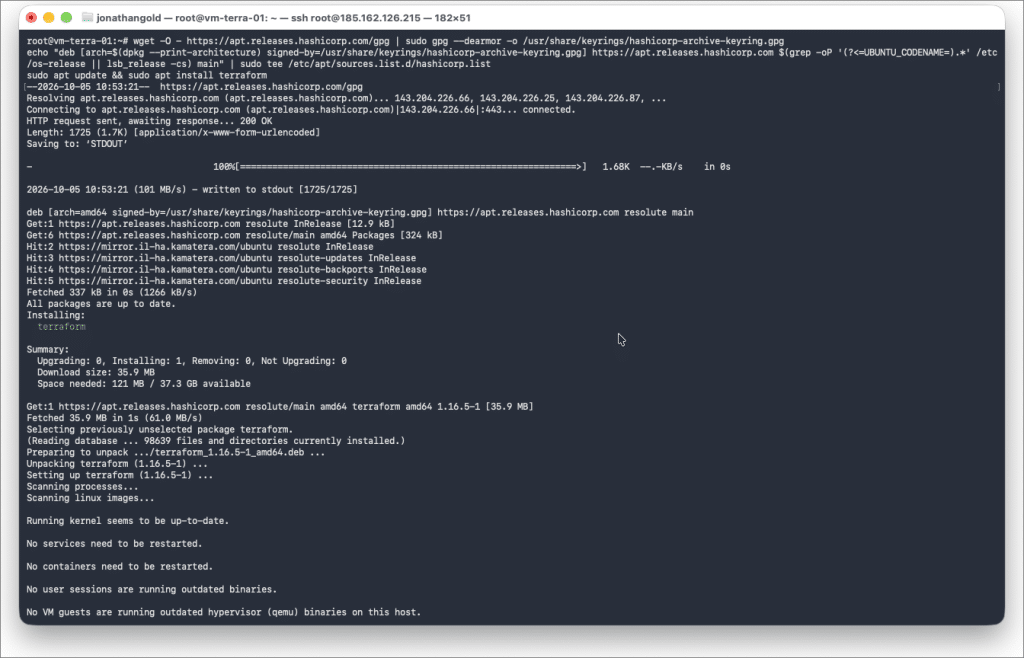
Install Terraform from HashiCorp’s official apt repository. In your SSH session, run the following command:
wget -O - https://apt.releases.hashicorp.com/gpg | sudo gpg --dearmor -o /usr/share/keyrings/hashicorp-archive-keyring.gpg && echo “deb [arch=$(dpkg --print-architecture) signed-by=/usr/share/keyrings/hashicorp-archive-keyring.gpg] https://apt.releases.hashicorp.com $(grep -oP ‘(?<=UBUNTU_CODENAME=).*’ /etc/os-release || lsb_release -cs) main” | sudo tee /etc/apt/sources.list.d/hashicorp.list && sudo apt update && sudo apt install terraform
The command adds HashiCorp’s signing key and repository to your server, then installs the terraform package. To confirm the installation, run:
terraform version
Terraform is downloaded and installed.
Step 5: Verify the HashiCorp signing key
Before you use Terraform, verify the authenticity of the HashiCorp signing key. You do this with GNU Privacy Guard (GPG) in a temporary directory, so your own keyring stays untouched.
Create a temporary directory and open it:
mkdir verify-hashicorp-binary
cd verify-hashicorp-binary
Tell GPG to use a temporary keyring in this directory:
export GNUPGHOME=./.gnupg
Generate a temporary key pair. Replace <passphrase> and <email> with your own values:
gpg --quick-generate-key --batch --passphrase “<passphrase>“ <email>
Download the HashiCorp public key:
curl –remote-name https://www.hashicorp.com/.well-known/pgp-key.txt
Import it into the temporary keyring:
gpg --import pgp-key.txt
Sign the imported key with your temporary key:
gpg --sign-key 34365D9472D7468F
Check the key ID and fingerprint:
gpg --fingerprint --list-signatures “HashiCorp Security”
Compare the fingerprint with the one HashiCorp publishes on its security page. When you finish, go back to your home directory and reset GPG:
cd ~
unset GNUPGHOME
Step 6: Configure Terraform with main.tf
A main.tf file tells Terraform which resources to create. To build one, use the Kamatera Toolbox Server Configuration Generator.
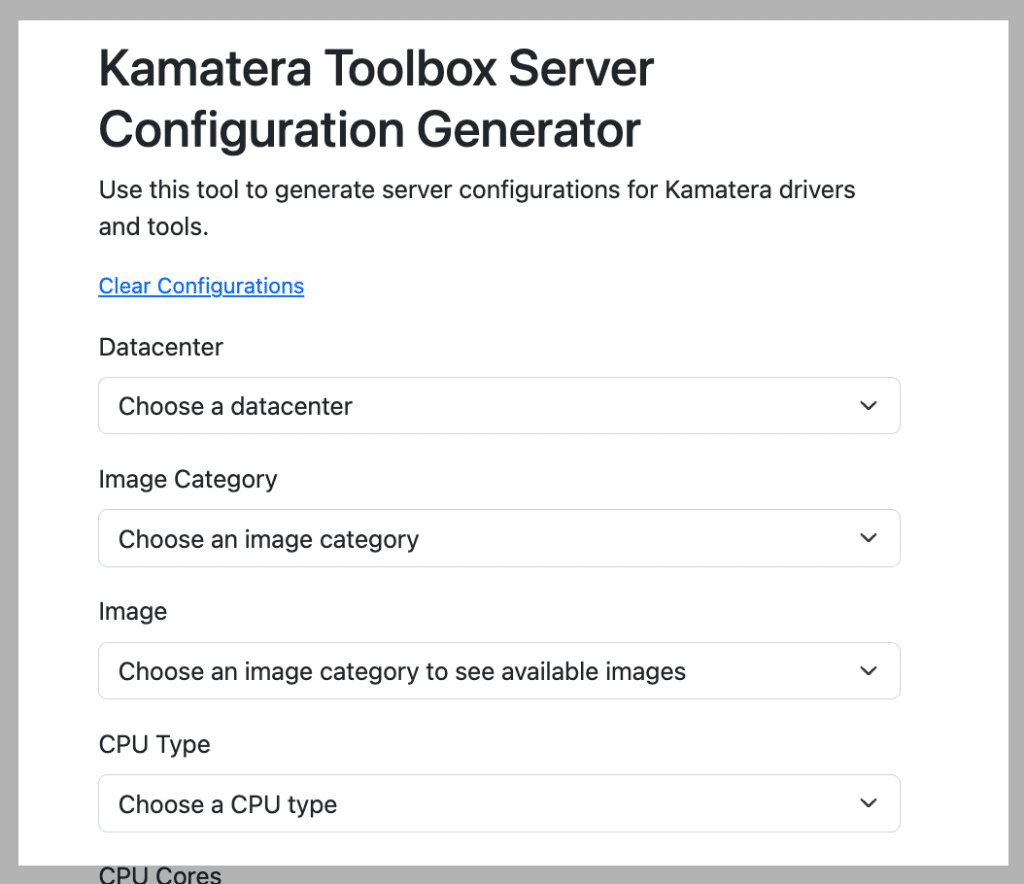
Open the configurator and set the following options:
Datacenter: choose a datacenter.
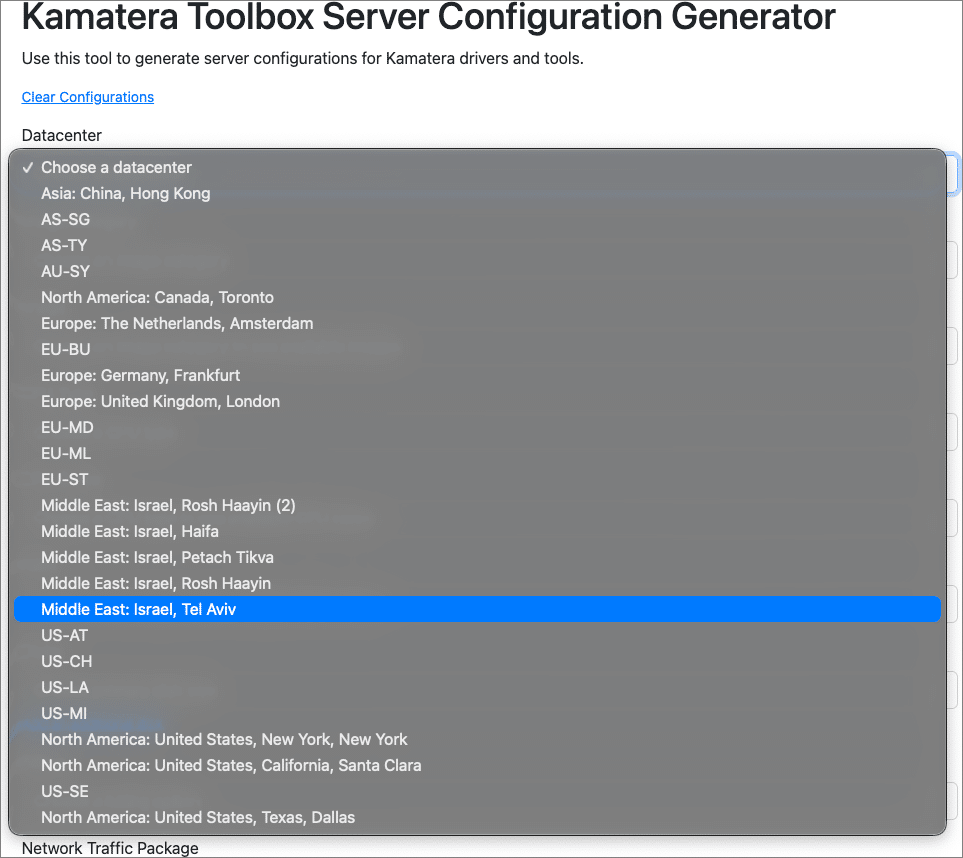
Category: choose the resource you want to provision.

Image: choose the operating system image to install. We recommend an Ubuntu image.
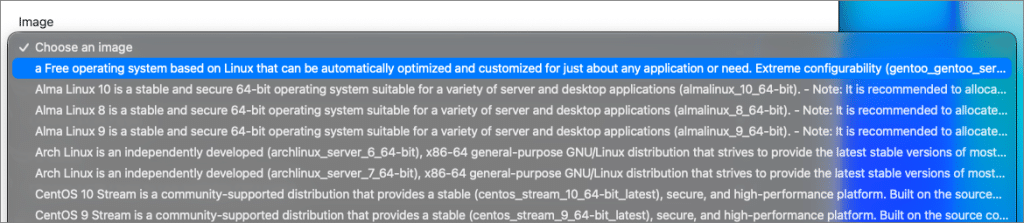
CPU Type: select your preferred CPU type.

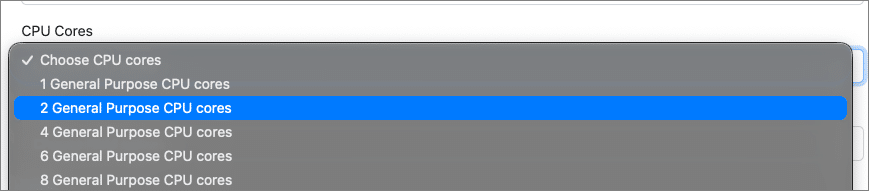
CPU Cores: choose the number of CPUs for your server.
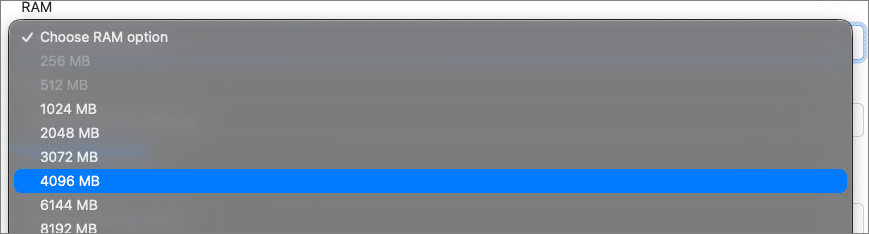
RAM: choose the amount of memory.
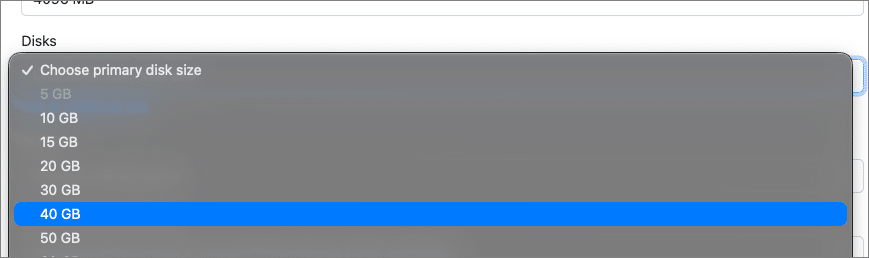
Disks: add a primary disk and select its size.
Billing: choose a billing option.

Network Traffic Package: choose a package.

The configurator then generates the contents of main.tf. Before you copy them, add a password for the new server in the configurator. The password is stored in plain text in main.tf, so keep that file private.
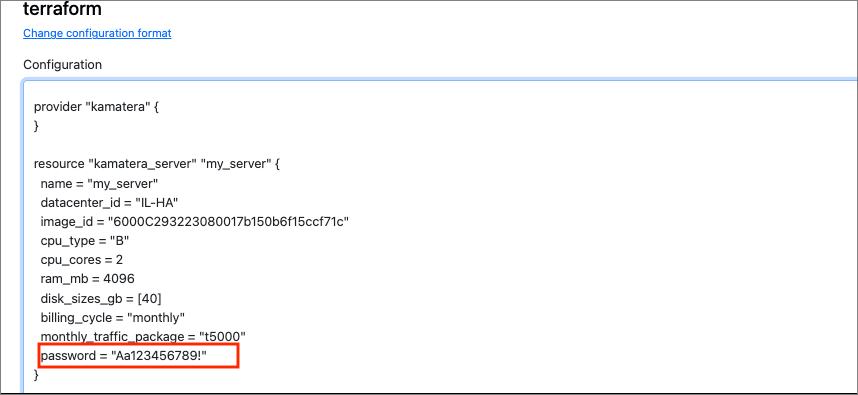
In your SSH session, create the file with nano:
nano main.tf
Paste the configuration from the configurator into the editor. In nano, press Ctrl + O and Enter to save, then Ctrl + X to exit.
Step 7: Deploy a server
Run Terraform from the directory that contains main.tf. In your SSH session, run:
terraform init && terraform apply
The terraform init command downloads the Kamatera provider, and terraform apply shows the changes Terraform will make. When Terraform asks you to confirm, type yes at the Enter a value prompt and press Enter.
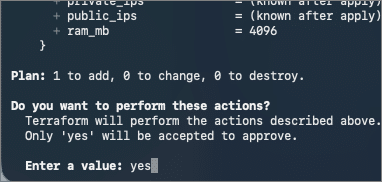
Terraform then provisions the server. When it finishes, Kamatera sends a notification email and adds the server to the Server list in your Kamatera console.
Conclusion
You now have Terraform installed on an Ubuntu server and a Kamatera cloud server provisioned from a main.tf file. To change or add resources later, edit main.tf and run terraform apply again. To delete the resources Terraform created, run terraform destroy.
The Kamatera provider also supports private networks, private images, and importing existing servers. For details, see the Kamatera provider documentation.