



A fixed partition is easy to outgrow. When a disk fills up, the usual fix is a new disk, a migration, and downtime. LVM (Logical Volume Manager) avoids that by letting you pool disks into a volume group and carve logical volumes out of it. You can then extend a volume, move data from one disk to another, and take snapshots with a single command each.
This article sets up LVM on a Kamatera Ubuntu server and walks through all three operations.
Step 1: Provision a server
Provision a Kamatera Ubuntu server as described in “How to Operate a Linux Server on Kamatera.”
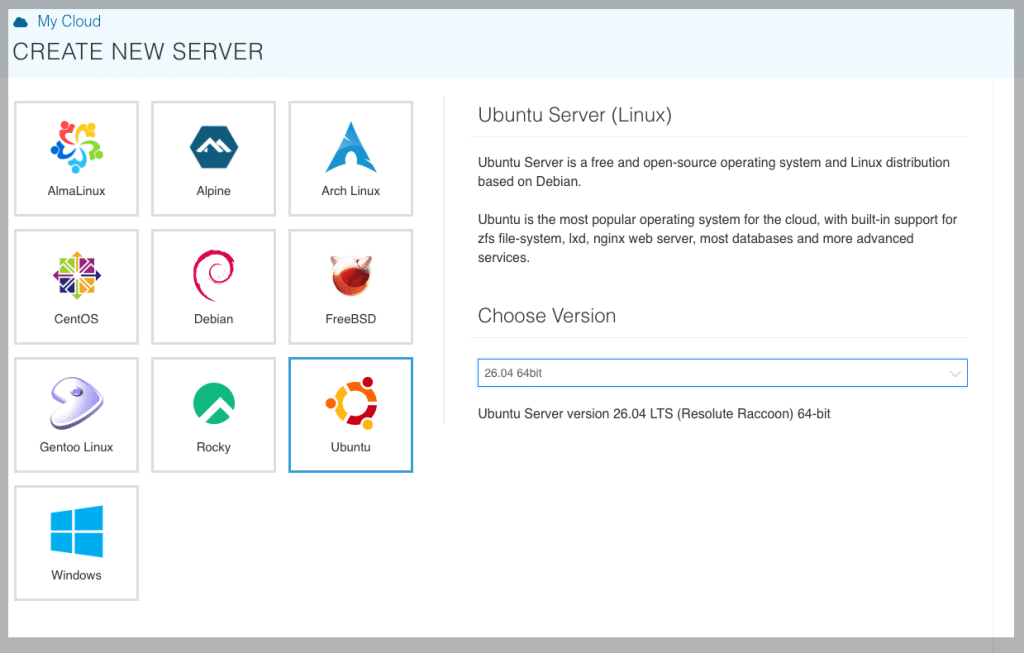
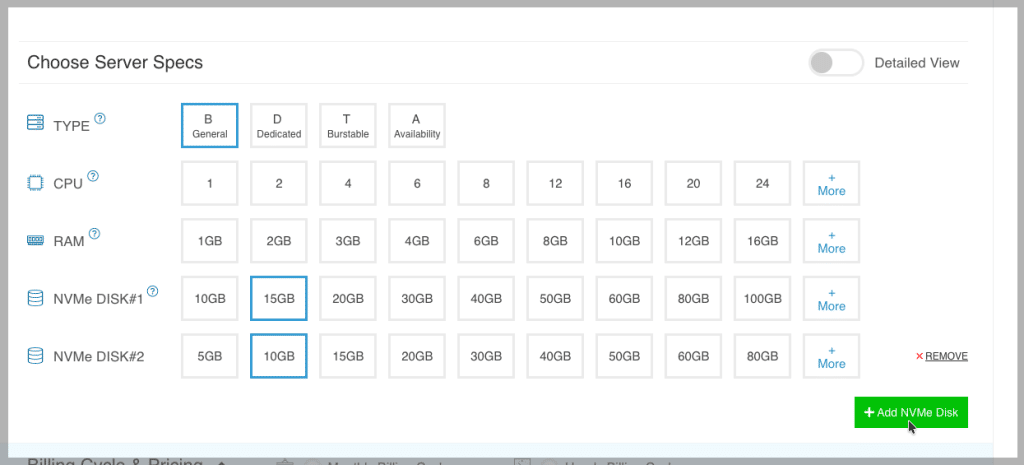
Add at least two extra disks besides the system disk, so you have a second physical volume to move data to later in the article.
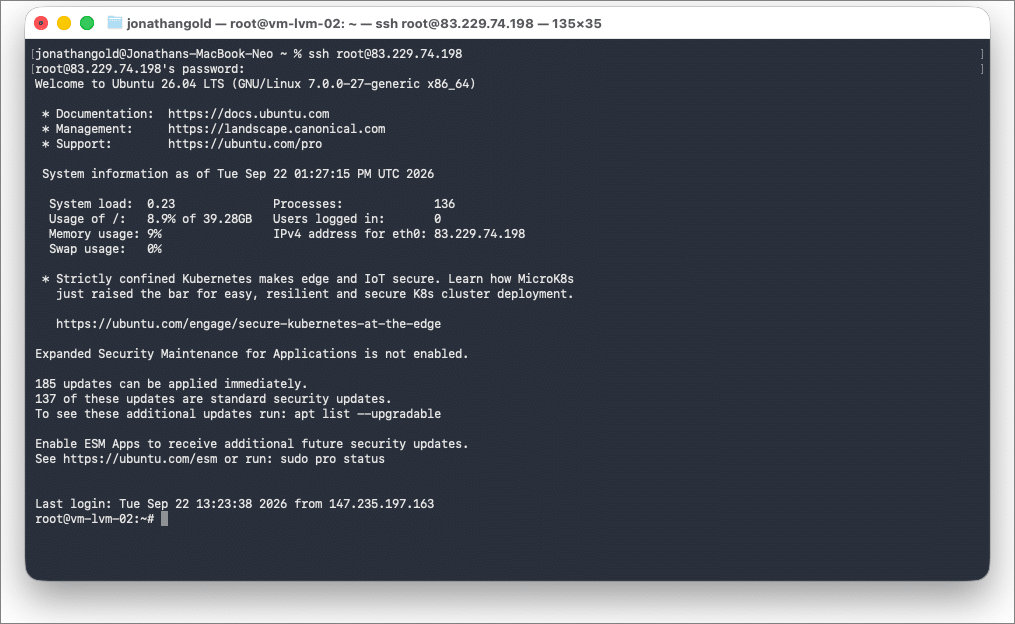
When the server is ready, connect to it through the Kamatera console or a local SSH terminal.
Step 2: Initialize a physical volume
Before we can use LVM, we need to initialize a physical volume. Physical volumes are where data is managed on a computer’s file system. Use the lsblk command to display a map of our server’s physical volumes. Each volume is broken down into smaller units called partitions.
lsblk
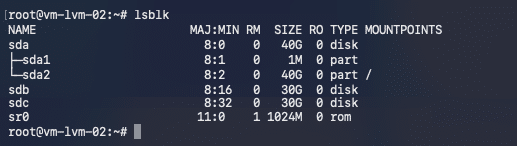
Our server has three file systems: sda, sdb, and sdc. sda is the main file system and has two partitions. sdb and sdc are unpartitioned. To create a new partition, launch fdisk followed by the file system path.
fdisk <partition path>
# Example
fdisk /dev/sdb
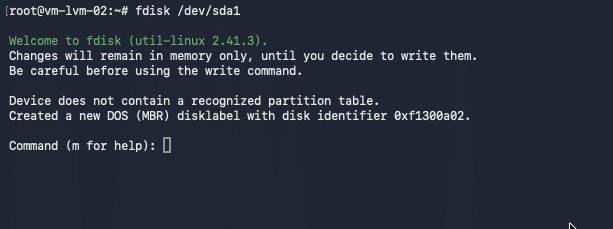
Type m to display the menu.
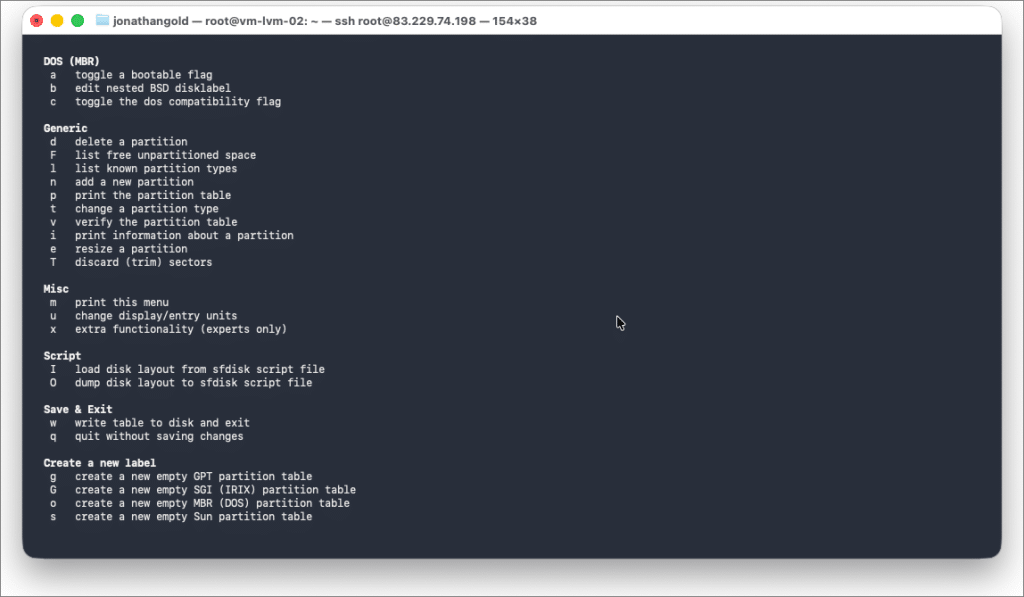
Type n to create a new partition (or partitions) and then follow the instructions. Now that the disk is partitioned, we initialize an LVM partition with pvcreate:
pvcreate <physical volume path>
# Example
pvcreate /dev/sdc

Step 3: Create a volume group
After initializing the physical volume, we create a volume group. To display a list of available physical volumes, type:
pvs

Volume groups are collections of physical volumes that we use to create logical volumes. We create the volume group with the vgcreate:
vgcreate <volume group name> <physical volume path>
# Example
vgcreate sdc1 /dev/sdc

Step 4: Mapping a logical volume
LVM uses logical volumes to manage file systems. Logical volumes map the volume group to a partition. To display a list of the available volume groups, type:
vgs
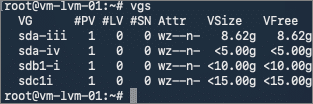
We create the volume group with lvcreate:
lvcreate --name <logical volume name> --size <size of group> <volume group>
# Example
lvcreate --name sdb1a --size 5g sdb1

Step 5: Managing partitions with LVM
After initializing our physical volume, creating a volume group, and mapping it to a logical volume, we can now use LVM to resize, move, and snapshot our logical volumes.
Let’s first display a list of logical volumes:
lvs

We resize logical volumes with lvextend. For example, to increase the size of a logical volume from 5 gigabytes to 15 gigabytes:
lvextend --resizefs -L <size of group> <logical volume path>
# Example: Increase volume size by 10 gigabytes
lvextend --resizefs --size +10G /dev/sdc1/sdc1a

Next, let’s move a logical volume from one physical volume to another with pvmove:
pvmove –name <logical volume> <physical volume path>
# Example
pvmove –name sdb1a /dev/sdb1
For our last operation, we will create a backup snapshot of one of our logical volumes with lvcreate:
lvcreate --snapshot --name <snapshot name> --size <size of group> <logical volume path>
# Example
lvcreate --snapshot --name lv_snapshot --size 5g sdb1/sbd1a

Conclusion
LVM lets you change how storage is laid out on a server without repartitioning. In this article, you pooled two disks into a volume group, created a logical volume, and then extended it, moved it between disks, and took a snapshot.
Keep a few things in mind before you use this on a production server. Take a backup before resizing or moving data. A snapshot on the same volume group sits on the same disks as the original, so it protects against a bad change, not a disk failure. This article only covers extending volumes. Shrinking a logical volume is riskier because the file system has to be shrunk first, and some file systems, such as XFS, can’t be shrunk at all.