



Appsmith is a low-code development environment that lets you build and deploy web applications. It provides a graphical drag-and-drop interface, data source connectors, queries, and widgets, so you can build dashboards, websites, or workflows that interface with internal and external APIs, databases, or business logic. Appsmith is also fully customizable, letting developers extend the platform with JavaScript.
In this article, we’ll walk through how to deploy your own Appsmith instance on a Kamatera VPS, from provisioning the server to configuring Appsmith and building your first application.
Step 1: Provision the server and install Appsmith
Creating an Appsmith app starts with provisioning a server to run your Appsmith instance. Once the server is provisioned, Kamatera installs and launches Appsmith in a Docker container.
Note: To keep the installation process simple, this article covers only the basic settings, not the advanced ones.
To provision the server
-
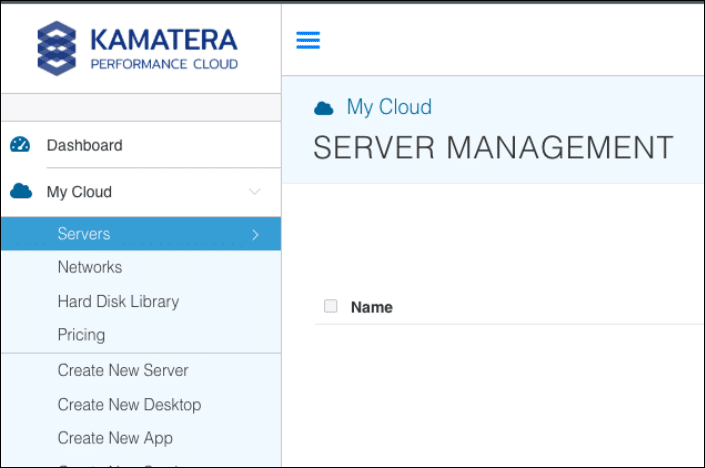
Log in to Kamatera and open your home page.
-
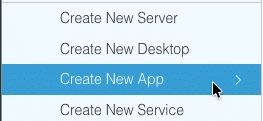
From My Cloud, click Create New App.
-
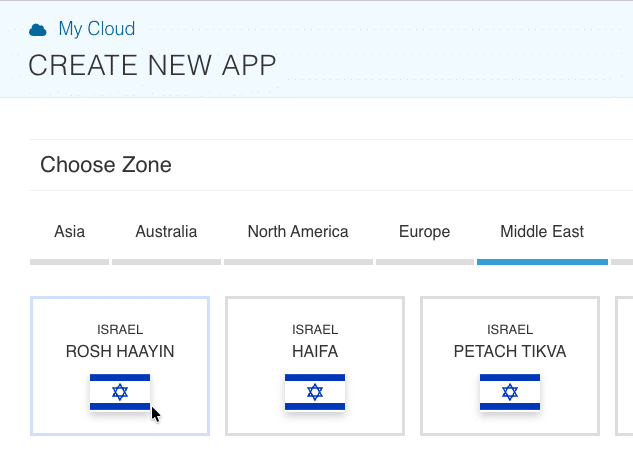
In Choose Zone, select a region and data center.
-
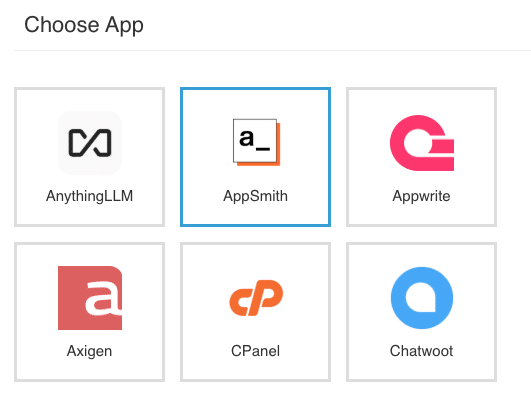
In Choose App, click Appsmith.
-
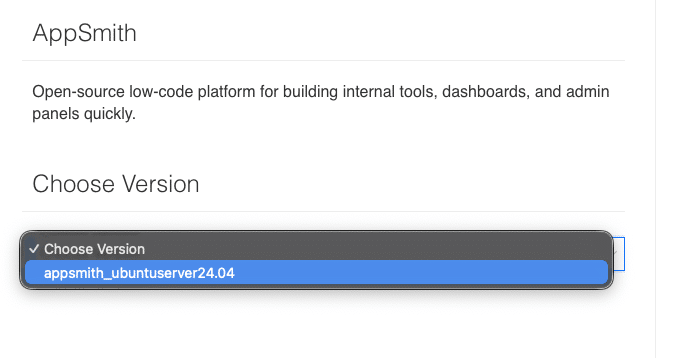
In Choose Version, select the version.
-
Choose the type, CPU, RAM, and disk storage.
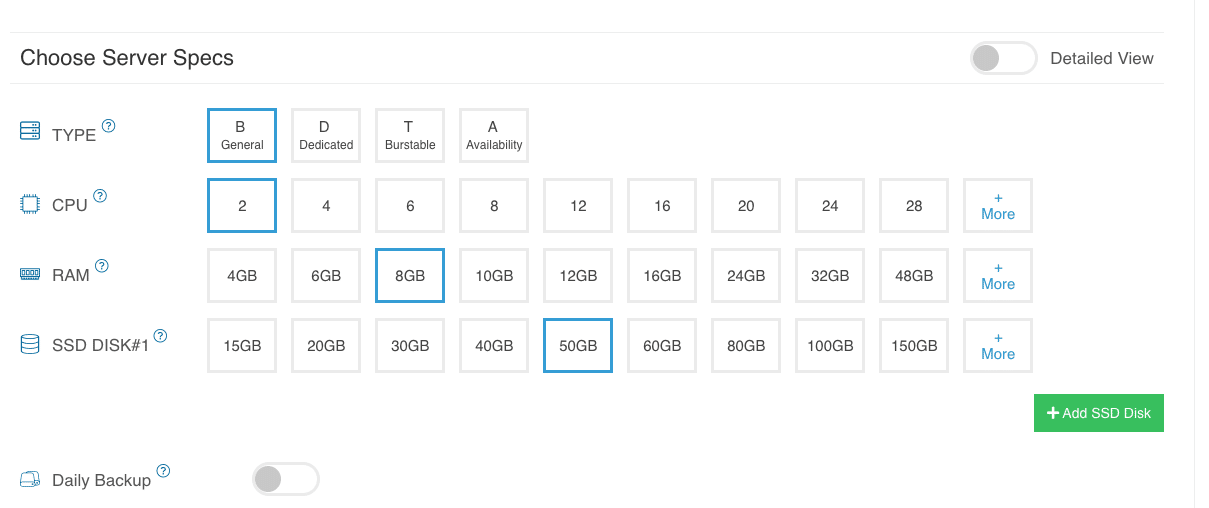
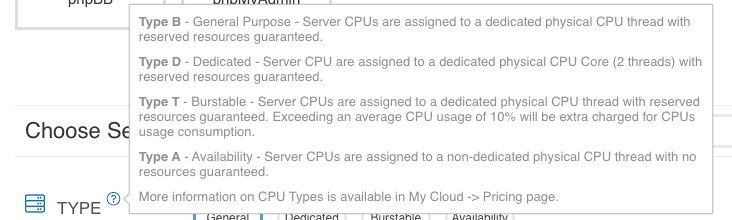
Click the help button on the side to learn more about each setting. You can add more disk storage at any point in your server’s life.
-
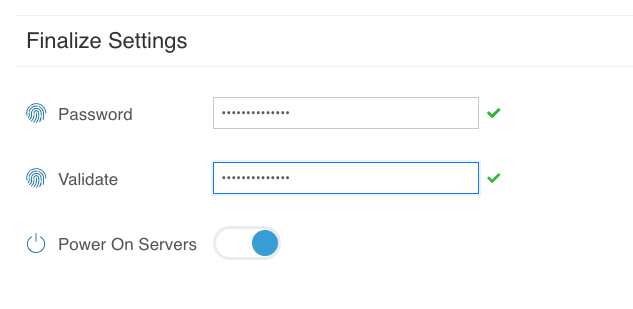
In Finalize Settings, enter and validate a secure password.
-
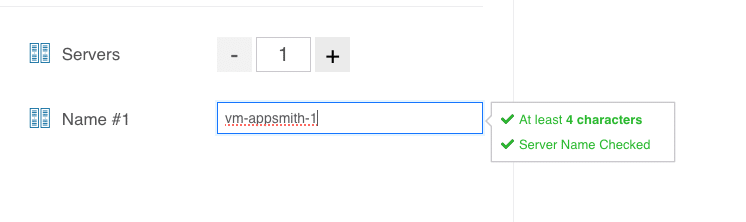
Assign a name to your Appsmith server.
-
Click Create Server. The server is created.

As the server is provisioned, you can monitor the process from the Task Queue.

Step 2: Verify the installation
Kamatera notifies you automatically when it finishes provisioning the server and installing Appsmith. Appsmith is installed as a Docker container and launched immediately. Once you receive the notification, we recommend logging in to your server to verify that Appsmith is installed and running. You can check the status either through the console or a local SSH connection, as described below.
To verify the installation
-
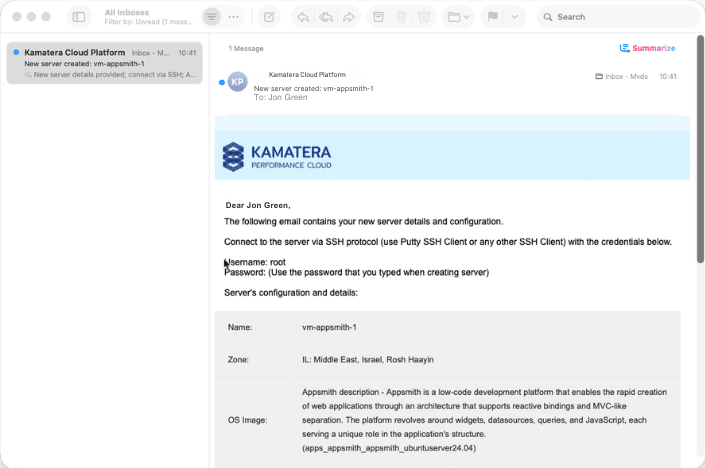
In your email client, check that you received a New Server Created message.
-
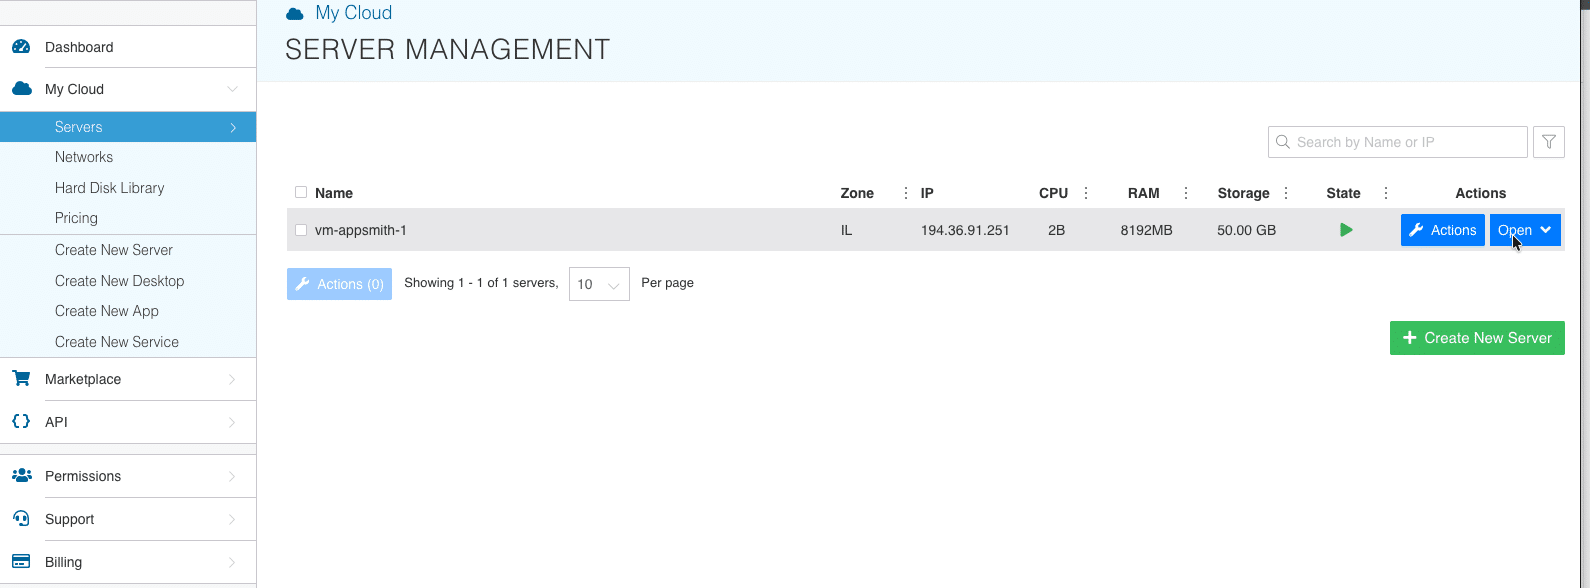
Log in to Kamatera and open My Cloud > Servers.
-
Click Open.
-
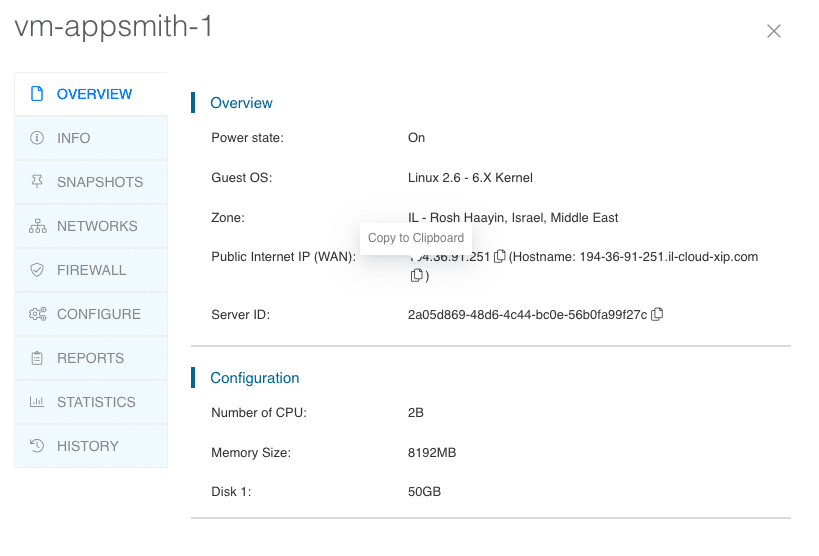
From your Server Overview, copy the Public Internet IP (WAN).
-
On your device, open a terminal window.
-
At the prompt, type
ssh root@<your-server-IP>
and press Enter, using the IP address you copied in step 4.
-
When prompted, enter your password.

-
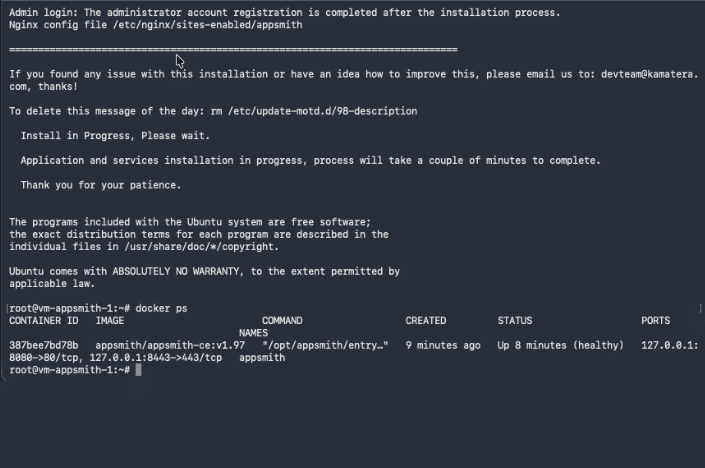
In the console, type docker ps. In the response, verify that the Appsmith Docker container is running.
Step 3: Configure Appsmith
Now that your Appsmith server is up and running, you can log in and configure it.
To log in and configure Appsmith
-
In your browser, type https:// followed by the Public Internet IP (WAN) of your server. The Setup page opens.

-
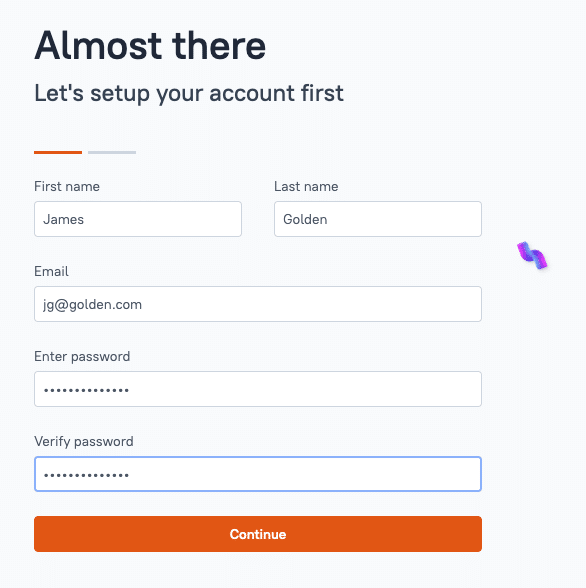
On the Setup page, enter your first name, last name, email, password, and password confirmation.
-
Click Continue. The Welcome page opens.

-
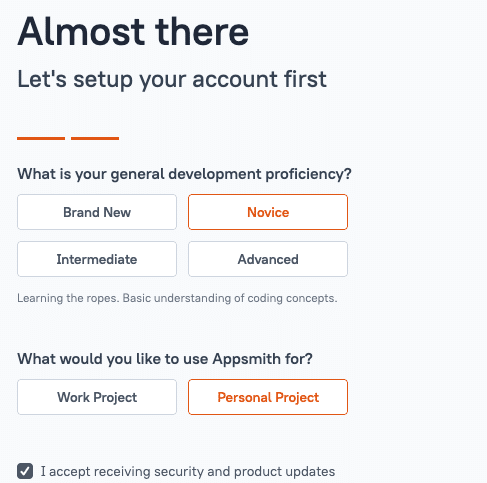
On the Welcome page, set your development proficiency, select what you want to use Appsmith for, and accept the updates policy.
-
Click Get Started.

Step 4: Build your first app
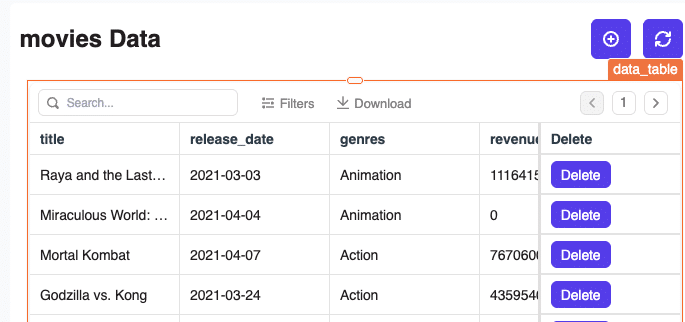
With the basic configuration complete, you’re ready to build your first Appsmith app. In this example, we’ll select a sample datasource, create a page with a data table, hide unnecessary columns, shorten the release date format, and display each movie’s genre without the extra metadata.
To build an app
-
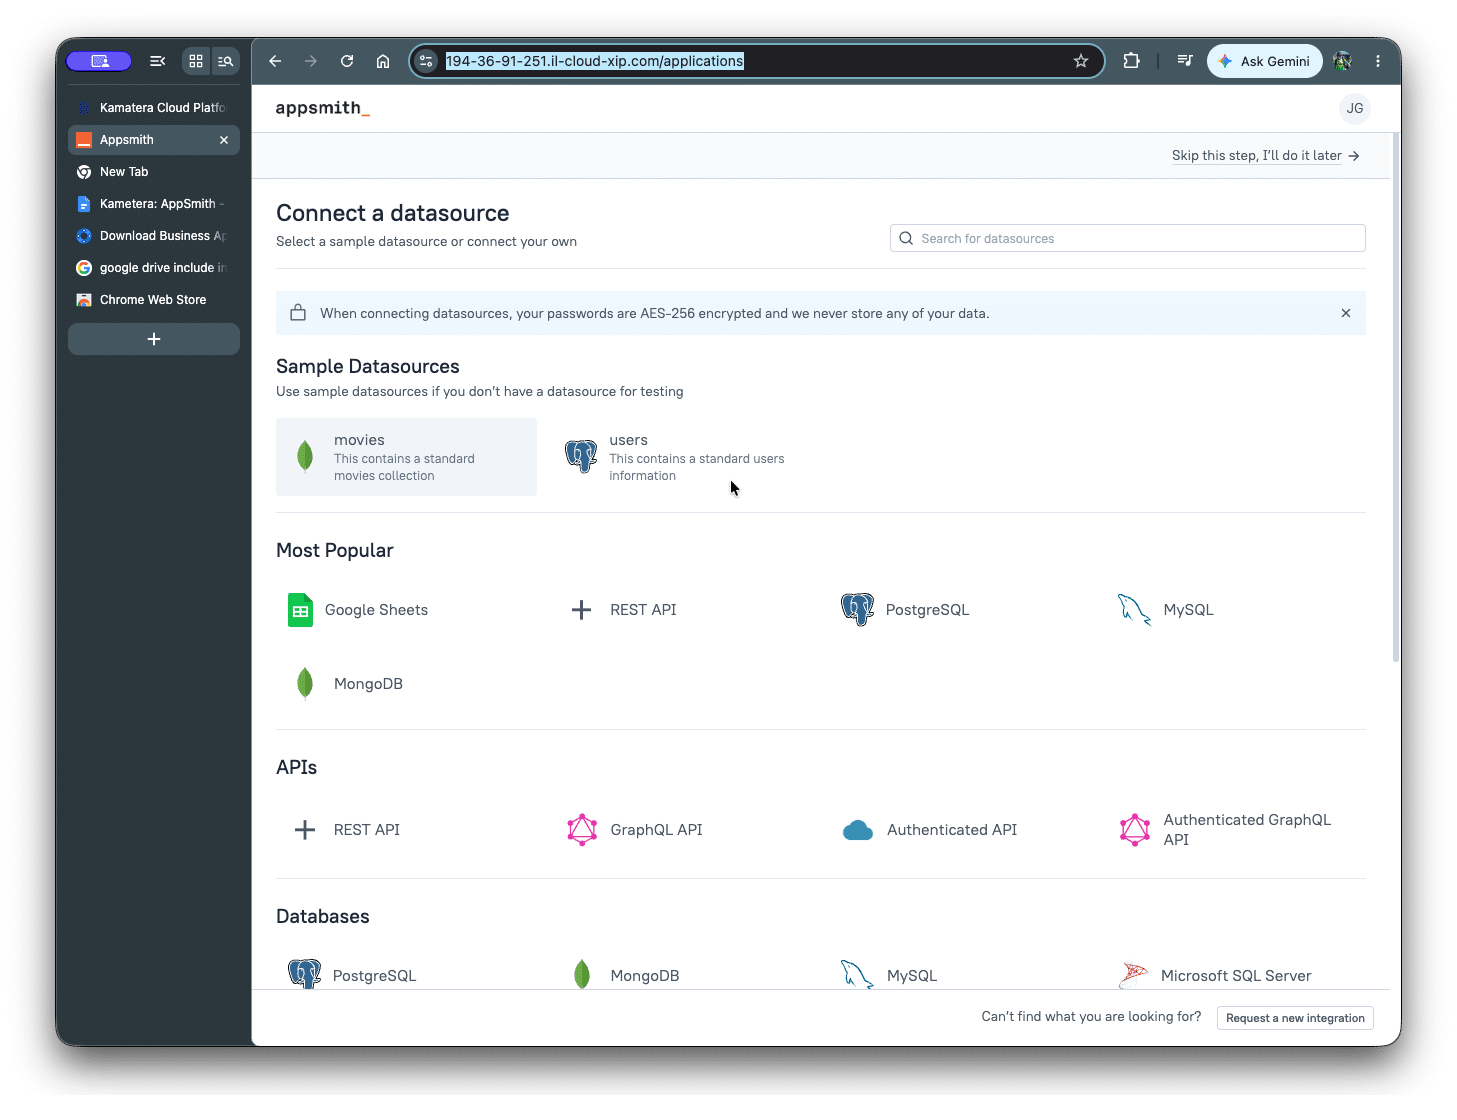
In Connect a datasource, select a sample database. For example, clicking Movies creates a MongoDB database that stores movie information.
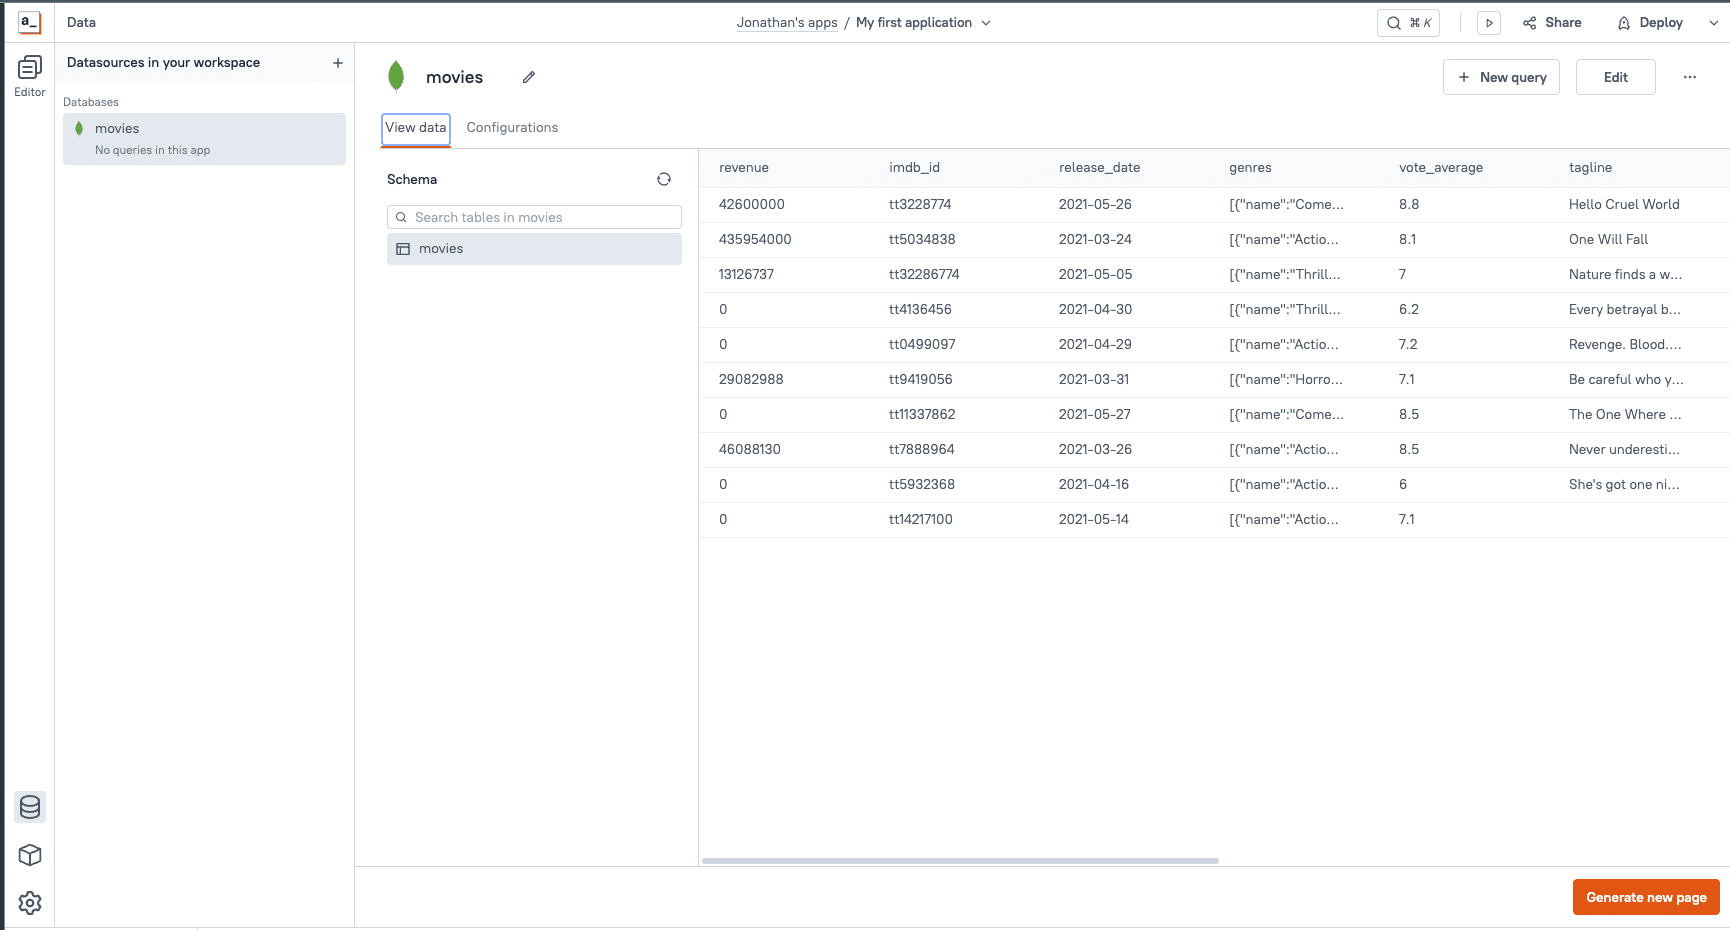
The Data window opens.
-
In the Data window, click Generate New Page.
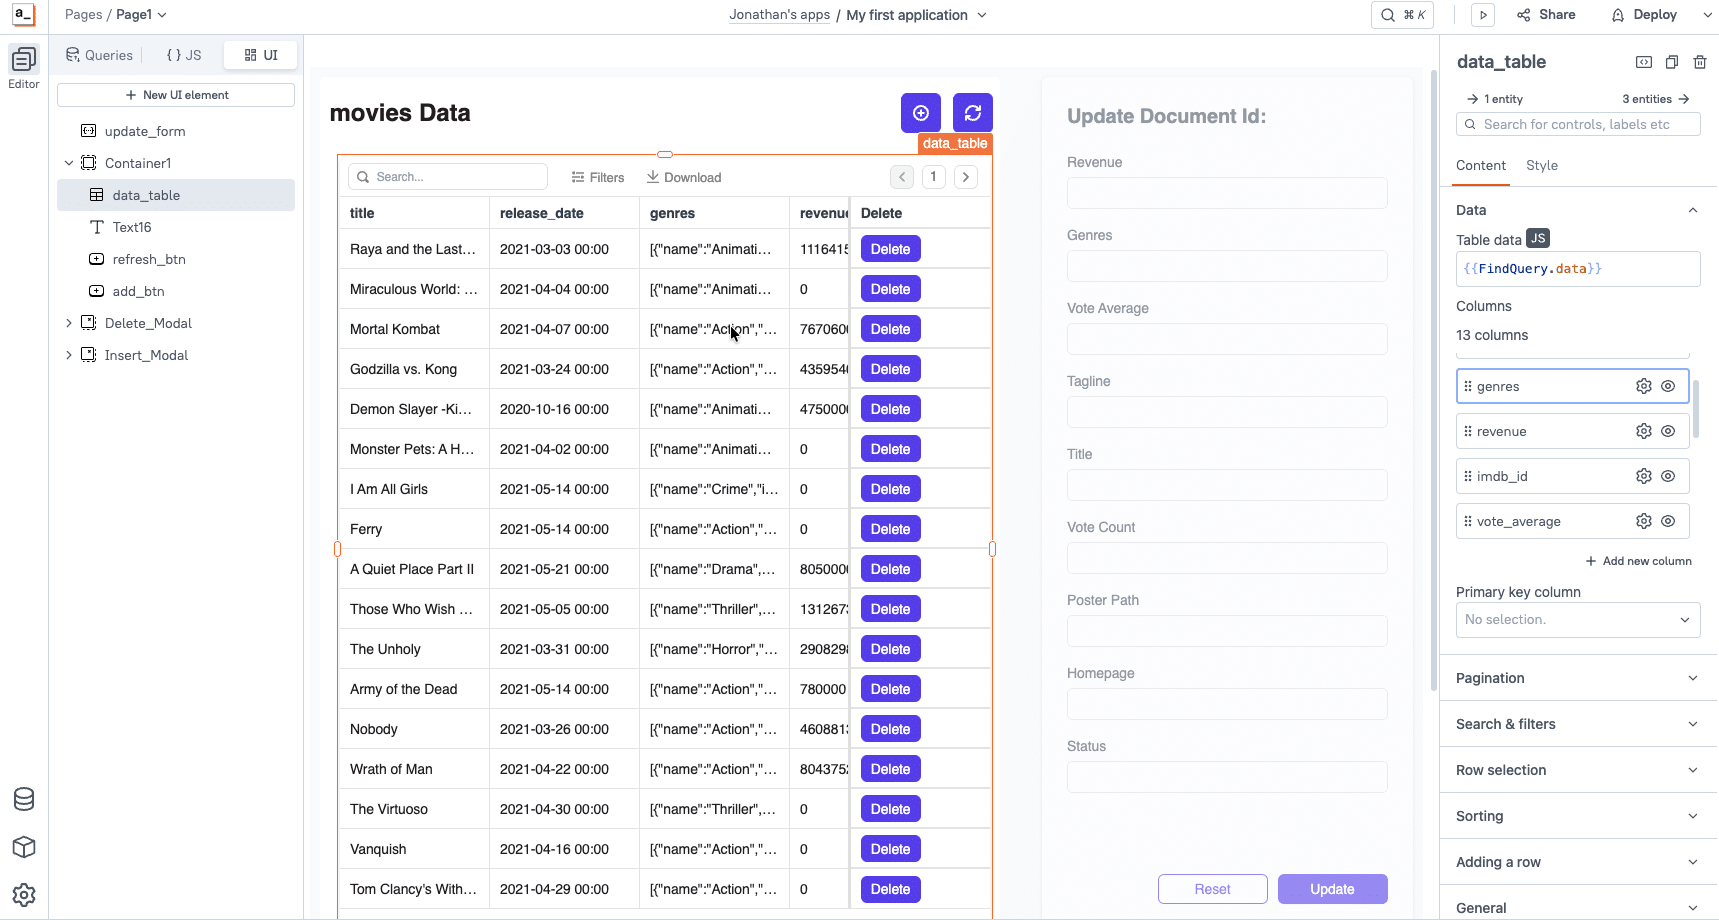
The new page opens.
-
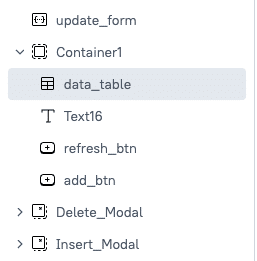
In the UI Elements tree, click data_table.
-
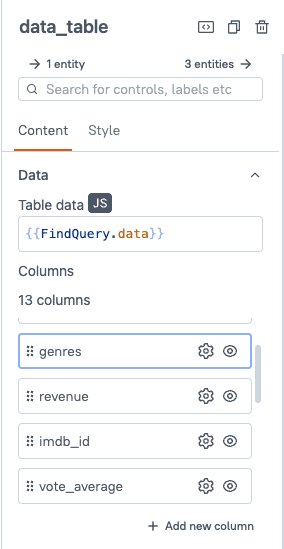
In the data_table properties, select the column you want to hide.
-
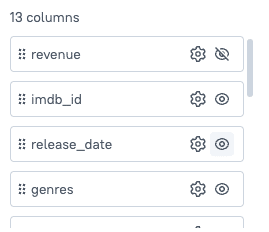
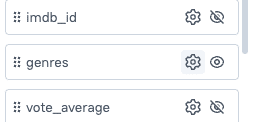
In the Columns list, click the eye icon to hide the column.
-
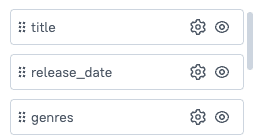
Drag the title, release_date, and genre columns to the top of the table.
-
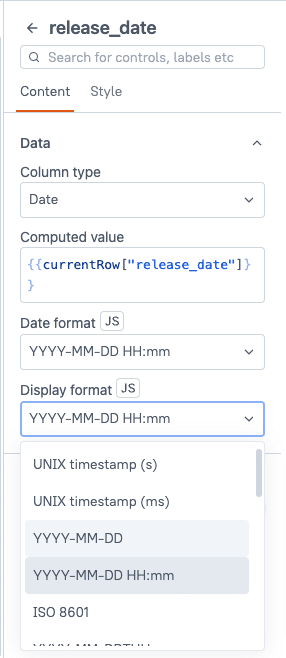
In the release_date properties, choose a new display format.
-
Click the arrow at the top of the page to return to data_table.
-
In Columns, click genres.
-
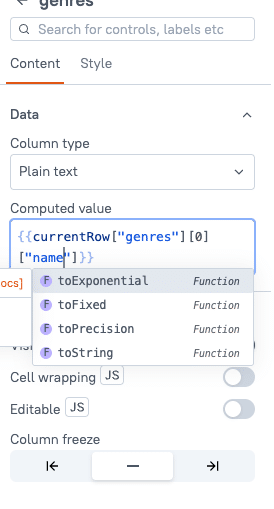
In the genres properties, edit the computed value as follows:
{{currentRow["genres"][0]["name"]}}
-
To preview your app, click Preview.
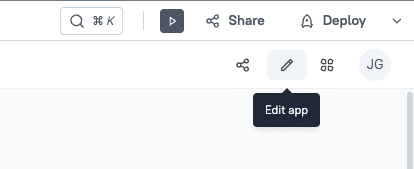
The preview opens.
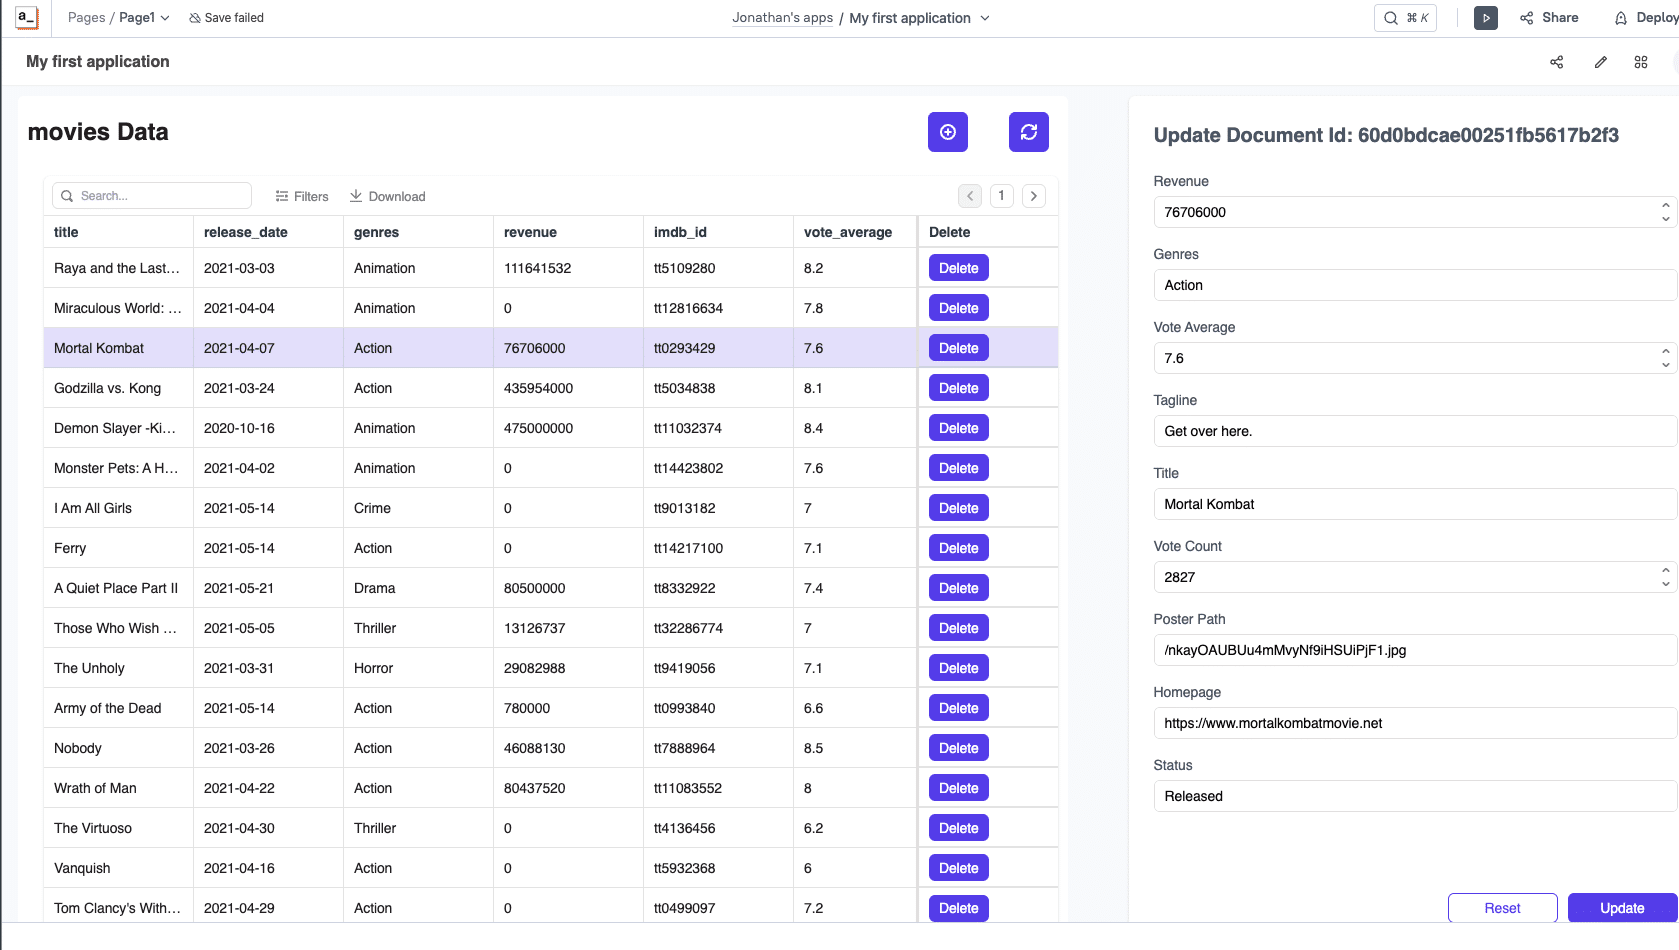
-
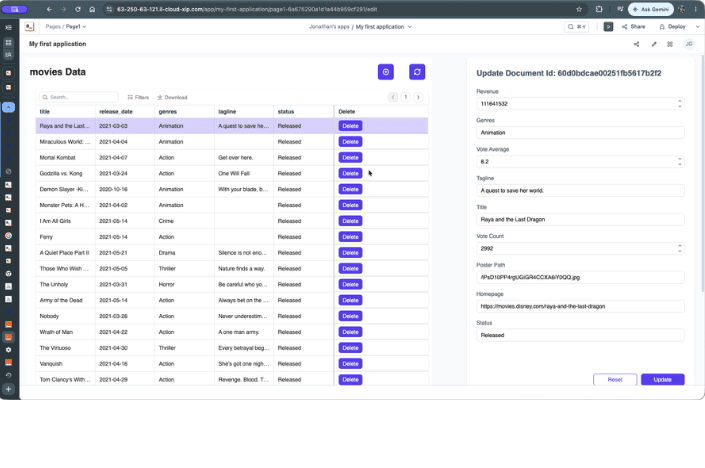
To deploy your app and make it publicly available, click Deploy.
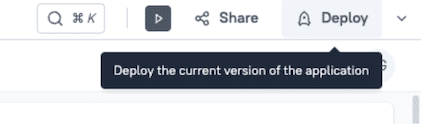
The deployed application opens. You can copy and share the page URL.
 Conclusion
 Conclusion
This deployment process gets you from a blank server to a working Appsmith environment in just a few steps. Kamatera provides the cloud infrastructure, and Appsmith provides the tools, to build, deploy, and manage web applications and related processes.
From here, you can build on this setup to develop applications that fit your own use case. Appsmith connects to your datasources and APIs, so you can turn that data into dashboards, tools, or workflows your team actually uses.