


When traffic spikes, a single server can only take so much. Load balancers solve this by distributing incoming requests across multiple servers, keeping your application fast, stable, and available even under heavy load.
This guide walks you through deploying a load balancer. We’ll use Traefik Proxy with Kamatera’s pre-built service image. Traefik is a self-hosted load balancer and edge router built for containerized environments. Unlike traditional load balancers that need manual updates every time your infrastructure changes, Traefik connects directly to the Docker API and reconfigures itself automatically, with no restarts required.
By the end of this guide, you’ll have a working Traefik setup that routes traffic across multiple backend services, monitors service health, and handles SSL certificates (here’s a review on how to install and renew SSL certificates in Linux and in Windows).
Why it matters
A load balancer does three things that are critical for any production environment.
First, it keeps your application up. Traefik continuously runs health checks on your backend services, and if one goes down, it stops sending traffic there immediately. Instead, users get routed to healthy servers without any interruption.
Second, it makes scaling straightforward. When you add a new server or container, Traefik detects it automatically and starts including it in the rotation. No manual reconfiguration, no downtime.
Third, it protects performance. By spreading requests evenly across your backend, no single server takes the full hit, which means faster response times and fewer bottlenecks as load increases.
Prerequisites
A load balancer needs something to balance, so before you begin, make sure you have at least two backend services or servers ready. These can be web servers, application instances, or containers running on different ports.
You’ll also need:
- A Kamatera VPS with the Traefik Proxy service image deployed
- Basic familiarity with networking concepts and ports
Once your setup is in place, Traefik acts as the single entry point for all incoming traffic, routing each request to the right backend based on rules you define.
Step-by-step guide
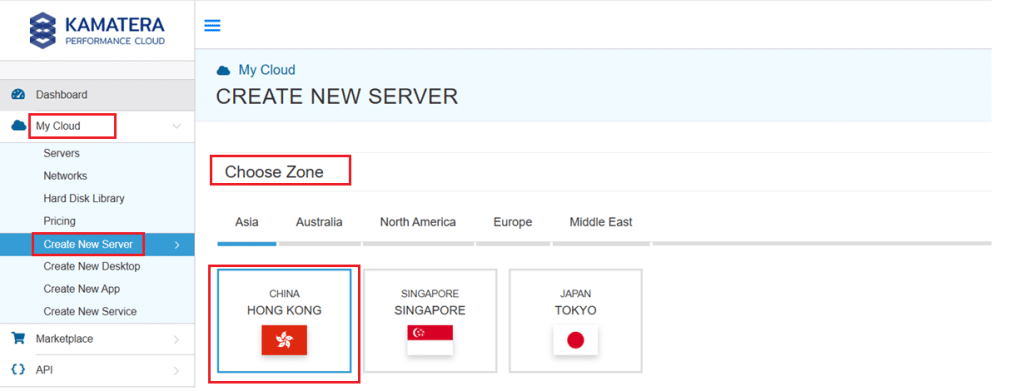
The very first step in deploying Traefik Proxy on Kamatera is to log in to your Kamatera cloud management console. Once logged in, you will be presented with the dashboard. This is where you’ll manage servers, networking, and storage.
Steps:
- Expand the My Cloud option on the right bar and choose create new server. Under create new server option, choose the zone.
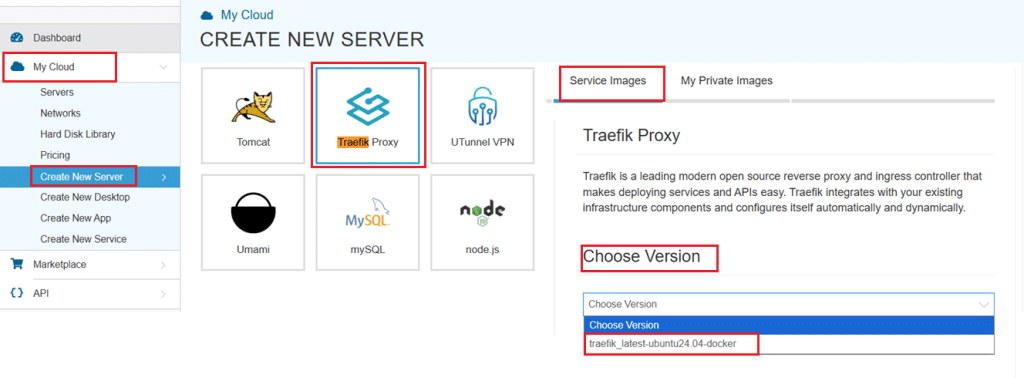
- Scroll down and under the Service Images tab, look for Traefik Proxy. Select it and then choose the latest version.
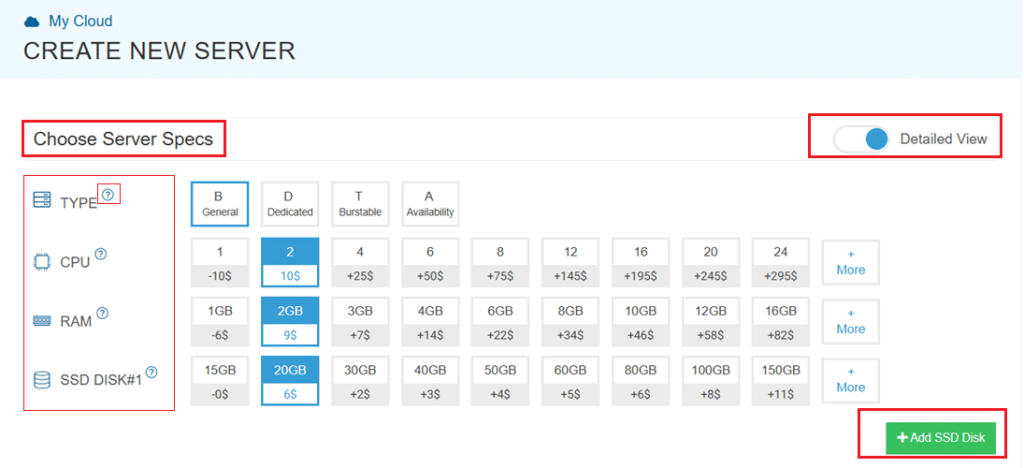
Select your server specifications
- Scroll down and enable the Detailed View toggle to check the pricing per configuration. Here’s where you’ll input your preferred server specifications.
- Choose the Type, CPU, RAM, and Disk storage. Click on the help button on the side to learn more about each setting. You can add more disk storage at any point in your server’s life.
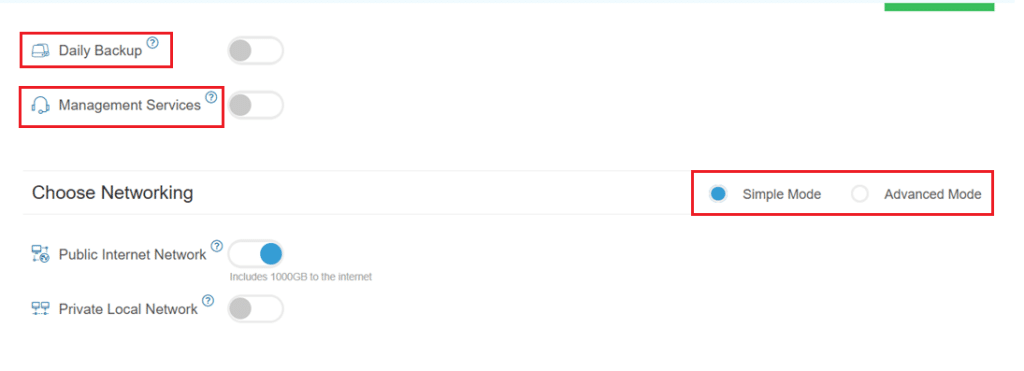
- Enable Daily backup option to enable a daily backup of your server storage.
- Enable Management Services toggle for a managed server option.
Configuring network and security settings
- Here we’ll choose either simple or advanced networking. This lets you define how your server will connect to the internet, and how much outbound data it can use per month.
- Simple Mode – Choose between WAN or LAN.
- Advanced Mode – NIC #1 (Network Interface Card)
- WAN (selected): This means your server will be accessible from the internet. It will get a public IP.
- The other options (LAN, Private, etc.) are only needed for internal or isolated setups.
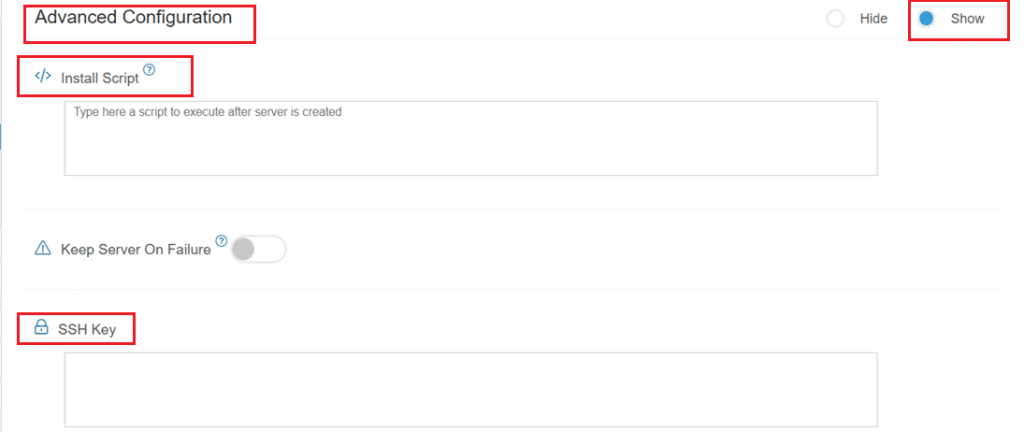
- Now, let’s look at Advanced Configuration:
- Keep Server On Failure: This option controls what happens if something goes wrong; for example, if a startup script fails while setting up your server. If this setting is OFF (default), Kamatera will automatically delete the server if the setup fails. It becomes useful if you want to avoid paying for a broken setup, but you won’t be able to debug what went wrong. If this setting is ON, Kamatera will keep the server running, even if something fails during the initial setup. This lets you log in, investigate the issue, fix problems manually, and retry setup if needed.
Recommended for most users:
Keep it OFF unless you’re running custom scripts or complex configurations. For basic setups like Traefik, the default (OFF) is usually fine.
- SSH key: Allows you to securely connect to the server without a password (recommended for better security).
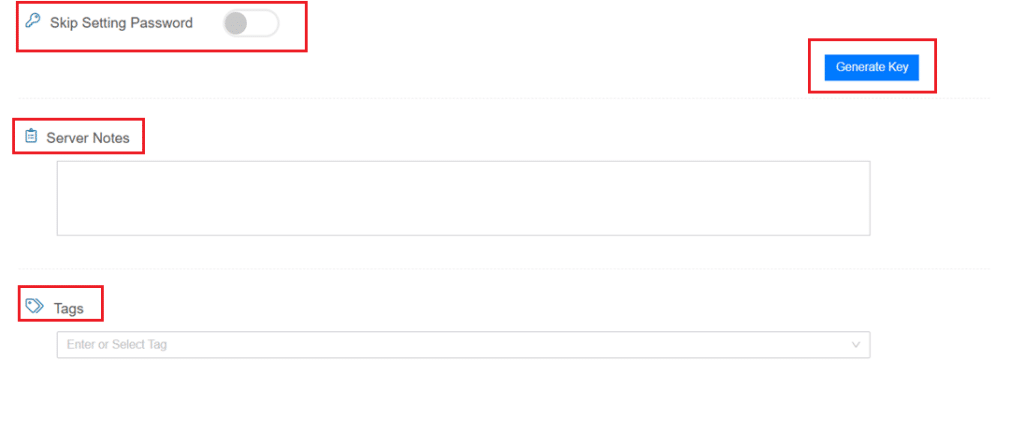
- Skip Setting Password: If enabled, your server will only allow SSH key login—no password access. You can click “Generate Key” if you don’t already have one. Input further server notes and tags if necessary.
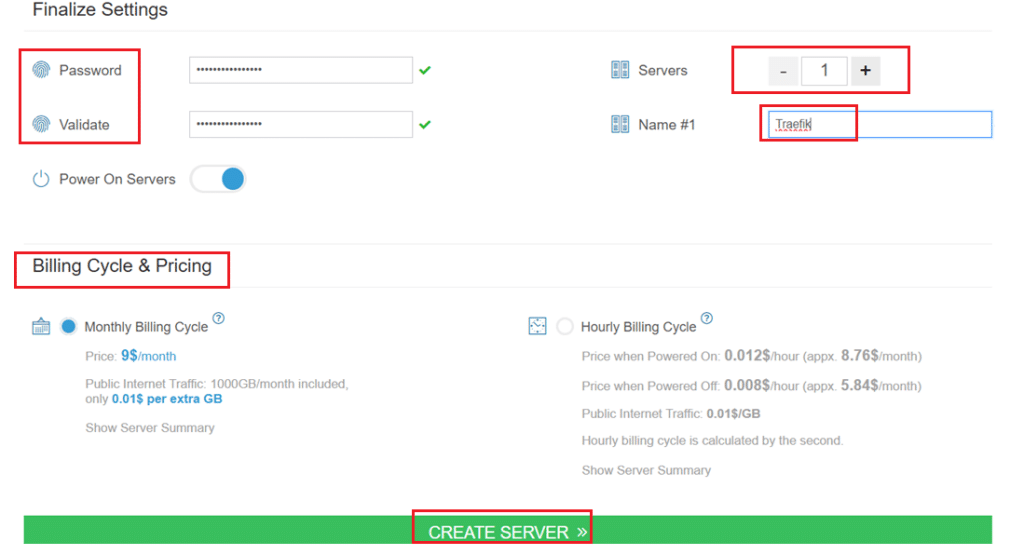
Finalize deployment
- Finally, choose a strong password, select the number of servers, and input a server name.
- Once you have added all the details, choose your billing cycle and click on Create server button.
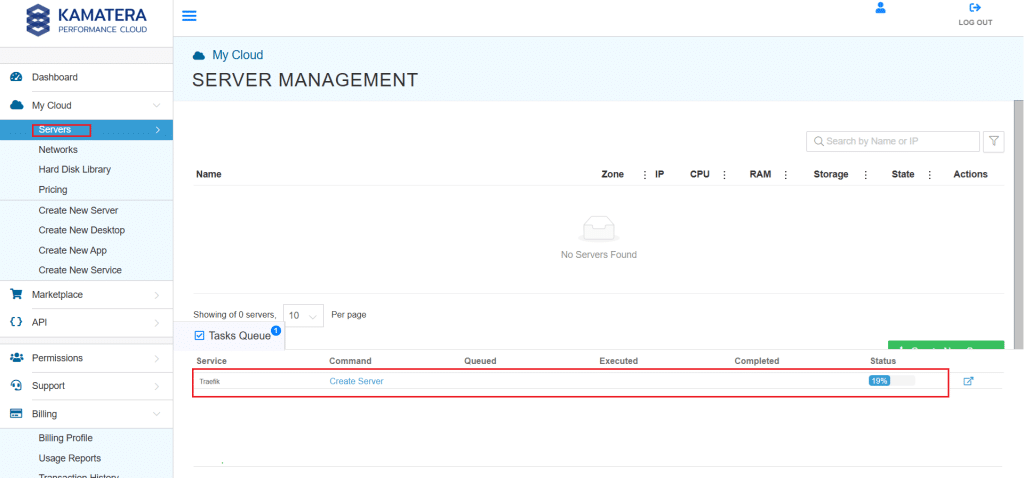
You can check the server creation progress under Server > Task Queue. Once created, you will see your server under the Servers panel.
To open the remote server further click on Connect and Open Remote Console. This will open the remote machine in a separate window, where you can access the console of the remote machine, as well. To disconnect the remote server, click Disconnect.
How Traefik works as a load balancer
Once deployed, Traefik sits in front of your infrastructure and acts as the single entry point for all incoming traffic. It listens on ports 80 and 443, detects available backend services automatically, and routes requests to them based on rules you define.
In a typical setup, your backend services (web apps, containers, application instances) run on different ports or servers. Traefik handles the routing layer, so users never interact with those services directly.
Beyond basic load balancing, Traefik also manages SSL certificates through built-in Let’s Encrypt integration, runs health checks on backend services, and handles service discovery automatically. This makes it well-suited for dynamic, containerized environments.
Load balancing between multiple services
Here’s a simple example of how this works in practice. Say you have two instances of the same web application: one running on port 8081, one on port 8082. Instead of exposing either directly, all traffic goes through Traefik.
When a request comes in, Traefik receives it on port 80 or 443 and forwards it to one of the backend instances, alternating between them with each subsequent request. Neither instance gets overloaded, and if one goes down, Traefik stops sending traffic to it automatically.
In a production environment, those backend instances might be spread across multiple servers or containers. Traefik detects and manages them the same way regardless of scale.
Conclusion
Kamatera’s Traefik service image gives you a production-ready load balancer without the overhead of manual configuration. Traffic distribution, SSL, health checks, and service discovery are all handled in one lightweight setup, so you can focus on your application rather than your infrastructure.
As your environment grows, Traefik scales with it. New services are picked up automatically, and your load balancing configuration stays current, without restarts or redeployment.