


In this guide, we show you the steps to install a Discord bot on a Kamatera VPS. Discord bots have become a practical way to automate and improve the server experience for communities, gaming groups, study circles, internal teams, and customer-facing support channels. Instead of manually handling repetitive tasks, server owners can use bots to welcome new members, respond to commands, moderate conversations, assign roles, send alerts, and connect Discord with external services.
At its core, a Discord bot is simply an application that runs continuously on a machine and stays connected to Discord through the Discord API. Once deployed, it can listen for events, process user interactions, and perform tasks automatically in real time. This makes Discord bots useful for both simple community management and more advanced workflows.
This guide walks you through creating and configuring a bot, then deploying it on a VPS so it stays online 24/7. While Linux is the recommended environment for hosting Discord bots, the process can be adapted for Windows as well. Kamatera offers a prebuilt Discord bot server image, so you can skip the environment setup and go straight to configuration.
Bot hosting is more approachable than it looks, especially when tackled step by step. Once your bot is ready, a VPS gives you reliable uptime, full control over the runtime environment, and the flexibility to scale or adjust as your bot evolves.
In the sections ahead, we will start with the prerequisites, then move to creating the bot in the Discord Developer Portal, preparing the Linux server, deploying the bot files, and finally keeping the bot online continuously.
Prerequisites
Before hosting your Discord bot on a Kamatera VPS, make sure you have the essential prerequisites in place. Setting these up early will make the rest of the process much smoother and help you avoid issues during bot creation and deployment.
The first requirement is a Discord account. You need this to access Discord, sign in to the Developer Portal, create the bot application, and manage its settings.
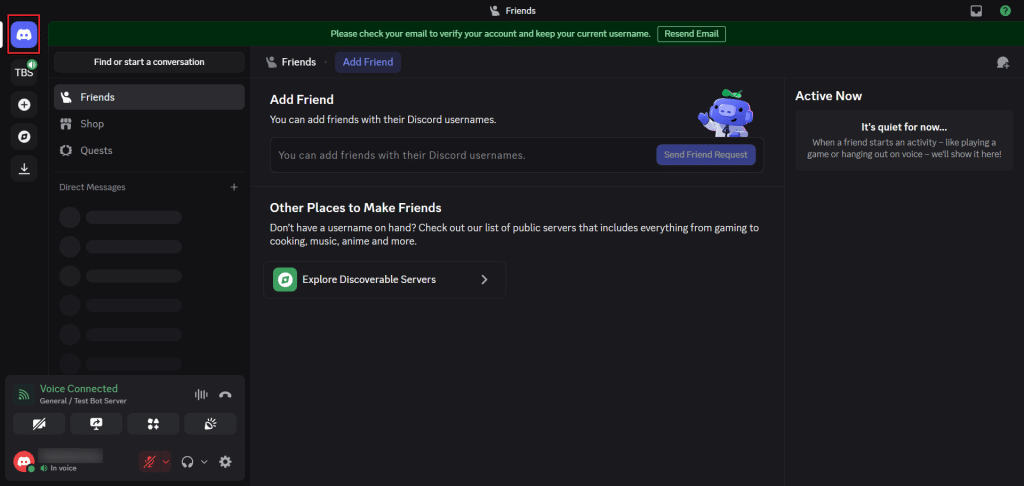
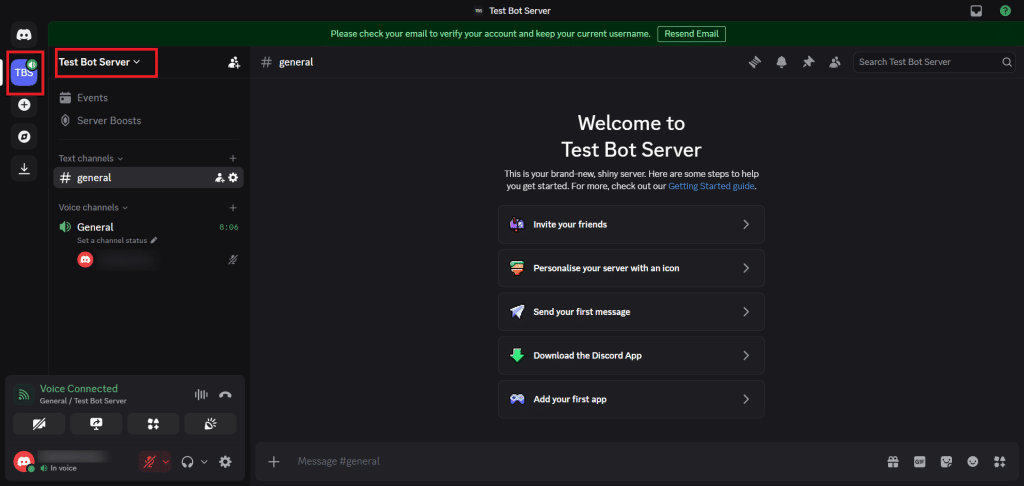
You should also have access to a Discord server for testing. A test server gives you a safe place to install the bot, verify that it responds correctly, and check permissions before thinking about production deployment. Using a separate server for testing is a good practice because it prevents mistakes from affecting a live community server.
Another important prerequisite is access to the Discord Developer Portal. This is where Discord applications and bots are created and managed. From this portal, you will create a new application, convert it into a bot, configure permissions, and later generate the credentials needed for deployment.
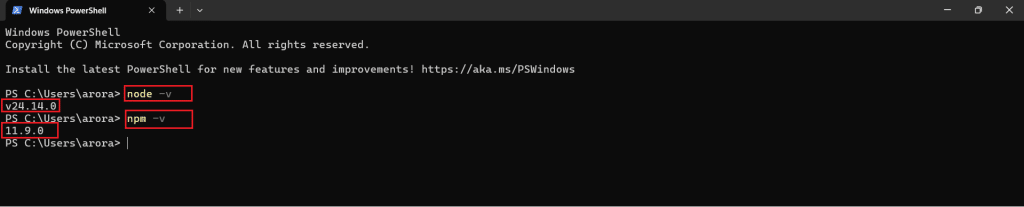
From the development side, you also need Node.js and npm installed on your system. These are required to create, run, and manage the Discord bot project locally before deployment. Node.js provides the runtime environment for the bot, while npm is used to install the required packages and dependencies.
You can verify that both are installed correctly by opening PowerShell or Command Prompt and checking their versions. This is a quick but important step because the rest of the setup depends on a working local development environment.
Along with Node.js, it is helpful to keep a code editor ready, such as Visual Studio Code, so you can create and manage the bot files more easily. You should also be prepared to store the bot token securely once the bot is created. In practice, this usually means keeping sensitive values in an environment file instead of hardcoding them directly into the project.
Since this article assumes final deployment on a Kamatera VPS, you should also have access to a server environment for production hosting. However, the initial bot setup, project preparation, and local verification steps can still be completed on your own system before moving to the VPS.
With these prerequisites in place, you are ready to create the Discord bot application and begin the setup process.
Create your Discord bot
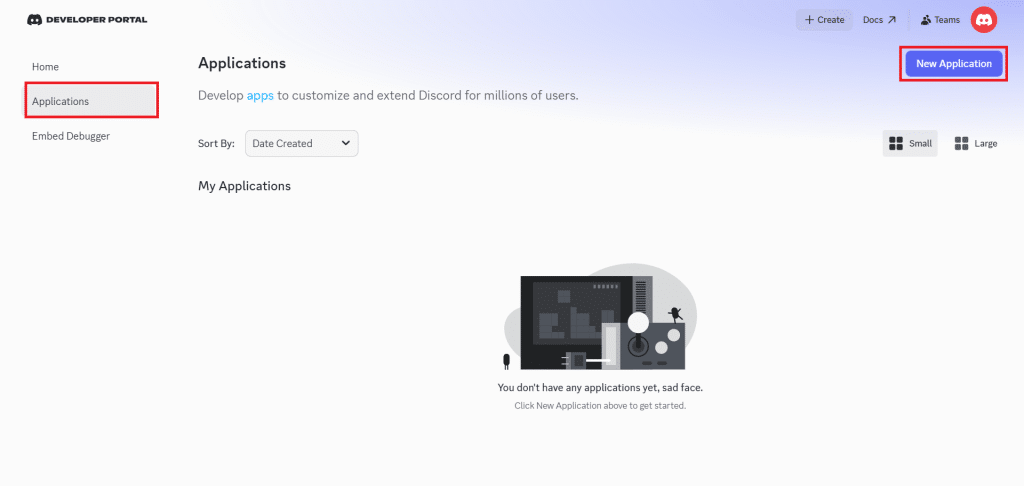
With the prerequisites in place, the next step is to create a new application in the Discord Developer Portal. In Discord, every bot begins as an application. Once the application is created, you can enable the bot user, configure permissions, and generate the credentials needed to connect it to your project.
To begin, open the Applications page in the Discord Developer Portal and click New Application. Discord will then ask you to enter a name for the application. You can use any clear and descriptive name here, such as the name of your bot or the purpose it will serve in your server.
After entering the application name, create the application to continue. Once this is done, Discord will open the settings page for the newly created application, where the bot configuration will continue in the next step.
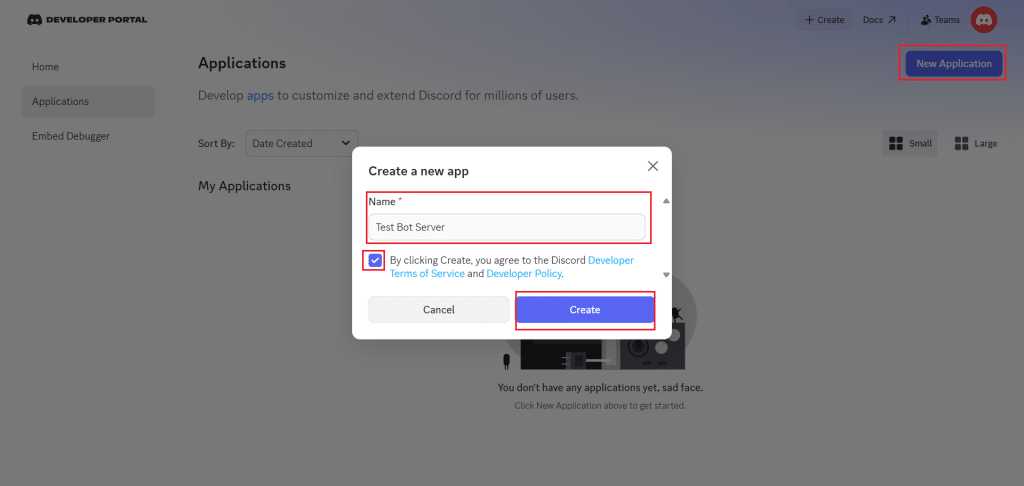
After entering the application name, accept the Developer Terms of Service by selecting the required checkbox and click Create. Discord will then generate the application and take you to the application settings page.
This page is important because it serves as the control center for the app. From here, you can review the general application details, access the bot configuration, and continue setting up the credentials and permissions needed for the bot.
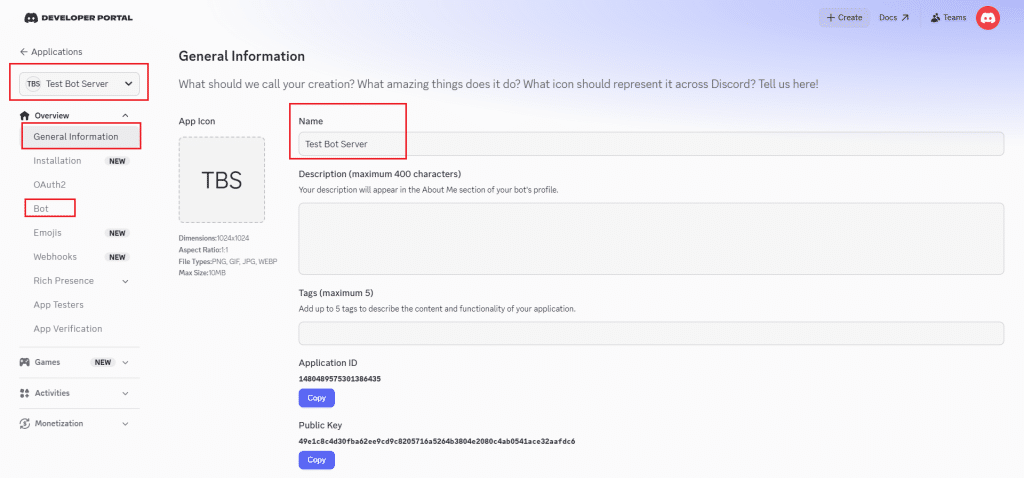
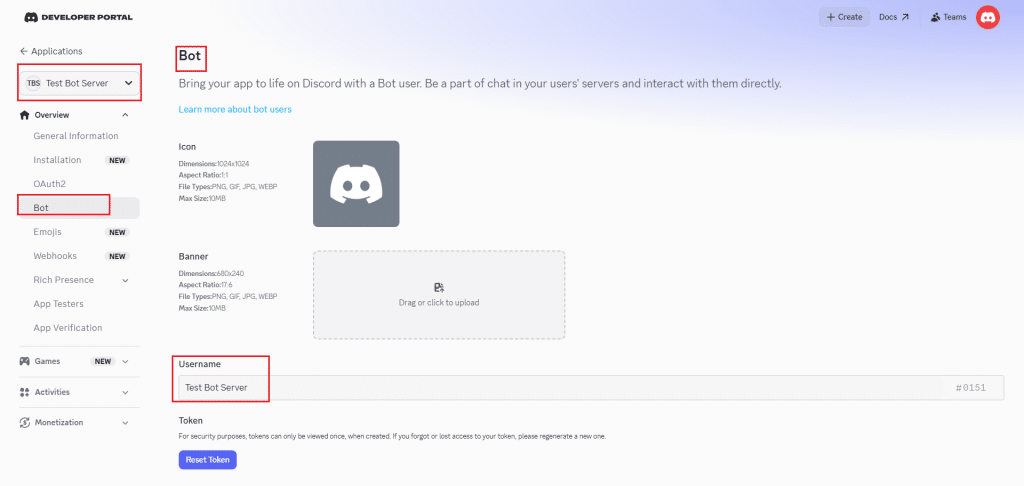
Next, open the Bot section from the left sidebar. This is where Discord stores the bot-specific settings, including the token and privileged gateway intents. For a basic bot setup, the most important part here is enabling the required intent if your bot needs to read message content.
Create the local bot project
With the Discord application created, the next step is to prepare the local bot project. Even though this article assumes final deployment on a Kamatera VPS, it is best to create and test the bot locally first. This makes it easier to verify the code, install dependencies, and fix errors before moving the project to the server.
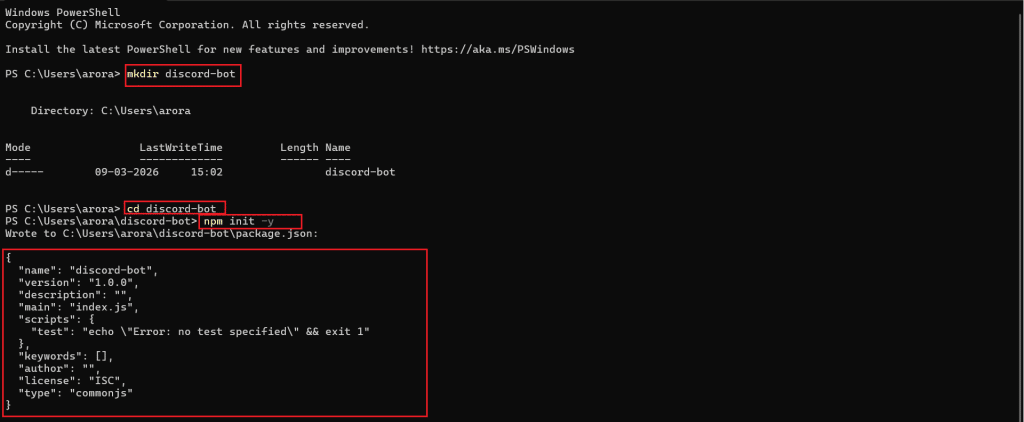
Start by creating a new project folder for the bot on your system. Open that folder in your terminal and initialize a Node.js project using npm init -y. This command creates a package.json file, which will store the project metadata and dependency information.
Once the project is initialized, install the required packages. For a basic Discord bot built with Node.js, the main dependency is discord.js. It is also a good idea to install dotenv so the bot token can be stored securely in an environment file instead of being hardcoded into the script.
npm install discord.js dotenv
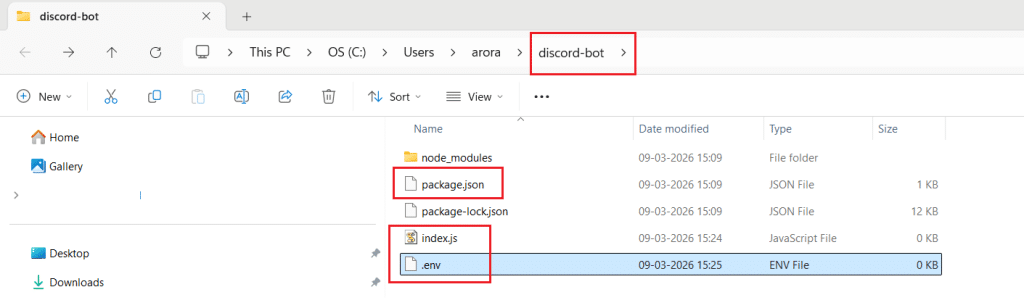
After the installation is complete, create the main project files. At a minimum, you should create:
- index.js for the bot code
- .env for environment variables such as the bot token
You can create these files using any code editor or even your system’s file manager. At this stage, your folder structure will remain simple, which is ideal for a beginner-friendly setup. Keeping the project clean and minimal also makes the later VPS deployment easier to manage.
Add the bot code and token configuration
With the project structure ready, the next step is to add the bot code and configure the bot token. This is what allows the local Node.js project to authenticate with Discord and bring the bot online.
Start by opening the index.js file and adding the bot logic. For a simple beginner setup, the bot only needs to log in, confirm that it is online, and respond to a basic message command. The following example keeps the code minimal while still making it useful for testing.
require('dotenv').config();

const { Client, GatewayIntentBits } = require('discord.js');

  const client = new Client({

  intents: [

    GatewayIntentBits.Guilds,

    GatewayIntentBits.GuildMessages,

    GatewayIntentBits.MessageContent

  ]

});

client.once('ready', () => {

  console.log(`Logged in as ${client.user.tag}`);

});

client.on('messageCreate', message => {

  if (message.author.bot) return;

  if (message.content === '!hello') {

    message.reply('Hello! Your Discord bot is working.');

  }

});

client.login(process.env.DISCORD_TOKEN);
Next, open the .env file and store the bot token there instead of placing it directly inside the JavaScript file. This is a safer approach because it keeps sensitive credentials separate from the source code.
DISCORD_TOKEN=your_bot_token_here
Before running the bot, make sure the correct bot token has been copied from the Discord Developer Portal. Once the token is added to the .env file, the project is ready for a local test run.
At this point, the bot project is connected to Discord and prepared for execution. In the next section, you will run the bot locally, verify that it logs in successfully, and confirm that it responds inside your test server.
Run the bot locally and verify it works
With the bot code and token configuration in place, the next step is to run the bot locally and confirm that it connects to Discord successfully. This is an important checkpoint because it helps you catch setup issues before moving the project to a Kamatera VPS.
From the project folder, start the bot with the following command:
node index.js
If everything is configured correctly, the terminal should display a message showing that the bot has logged in successfully. This confirms that the token is valid and that the bot can connect to Discord from your local environment.
Logged in as Test Bot Server#0151
To test the bot inside Discord, make sure the application has been added to your test server. Once the bot is available in the server, send the command !hello in a text channel. If the setup is correct, the bot should reply with the response defined in the script.
Hello! Your Discord bot is working.
If the bot does not respond, check the terminal first for errors. Common issues at this stage include an incorrect token, a missing dependency, or the required message content intent not being enabled in the Developer Portal. It is also important to confirm that the bot has been added to the correct test server before trying to interact with it.
Once the bot runs successfully and responds inside Discord, the local verification step is complete. The project is now ready to be moved to the VPS for persistent hosting.
Move the bot project to a Kamatera VPS
Once the bot has been tested successfully on your local system, the next step is to move the project to the Kamatera VPS. This is what turns the bot from a local test setup into a hosted service that can remain online continuously.
Start by connecting to the VPS over SSH from your local machine:
ssh root@your_server_ip
After logging in, create a directory for the bot project and move into it:
mkdir discord-bot

cd discord-bot
The project files can then be uploaded from your local system to the VPS. One of the simplest ways to do this is with scp, which copies the local project folder to the server:
scp -r /path/to/discord-bot root@your_server_ip:/root/
If you are using Windows, you can also upload the project with an SFTP client such as WinSCP. The goal is simply to make sure the same project folder, including index.js, package.json, package-lock.json, and .env, is available on the VPS.
Once the files are on the server, install the project dependencies again inside the VPS environment:
cd /root/discord-bot

npm install
This step ensures that all required packages are installed correctly on the Linux server before the bot is started there.
At this stage, the project has been transferred from the local development environment to the Kamatera VPS and is ready to be launched on the server. In the next section, the bot will be started on the VPS and configured to keep running even after the SSH session ends.
Run the bot on the VPS and keep it online with PM2
With the bot project now available on the Kamatera VPS, the next step is to start it on the server and make sure it continues running after you disconnect from the SSH session. For this, a process manager such as PM2 is the simplest option.
Start by moving into the project directory on the VPS:
cd /root/discord-bot
If PM2 is not already installed on the server, install it globally with npm:
npm install -g pm2
Once PM2 is ready, start the bot process:
pm2 start index.js --name discord-bot
This launches the bot in the background and assigns it a process name, making it easier to manage later. To confirm that the bot is running correctly, check the PM2 process list:
pm2 status
If the setup is correct, the bot should appear as an online process in the PM2 output. At this point, the bot is running on the VPS, but one more step is needed to make sure it comes back automatically after a server reboot.
Save the current PM2 process list:
pm2 save
Then generate the startup configuration:
pm2 startup
PM2 will return a command that you must copy and run exactly as shown in the terminal. After that, the bot will restart automatically whenever the server reboots.
For day-to-day management, PM2 also provides a few useful commands:
pm2 restart discord-bot

pm2 stop discord-bot

pm2 logs discord-bot
These commands let you restart the bot, stop it manually, or inspect its runtime logs if something goes wrong.
By the end of this step, the bot is no longer just a local test project. It is now running as a hosted background service on your Kamatera VPS and is configured to stay online more reliably.
Troubleshooting and security best practices
Even after a successful setup, Discord bots can run into issues related to tokens, permissions, dependencies, or runtime configuration. A few basic checks can help you resolve most problems quickly and keep the bot stable after deployment.
If the bot fails to start, the first place to check is the terminal or PM2 logs. Errors at startup usually point to a missing package, a syntax mistake in the code, or an invalid token in the .env file. If the bot starts but does not respond inside Discord, confirm that it has been added to the correct server, the required intent is enabled, and the message you are sending matches the command defined in the script.
It is also important to protect the bot token. The token should never be hardcoded into the source file, shared publicly, or committed to a public repository. If you believe the token has been exposed, reset it immediately in the Discord Developer Portal and update the .env file with the new value.
On the VPS side, keep the runtime environment as simple as possible. Install only the packages you need, avoid making unnecessary changes directly on the production server, and test updates locally before pushing them to the hosted environment. This reduces the chances of breaking a working bot during routine edits.
For reliability, check the bot logs regularly and restart the process if needed. If you are using PM2, it is a good idea to verify from time to time that the process is online and that startup persistence remains configured correctly after system changes or reboots.
As the bot grows, you should also review its permissions carefully. Grant only the permissions required for the features it actually uses. This keeps the bot easier to manage and reduces unnecessary access inside the Discord server.
A simple deployment is often the most stable one. By keeping the code clean, storing secrets securely, validating the bot locally before deployment, and running it through a process manager on the Kamatera VPS, you can maintain a setup that is easier to troubleshoot and more reliable over time.
Conclusion
With the bot now tested locally, transferred to the Kamatera VPS, and configured to run continuously, you have a complete foundation for hosting a basic Discord bot.