



Minecraft is a blocky, multiplayer open-world game where you gather resources, craft tools and items, and build machinery and structures. You can play in different game modes, from survival against computer-controlled monsters to a creative mode with unlimited resources. Besides joining official online worlds, you can host Minecraft on your own server. Either way, you play from the Minecraft client on your PC.
This tutorial covers the basics of setting up a Minecraft server, from provisioning and configuring it to connecting from your PC. Setting up a server takes some time and technical knowledge, so research any concepts you find unclear before or while you follow along.
Step 1: Provision a Minecraft server
Provision a Minecraft Linux (Ubuntu) server as described here. Once the server is provisioned, connect to it through the Kamatera console or a local SSH terminal. After you log in, the application banner is displayed.
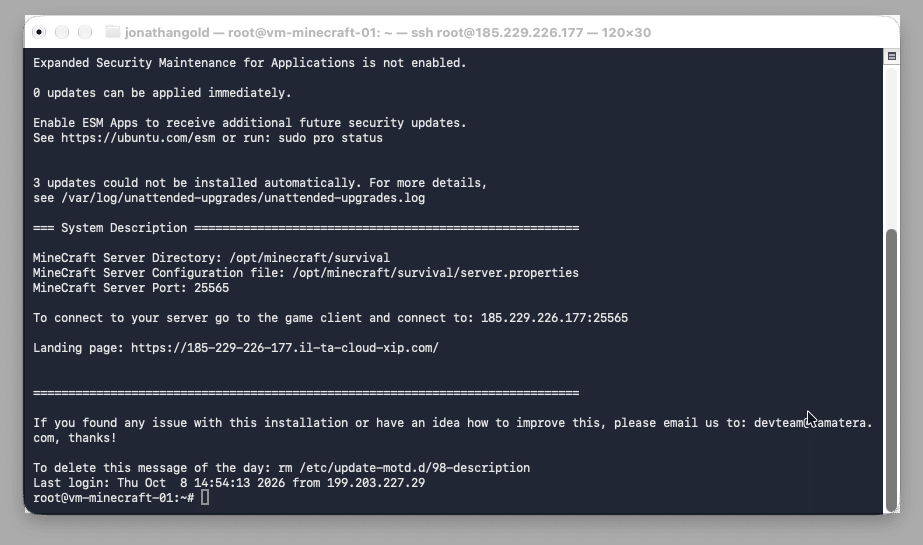
Use the ps command to verify that Minecraft is running:
ps aux | grep -i minecraft
The output looks like this:

To open the Minecraft server landing page, copy the Landing page URL from the banner in your SSH session.
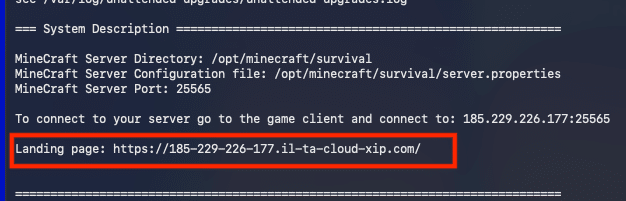
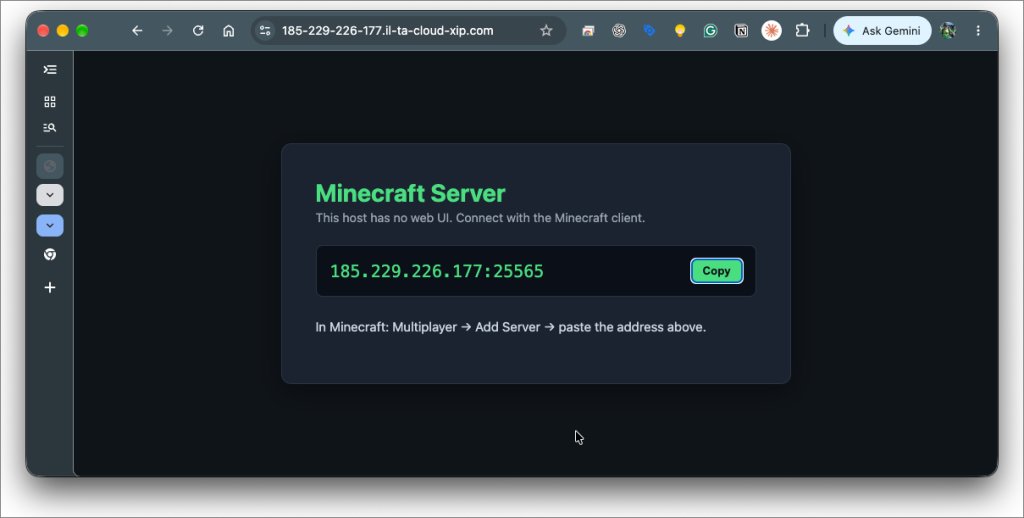
Paste the URL into your browser. The Minecraft server landing page opens.
Step 2: Customize Minecraft
You can tailor your Minecraft world by editing the server.properties file, which is in the /opt/minecraft/survival directory. Return to your SSH session and run the following command to open it in the nano editor:
nano /opt/minecraft/survival/server.properties
The file opens in nano.
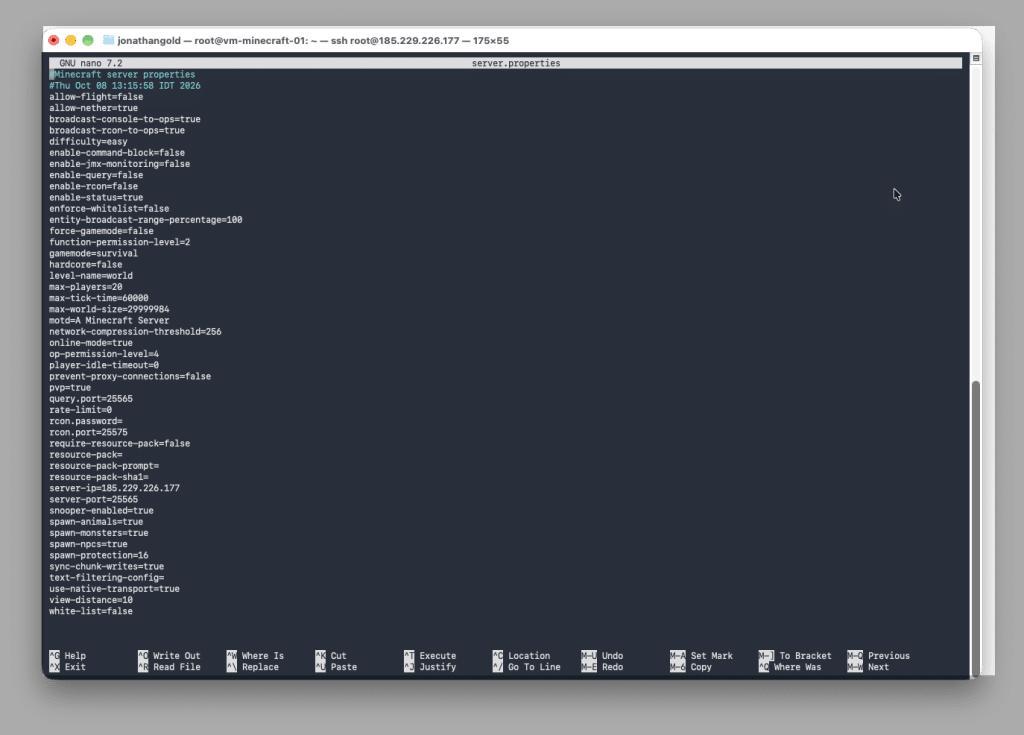
The following table lists some commonly used server properties. For the full list, see the Minecraft Wiki server.properties page.
| Property | Description | Options | Default |
|---|---|---|---|
| difficulty | Sets the difficulty of the game world, for example how hunger and poison affect players and how much damage mobs deal. | peaceful easy normal hard |
easy |
| gamemode | Sets the default game mode. | survival creative adventure spectator |
survival |
| server-ip | Sets the IP address the server binds to. Leave it blank unless your server connects to multiple networks and you need to bind to a specific one. | An IP address | Blank |
| server-port | Sets the port the server listens on. The port must be open in your Linux firewall. | A port number | 25565 |
| white-list | Controls whether only players on the whitelist can join the server. Set to true to restrict access to pre-approved players. | true false |
false |
For example, to explore your world without fighting monsters, change gamemode from survival to spectator. Spectators are invisible to other players and mobs, can fly, pass through blocks and entities, and can see all entities, including other players.
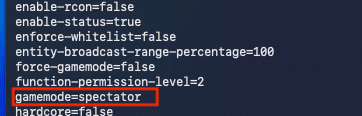
Save the file, then restart the Minecraft server so your changes take effect.
Step 3: Install Minecraft Java Edition 1.17.1
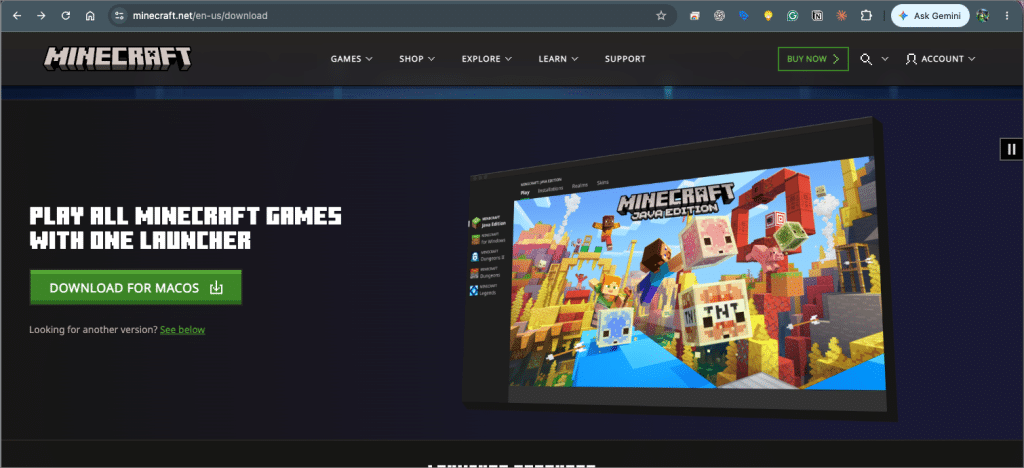
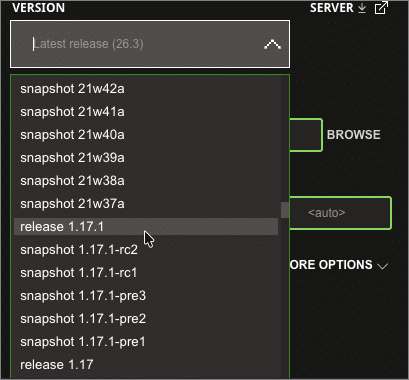
To play on your server, you need Minecraft Java Edition 1.17.1. Other versions won’t work: if you try to connect with a different version, you’ll get an error message and won’t be able to enter your world. If you don’t have the Minecraft Launcher yet, download it now from the Minecraft website.
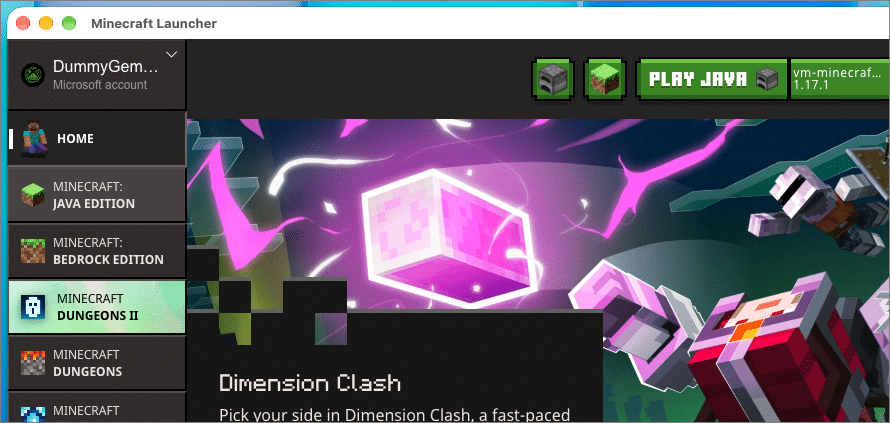
On your PC, open the Minecraft Launcher.
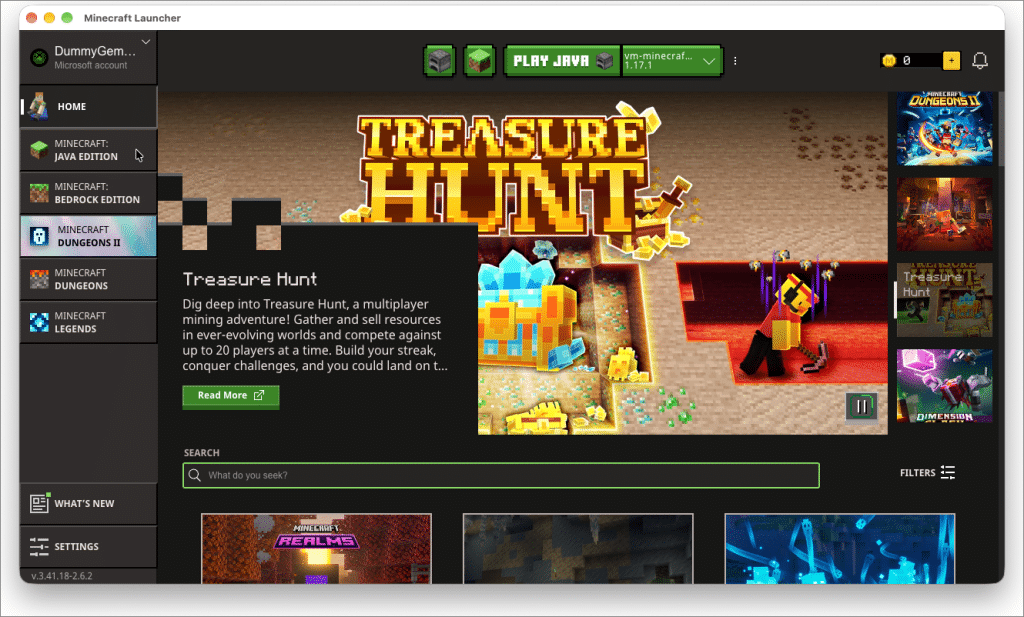
In the sidebar, click MINECRAFT JAVA EDITION.
In MINECRAFT JAVA EDITION, click Installations.
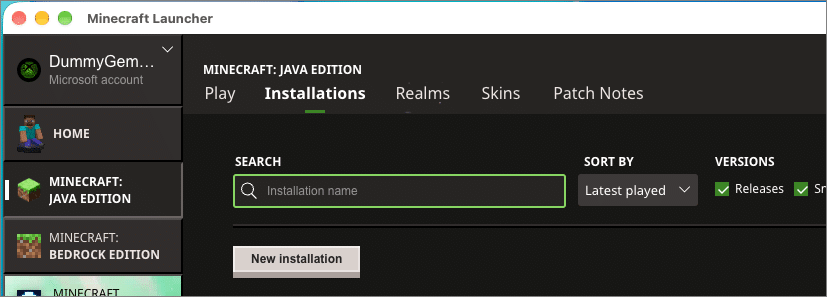
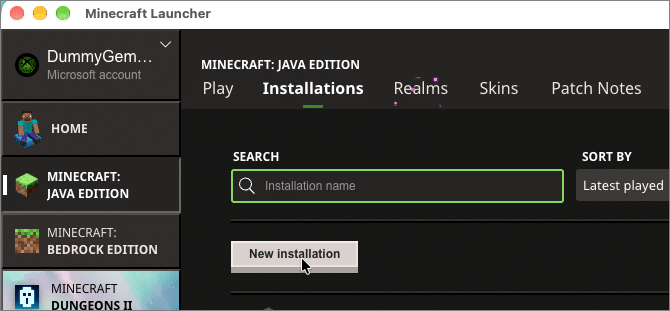
Click New Installation.
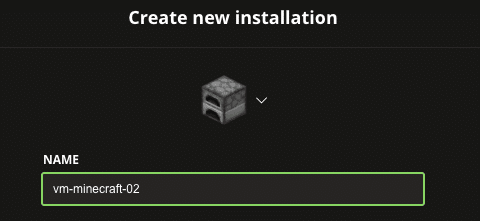
In Create new installation, type a name for your server.
From VERSION, choose release 1.17.1.
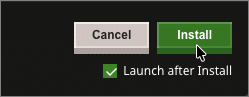
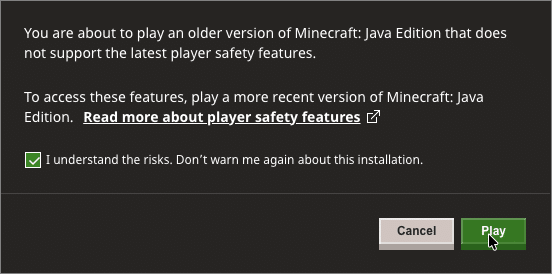
Click Install. A warning appears, telling you that you’re installing an older version.
Click Play to launch Minecraft.
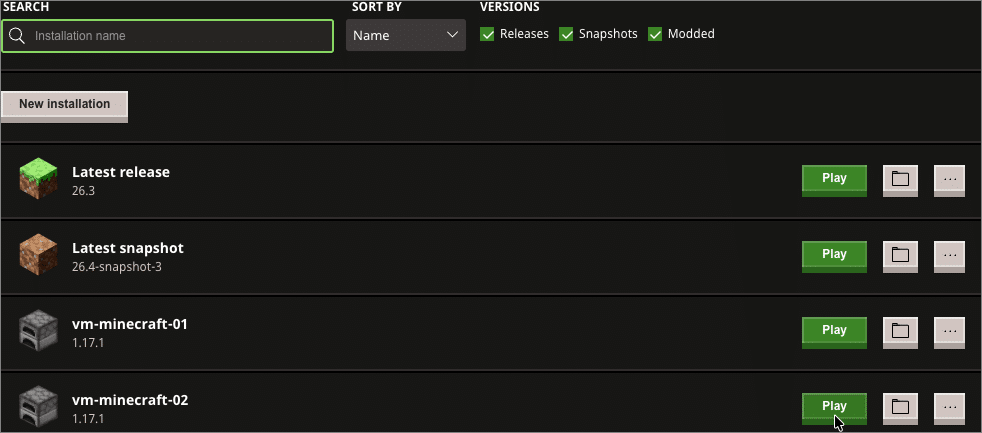
The installation is added to the list.
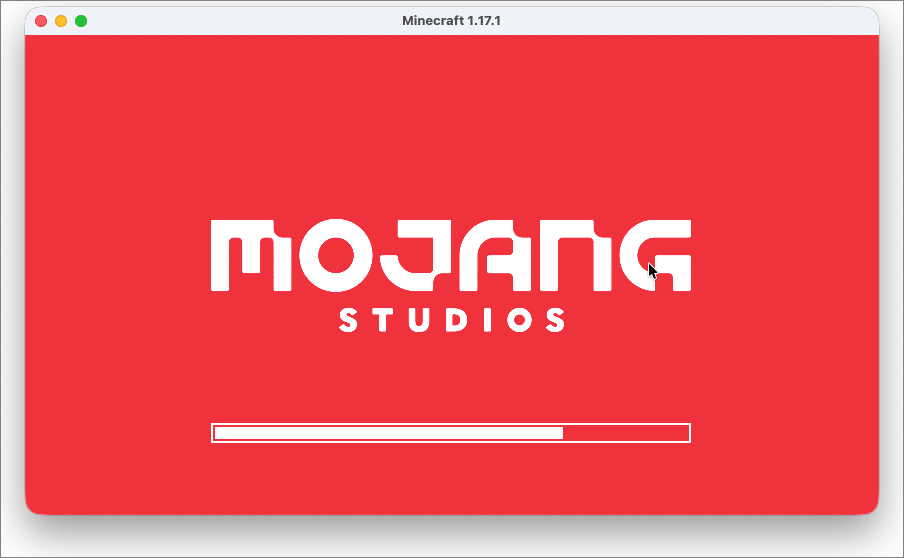
Minecraft launches and shows the loading screen.
When loading finishes, the Home screen appears.
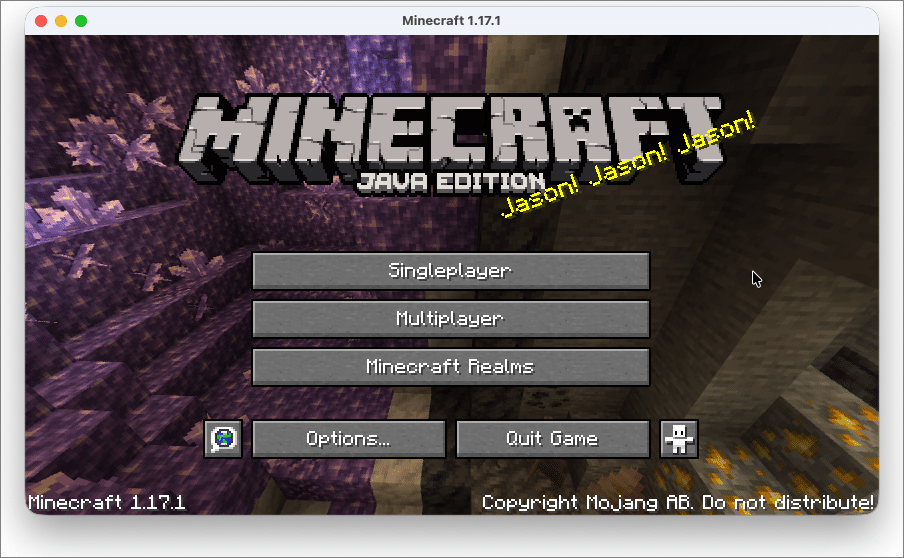
Step 4: Connect to the server
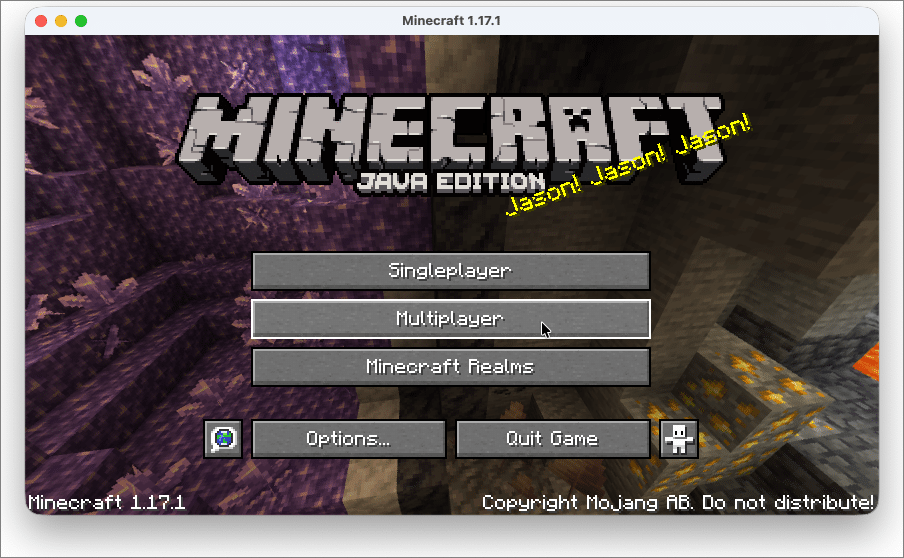
Once Minecraft is running, you can connect to your server. On the Home screen, click Multiplayer.
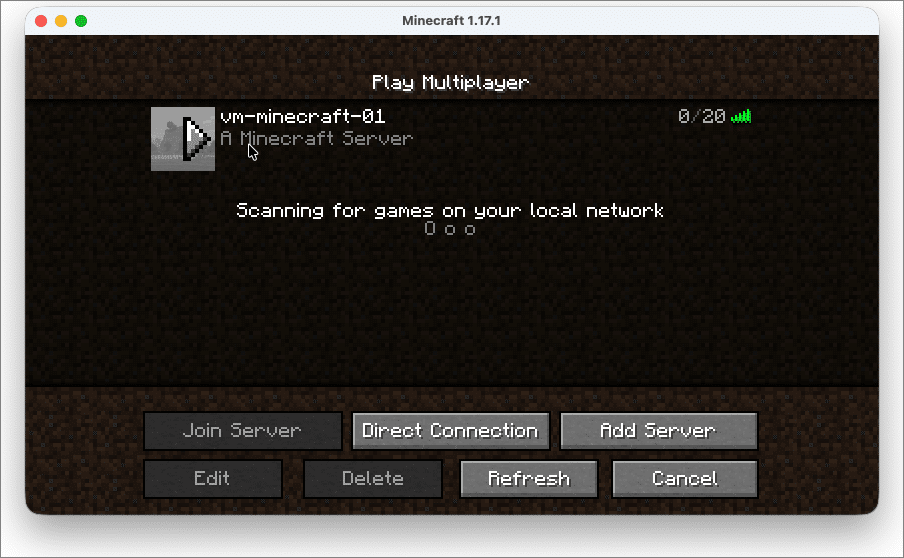
In Play Multiplayer, click Add Server.
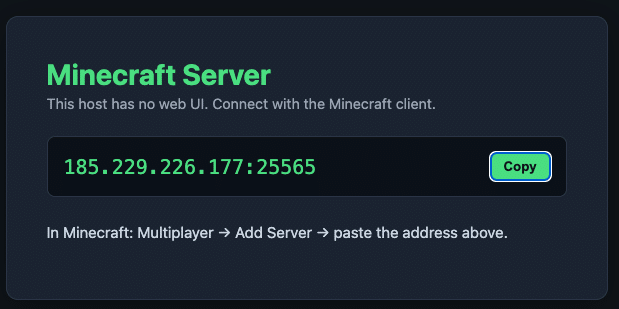
On the Minecraft server landing page, click Copy.
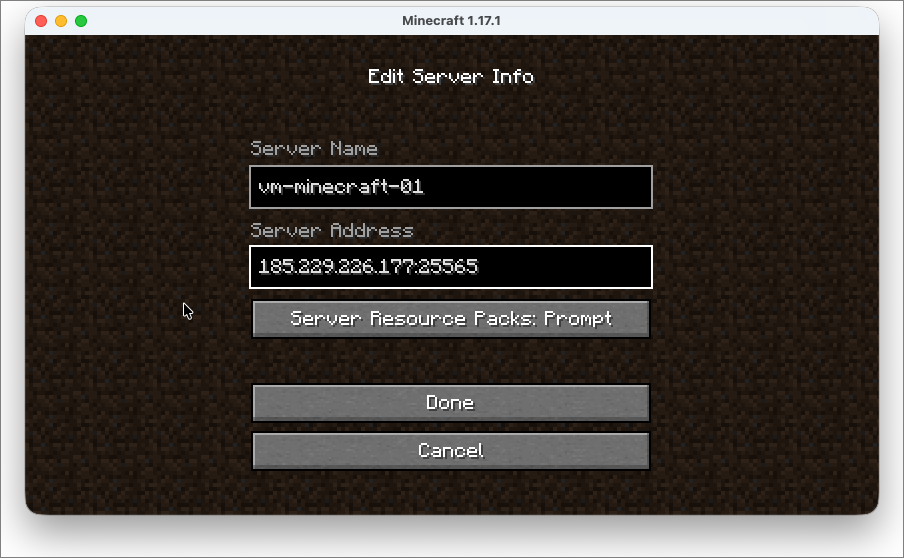
In Edit Server Info, type the server name and paste the server address. Click Done to save.
Step 5: Explore your world
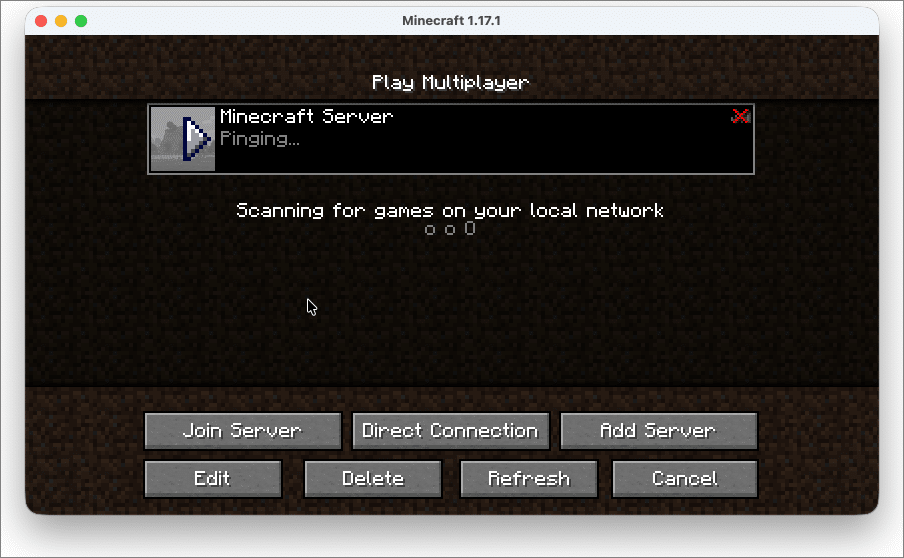
In Play Multiplayer, double-click your server.
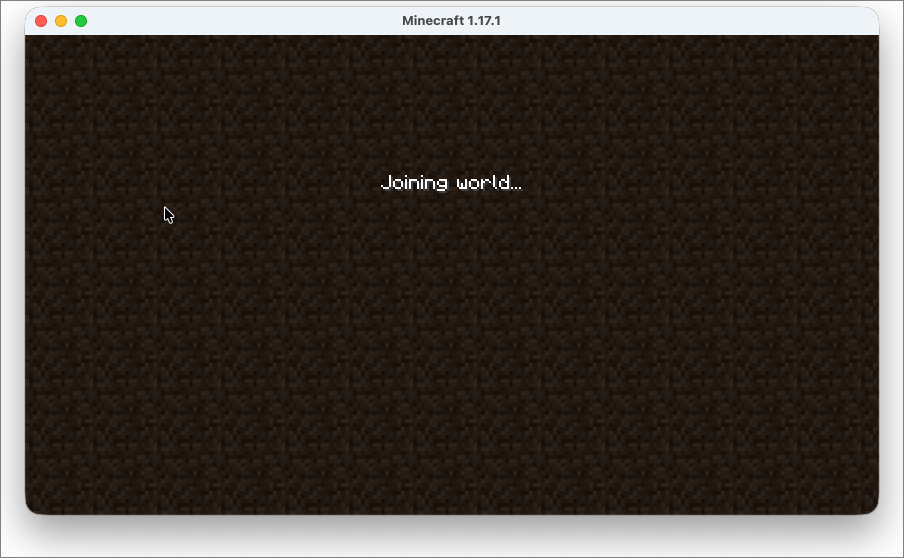
Minecraft displays the Joining world screen.
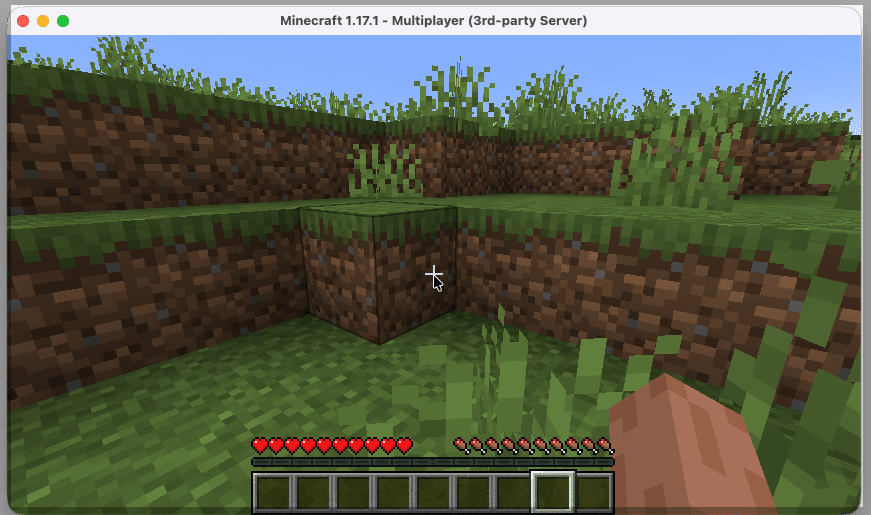
Explore your world.
Conclusion
Beneath its blocky, retro look, Minecraft is an immersive game with a huge player base, and many players host their own worlds on private servers. In this article, you provisioned and verified an Ubuntu Minecraft server on Kamatera, customized it by editing server.properties, installed Minecraft Java Edition 1.17.1, and connected to the server to explore your world. Now you can build your own world and share it with other Minecraft players.