



Redis (Remote Dictionary Server) is an in-memory datastore known for its speed and flexibility. It’s commonly used for caching, real-time analytics, and load balancing, where fast read and write performance matters.
This tutorial covers what Redis is and how to set up a Redis cluster, in six steps:
- Create a new service
- Verify the installation
- Create cluster nodes
- Launch cluster nodes
- Build the cluster
- Cache and manage data
Why you need Redis
As applications grow, reading and writing data to disk becomes a bottleneck, and relying on a single machine for storage adds risk if that machine fails. Redis addresses both problems by storing data in memory instead of on disk, which cuts latency and makes it well suited for caching frequently used queries.
Redis supports multiple data types, including strings, hashes, lists, time series, and vectors, without forcing rigid structures. And it lets you build clusters of nodes that replicate data across machines, so a single node failing doesn’t mean losing access to your data.
Step 1: Create a new service
Kamatera provisions an Ubuntu server and installs Redis as a service for you.
To create the service:
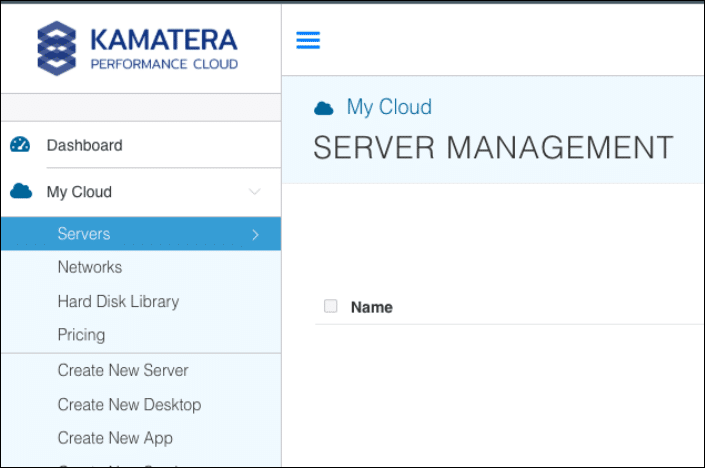
- Log in to Kamatera and open your home page.
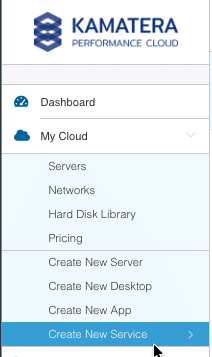
2. From My Cloud, click Create New Service.
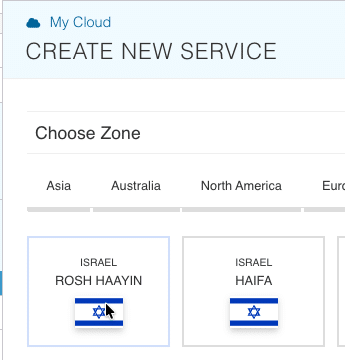
3. In Choose Zone, select a region and data center.
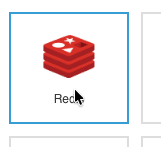
4. In Choose App, click Redis.
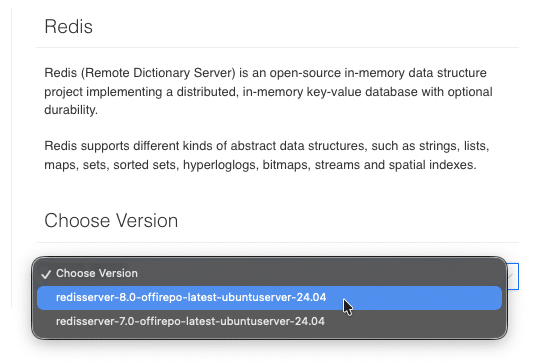
5. In Choose Version, select the version.
6. Choose the Type, CPU, RAM, and disk storage.
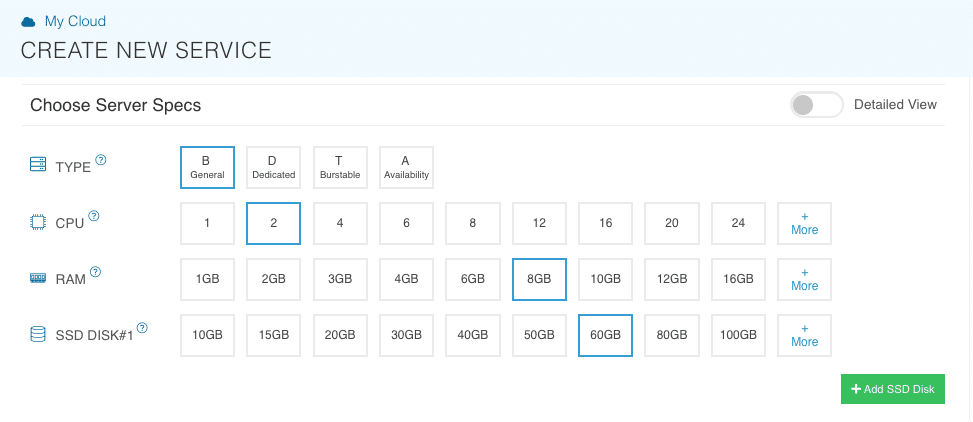
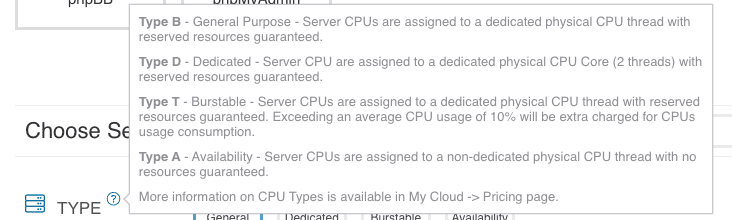
Click the help button for details on each setting. You can add more disk storage later.
7. In Finalize Settings, enter and confirm a secure password.
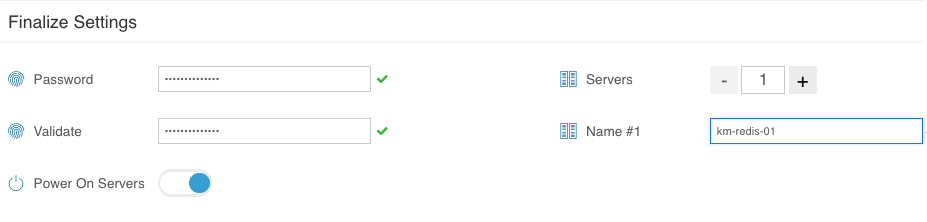
8. Assign a name to your Redis server.
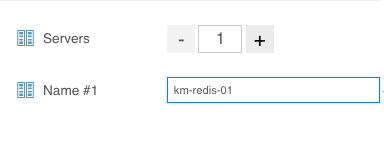
9. Click Create Server. The server is created.
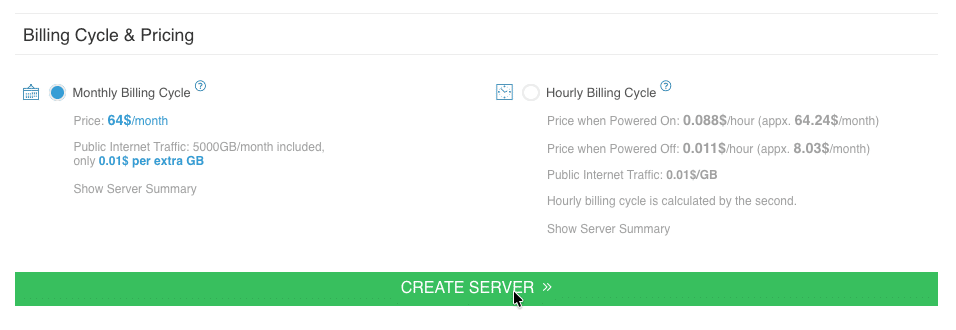
You can monitor provisioning progress from the Task Queue.

Step 2: Verify the installation
Kamatera notifies you when the server is provisioned and Redis is installed and running. Verify the installation through the console or a local SSH connection.
To verify the installation:
- Check your email for a New Server Created message.
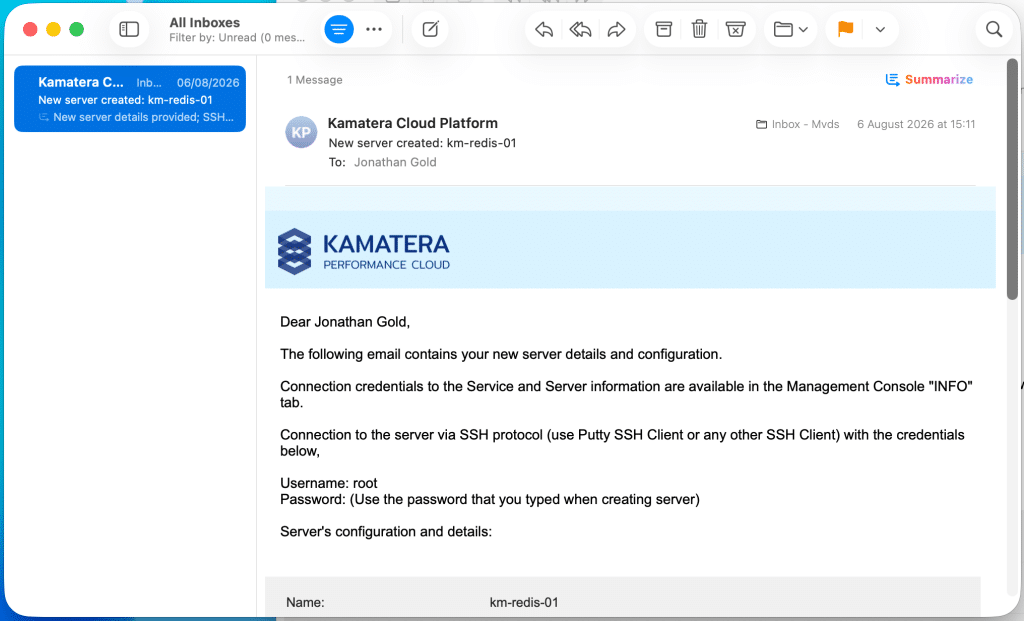
2. Log in to Kamatera and open My Cloud > Servers, then click Open.
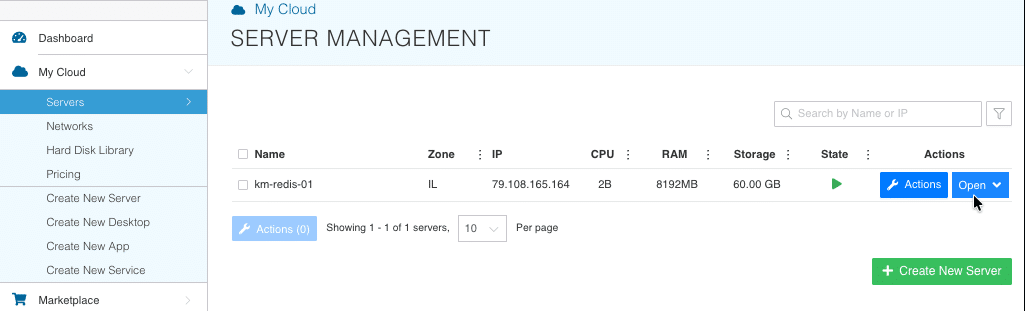
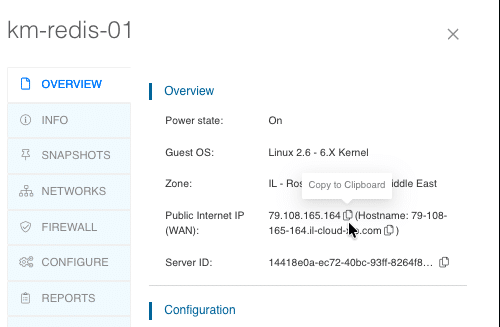
3. From your Server Overview, copy the Public Internet IP (WAN).
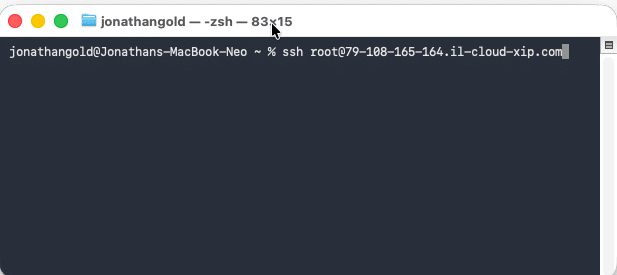
4. On your device, open a terminal window and type
ssh root@<ip-address>
then press Enter.
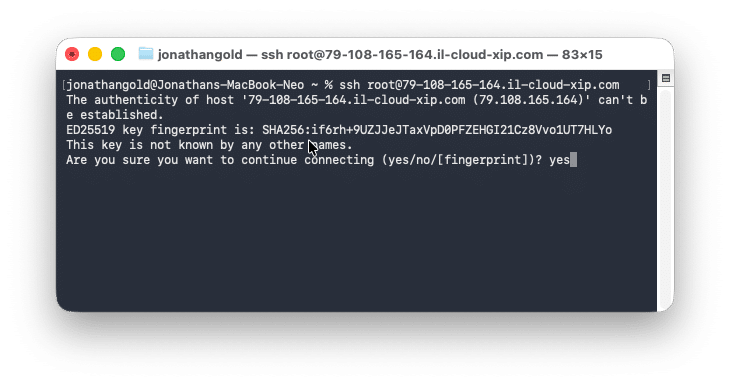
5. Enter your password when prompted.
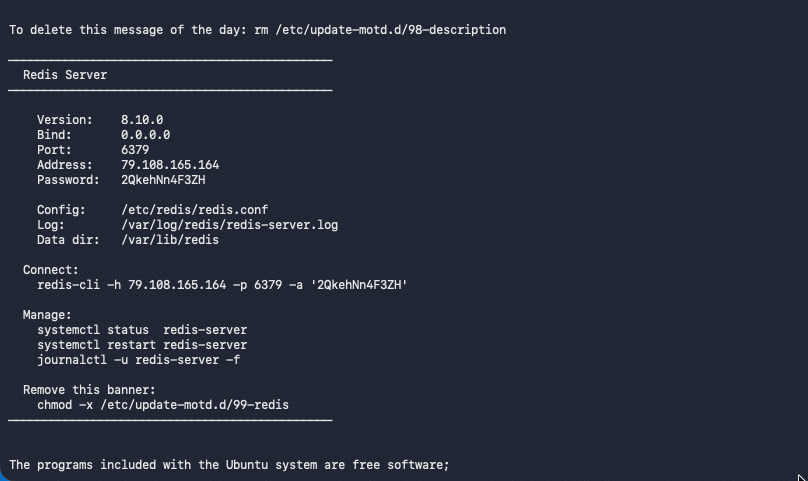
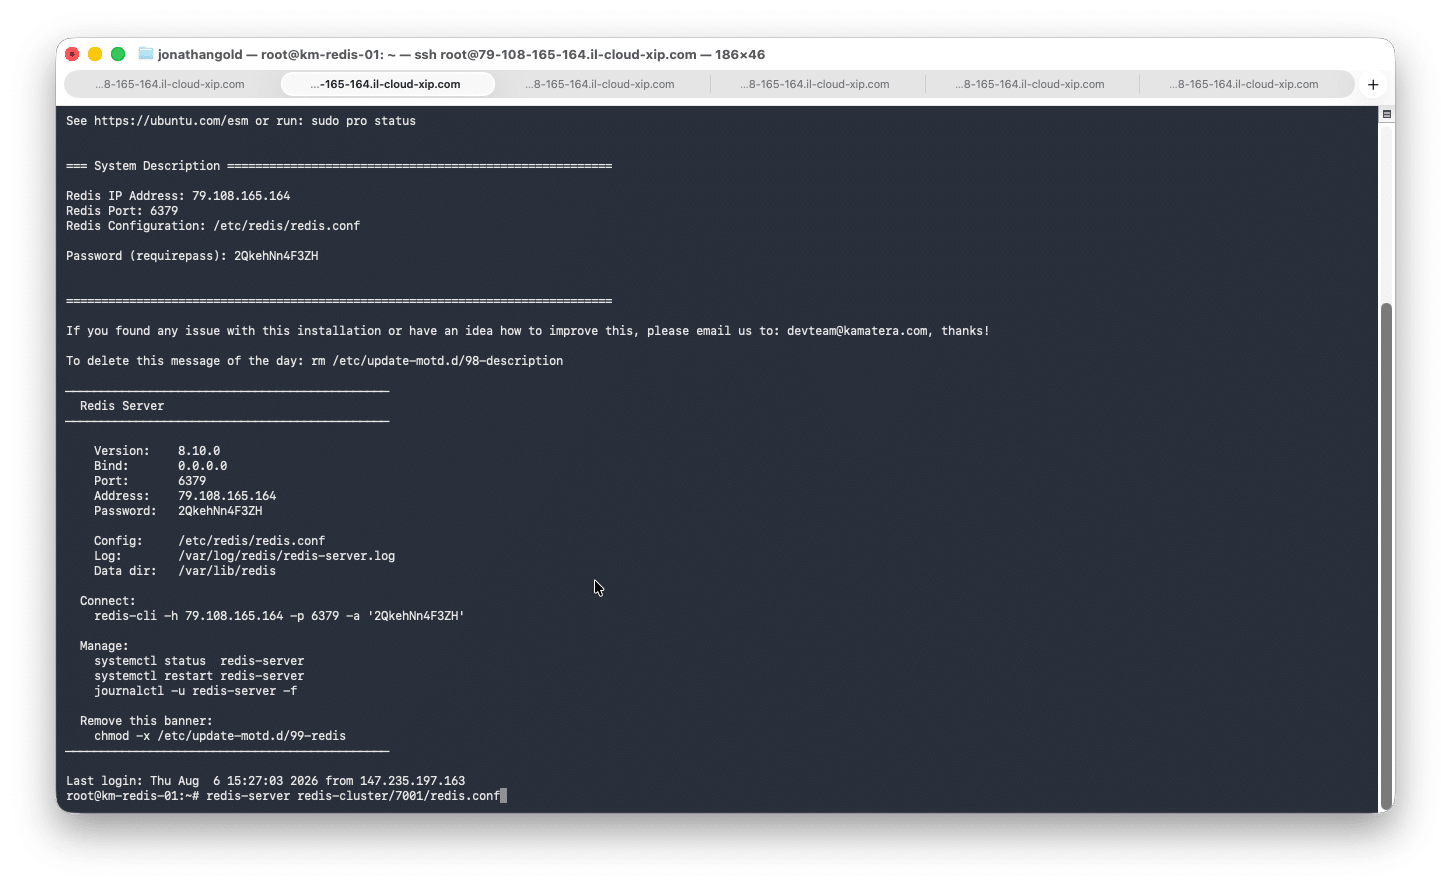
After logging in, the Redis Server banner displays:
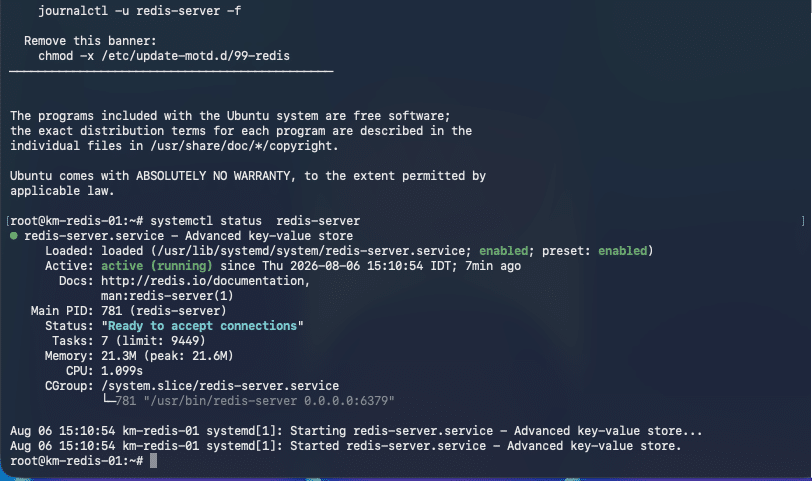
6. Check the status of Redis:
systemctl status redis-server
If Redis is running, the command returns its active status.
Step 3: Create cluster nodes
A Redis cluster requires a minimum of six nodes: three master nodes, each with its own replica, with each node ideally running on a dedicated host.
Note: For this tutorial, all nodes run as individual instances on a single server to illustrate the basic clustering steps. In production, run each node on its own dedicated machine.
To create cluster nodes:
- Create a Redis Cluster directory:
mkdir redis-cluster
cd redis-cluster
2. Create a directory for each instance, named by port number, from 7000 to 7005:
mkdir 7000 7001 7002 7003 7004 7005
3. In each directory, create a redis.conf file:
nano <node-port>/redis.conf
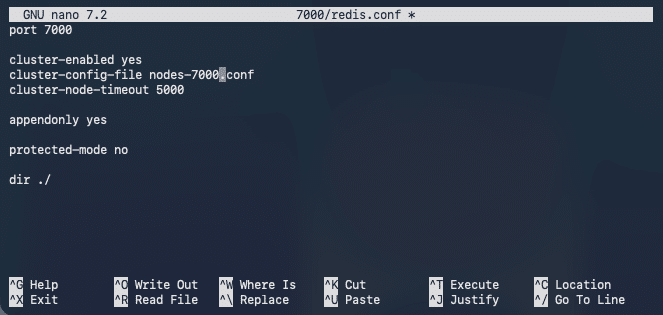
4. Add the following to each node’s redis.conf, updating port and cluster-config-file for that node:
port <node-port>
cluster-enabled yes
cluster-config-file nodes-<node-port>.conf
cluster-node-timeout 5000
appendonly yes
dir redis-cluster/<node-port>
5. Save and exit the file.
Step 4: Launch cluster nodes
To launch each node as a separate instance, open six additional SSH connections, in addition to your main terminal window.
To launch cluster nodes:
- For each node, open a new terminal window or tab and create a new SSH connection.
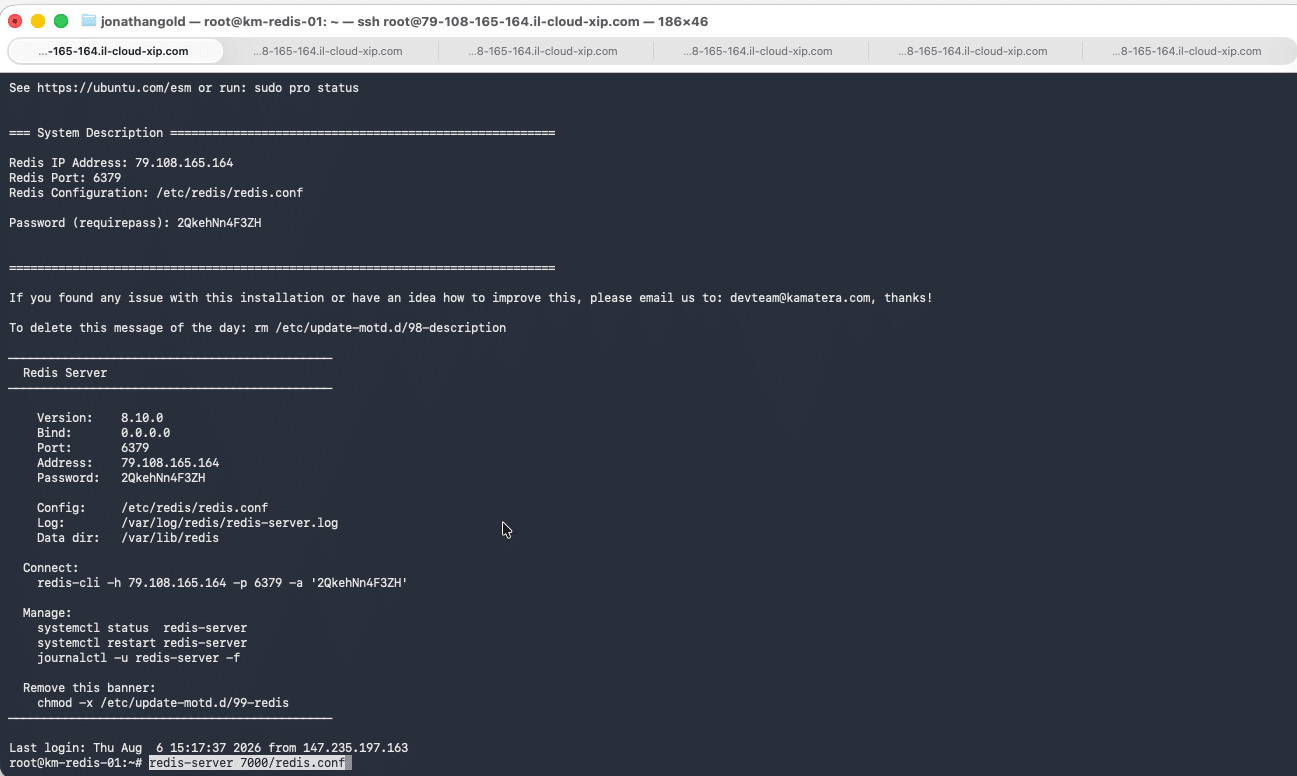
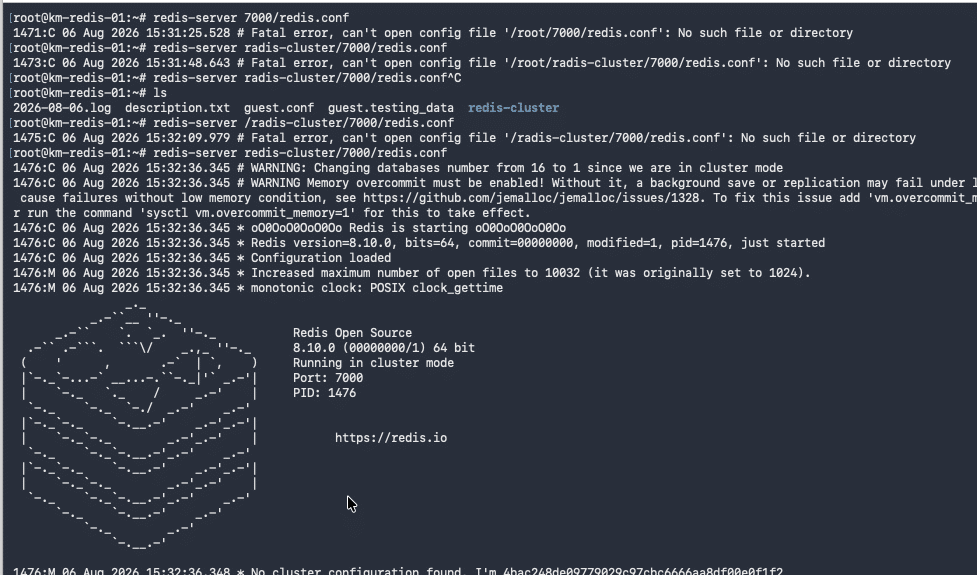
2. In each window, launch the node:
redis-server <node-directory>/redis.conf
Redis displays the node’s server log.
3. In your main window, verify that all nodes are running with this command:
ps aux | grep redis
On success, you will see:
Step 5: Build the cluster
Building the cluster assigns master and replica roles to each node, then creates 16,384 slots and distributes them across the nodes. Each slot is a logical address, not tied to a specific node, which is what lets Redis move and replicate data across the cluster.
To build the cluster:
- In your main window, use the Redis command-line interface (redis-cli) to create the cluster:
redis-cli --cluster create <node-ip-address>:<node-port>...--cluster-replicas 1For example:
redis-cli --cluster create 79.108.165.164:7000 79.108.165.164:7001 79.108.165.164:7002 79.108.165.164:7003 79.108.165.164:7004 79.108.165.164:7005 --cluster-replicas 1After submitting the command, redis-cli displays.
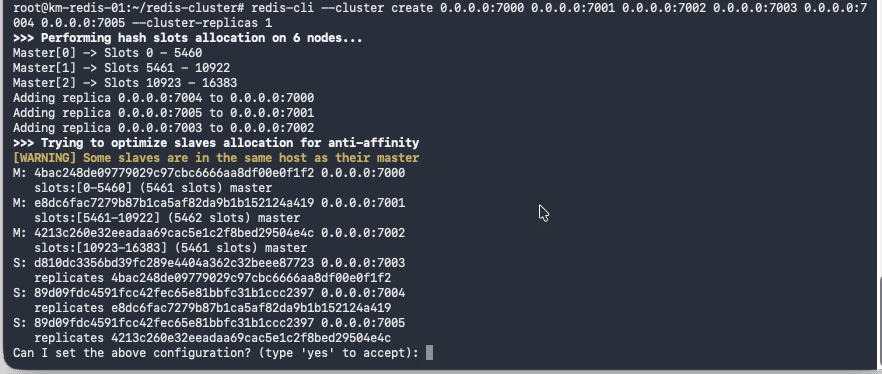
2. Type yes to confirm and create the cluster.
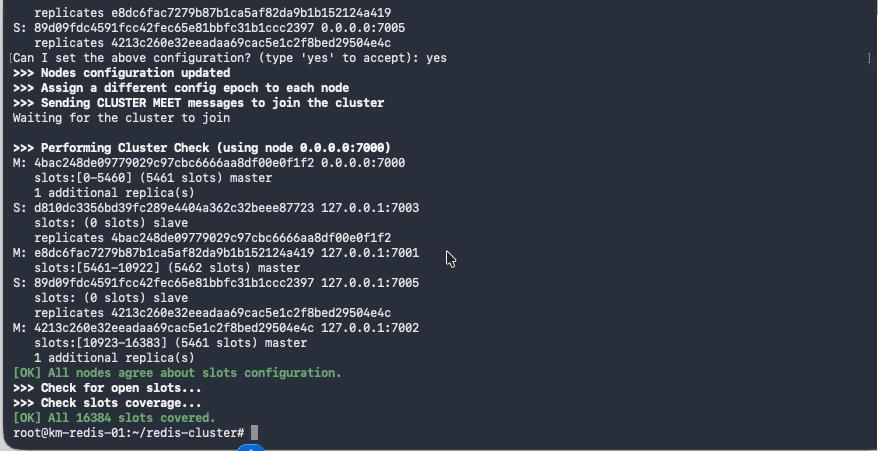
3. Verify that each node is running with this command:
redis-cli -c -p <node-port> cluster nodes
Where:
-c specifies using cluster mode to retrieve data stored on another node.
-p is the node’s port number
<node-port> is the port number of the instance
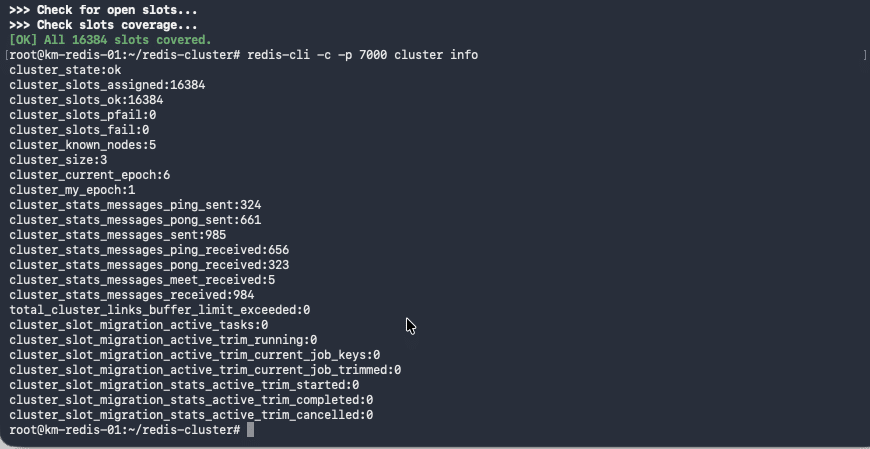
For example, when you type:
redis-cli -c -p 7000 cluster nodes
Redis displays:
Step 6: Cache and manage data
With the cluster running, you can start caching data. This section covers Redis’s simplest data type, strings, stored as key-value pairs.
To cache and manage data:
- Connect to a cluster node:
redis-cli -c -p 7000
2. Store a string value:
SET <key> <value>
For example: SET user:100 “James Brown”
3. Retrieve a value by key:
GET <key>
For example:
GET user:100 returns "James Brown"
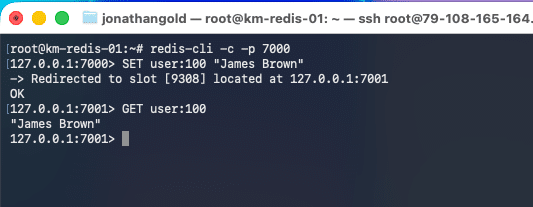
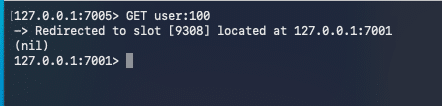
Note: In cluster mode, a query is redirected to the node that holds the relevant slot. Redis shows which slot and host handled the request.
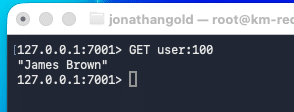
4. To confirm the data replicated across the cluster, connect to another node (redis-cli -c -p 7001) and run GET again. It should return the same value.
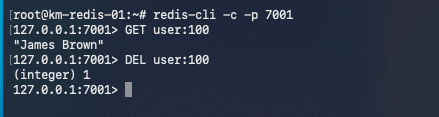
5. Delete a value:
DEL <key>
For example:
DEL user:100 returns (integer) 1
6. Confirm the deletion:
GET user:100
This returns (nil).
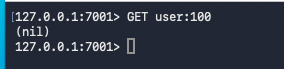
Check another node, such as 7005, to confirm the deletion replicated across the cluster.
Conclusion
Kamatera handles server provisioning and Redis installation, so you can go straight to configuring your cluster. This tutorial covered the full setup: creating the service, verifying the install, creating and launching cluster nodes, building the cluster, and using it to cache data.
From here, you can use Redis to reduce latency, scale your application, and keep data available even if a single node fails.