


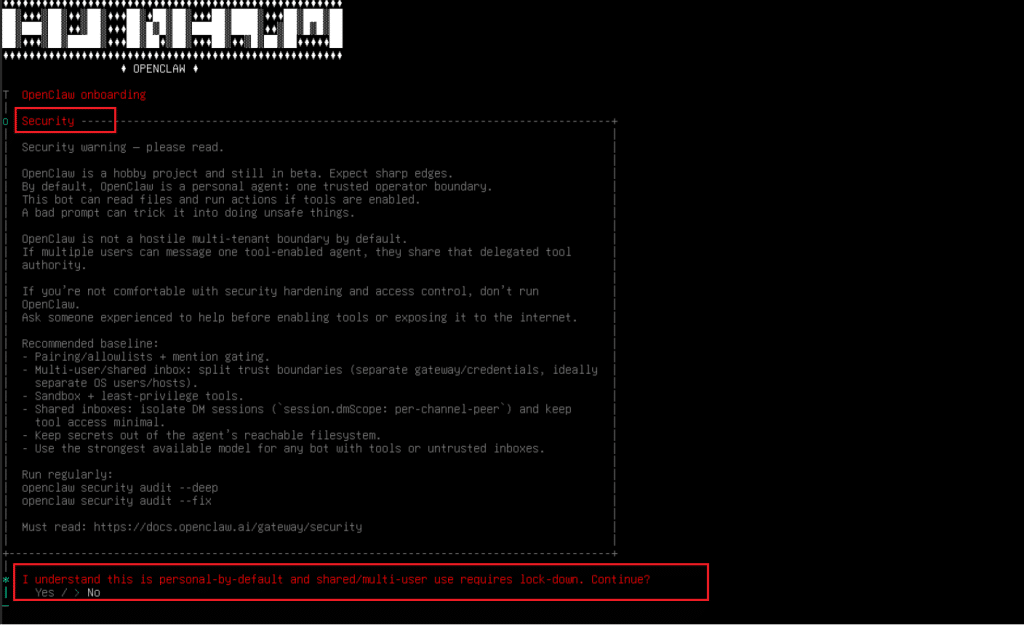
OpenClaw is a self-hosted gateway that connects chat interfaces to AI agents with tool-calling capabilities, meaning the agents can execute commands, read and write files, call external APIs, and interact with services on whatever system they’re running on. It can be run locally or on a server, but because it may access sensitive files, credentials, and extensions, it is safer to treat it like untrusted code and isolate it in a VPS, VM, or containerized environment.
The current official name is OpenClaw. Its earlier names were Clawdbot, Moltbot, and Clawd.
OpenClaw’s architecture is a hub-and-spoke system where one gateway sits at the center, routing messages from chat channels to agents, models, tools, clients, and paired devices, which is exactly why it is both powerful and potentially risky.
The recommended setup path on Linux is straightforward: install Node.js 22+, install OpenClaw globally, and then run the onboarding command that sets up the gateway service. On a VPS, the usual access pattern is to keep the gateway bound locally on the server and then use SSH port forwarding from your laptop to open the Control UI in your browser.
Prerequisites
Before moving ahead, make sure you have the following prepared:
- A Kamatera Linux VPS
- SSH access to the server
- A sudo-enabled user account
- Internet access from the VPS for package download and installation
- A local machine from which you can connect to the VPS and open the dashboard later
Connect to your Kamatera VPS over SSH
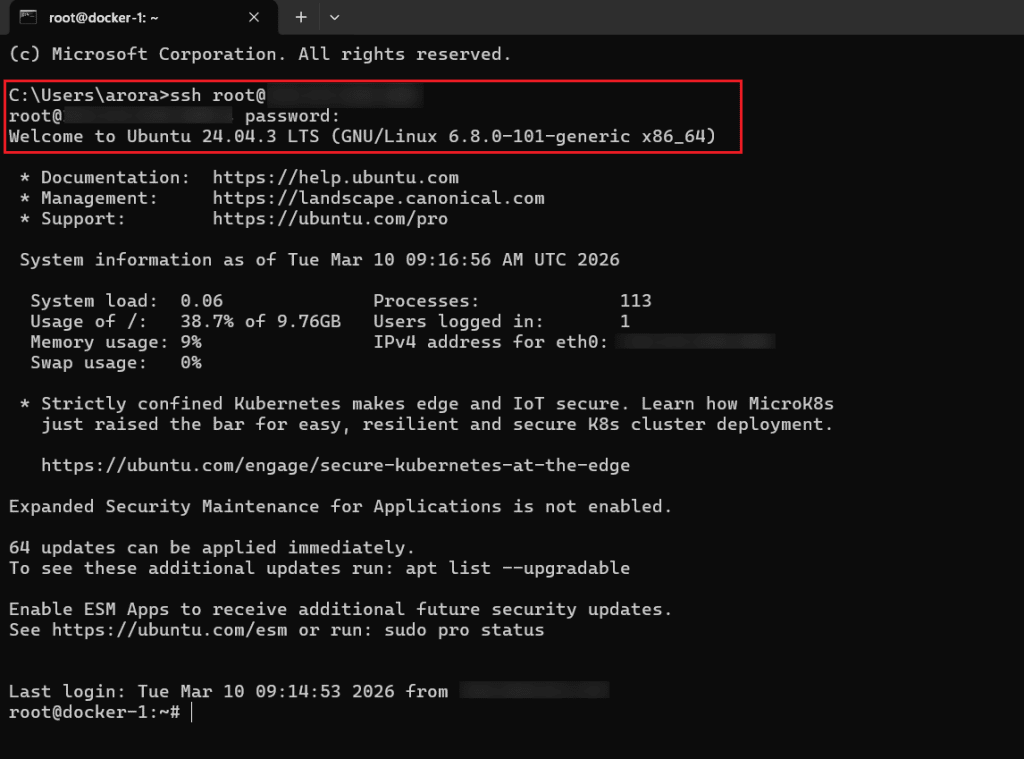
Since OpenClaw is typically run on the VPS itself, the first practical step is to log in to the server over SSH from your local machine. OpenClaw’s VPS guidance recommends keeping the gateway on the VPS and accessing it remotely from your laptop through SSH or Tailscale, rather than exposing the admin surface directly to the public internet.
From the Kamatera dashboard, note down the server’s public IP address and the login credentials shown under the Connect section.
Use the following command from your terminal:
ssh username@your_server_ip
Replace username with your server user and your_server_ip with the VPS public IP address.
If your server uses an SSH key instead of a password, use:
ssh -i /path/to/private-key username@your_server_ip
The first time you connect, your system may ask whether you want to continue connecting to the host. Type yes and press Enter. After that, enter the server password if prompted. Once the login succeeds, you should see the shell prompt for your VPS. Kamatera’s SSH examples use the same basic login pattern with ssh username@your_server_ip.
At this point, you are connected to the Linux VPS and ready to install the dependencies required for OpenClaw.
Install OpenClaw on the VPS
Once you are logged in to the VPS, install OpenClaw using the official installer script. This is the recommended install method for Linux because it handles Node.js detection, installs the OpenClaw CLI, and starts the onboarding flow in one step. Kamatera offers a custom-built OpenClaw image available through the Marketplace, or you can use a clean base OS image.
Run the following command in your VPS terminal:
curl -fsSL https://openclaw.ai/install.sh | bash
The installer will download the CLI, install it globally, and then launch the onboarding wizard automatically. That means you do not need to install Node.js separately first unless you are following a manual npm-based setup.
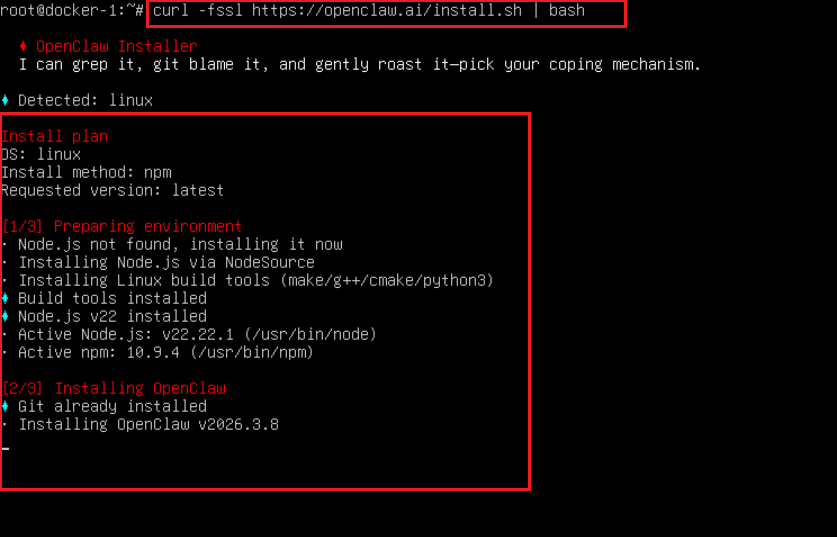
If the installation completes successfully, the next thing you should see is the onboarding flow in the terminal.
Run the onboarding wizard
After the installation finishes, complete the OpenClaw onboarding wizard. The official setup flow uses openclaw onboard –install-daemon to configure authentication, gateway settings, and optional channels, and to install the Gateway as a background service. In many cases, the installer script starts onboarding automatically. If it does not, run the command below manually.
openclaw onboard --install-daemon

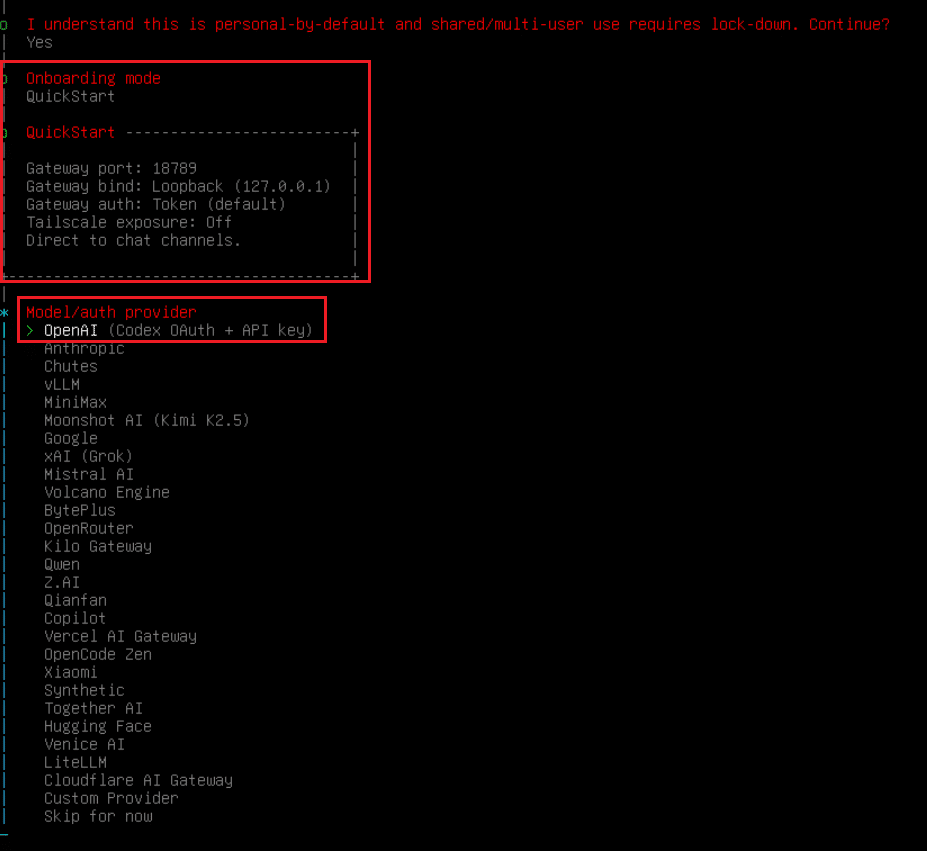
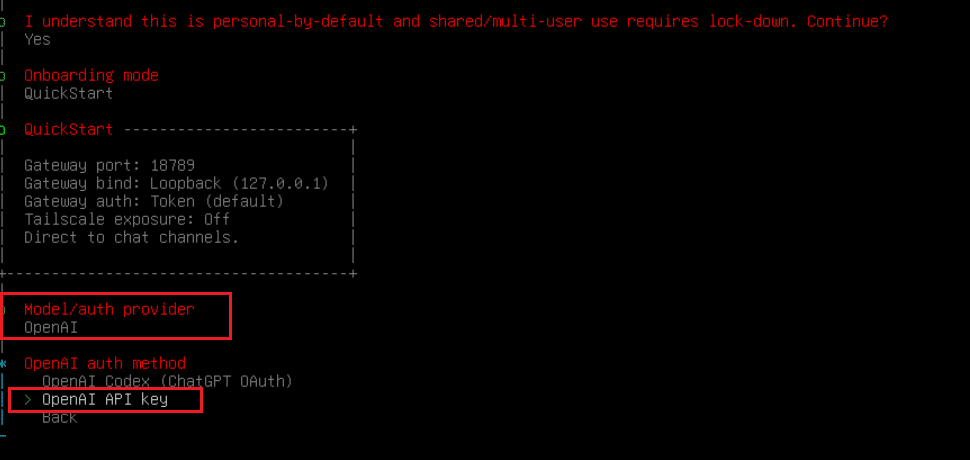
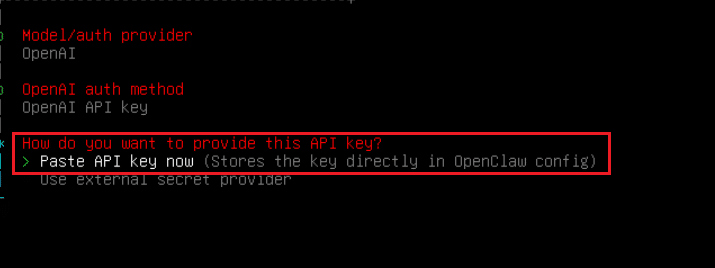
During onboarding, choose QuickStart for a standard VPS setup. Then select your preferred AI provider, enter the required API key for your chosen AI provider to continue, and continue with the default gateway settings, unless you need a custom configuration.
Note: If you do not want to configure a provider API key at this stage, you can skip model authentication for now and complete it later. Choose option “Skip for now” from “Model/Auth Provider” shown in the earlier screenshot, and proceed with remaining onboarding steps.
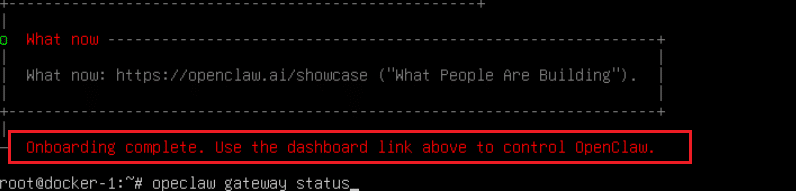
Verify that the gateway is running
After onboarding is complete, verify that the OpenClaw gateway is running correctly on the VPS. The quickest checks are the status commands below. A healthy setup should show the Gateway as running and reachable.
Run:
openclaw status

openclaw gateway status
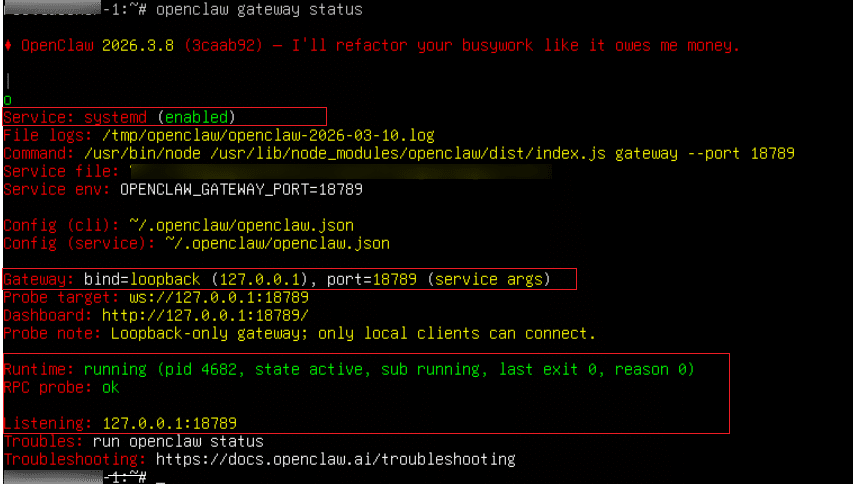
If everything is working properly, openclaw gateway status should show a healthy runtime state such as Runtime: running and RPC probe: ok. If you want a more detailed check, you can also run:
openclaw status --all
This gives a fuller local diagnostic summary of the installation.
If the gateway is not running as expected, review the logs with:
openclaw logs --follow
This helps identify startup or configuration issues before moving on to browser access. In the next section, we will access the Control UI from your local machine using SSH port forwarding.
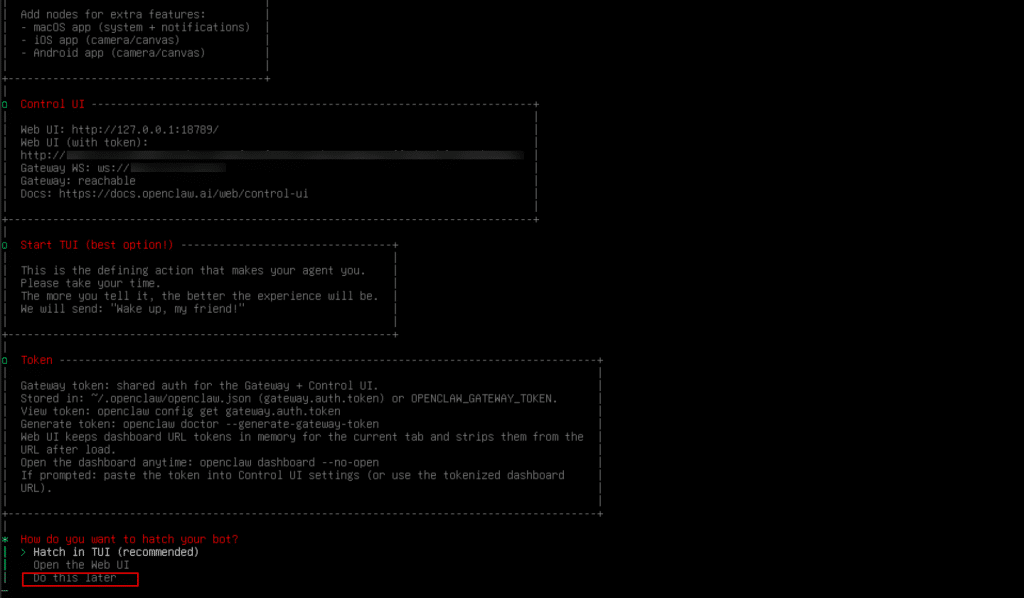
Access the Control UI from your local machine
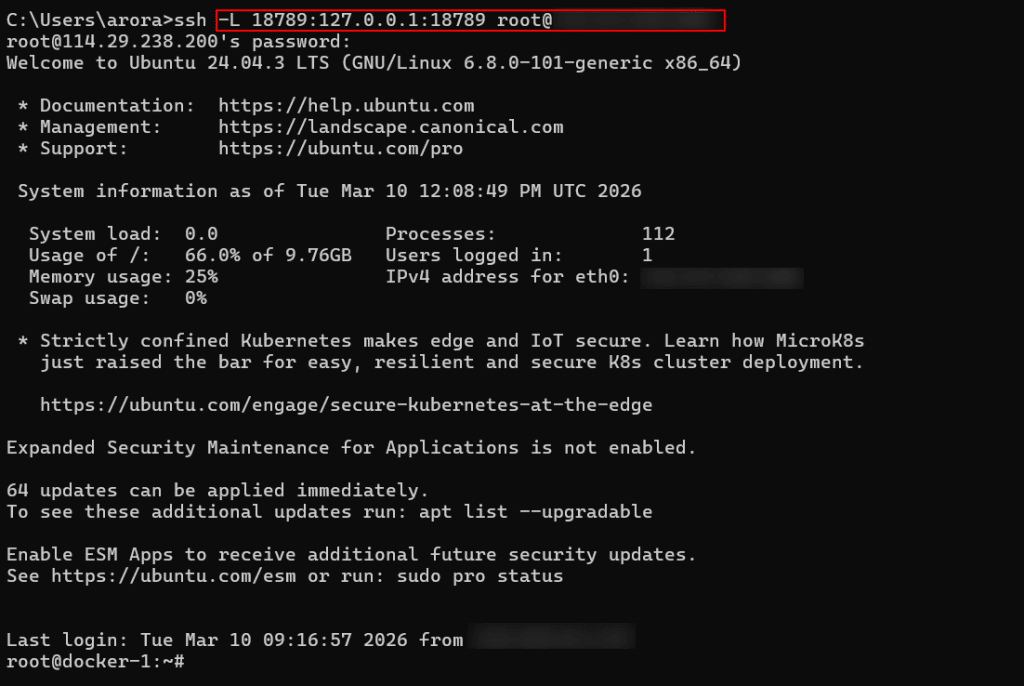
To open the OpenClaw Control UI from your laptop while keeping the Gateway private on the VPS, create an SSH tunnel that forwards local port 18789 to port 18789 on the VPS. OpenClaw’s remote-access guidance recommends keeping the gateway bound to loopback and using SSH tunneling or Tailscale instead of exposing the admin interface directly to the public internet.
Run this command on your local machine:
ssh -L 18789:127.0.0.1:18789 username@your_server_ip
Keep that terminal window open while you use the dashboard. Once the tunnel is active, open the following address in your browser:
http://127.0.0.1:18789/
The Control UI is the fastest way to confirm that the setup is working, and OpenClaw’s getting-started flow points to the browser dashboard as the quickest path to a first working chat.
Note: If the page asks for authentication, enter the gateway token generated during onboarding. The dashboard docs note that gateway auth is enabled by default, including on loopback setups.
Once the page loads successfully, you should be able to access the dashboard and the chat interface from your browser without directly exposing the VPS service to the internet.
Basic post-install checks
Once the Control UI opens successfully, run a few quick checks to confirm that the setup is working end to end. OpenClaw’s getting-started flow treats the Control UI as the fastest way to reach a first working chat, without needing to configure any messaging channel first.
Start by confirming that the dashboard loads properly and that the Gateway stays reachable. If the interface asks for authentication, enter the gateway token created during onboarding. OpenClaw enables gateway auth by default, including for loopback access.
Next, open the chat area in the Control UI and send a simple test prompt. If the model provider and gateway are configured correctly, you should receive a response in the same interface. If you need to reopen the dashboard later from the VPS, you can use:
openclaw dashboard
The official docs describe the Control UI chat flow as the fastest first-chat path after onboarding.
As a final verification step on the VPS, run:
openclaw doctor
This checks for blocking configuration or service issues and is one of the recommended diagnostic commands when validating or troubleshooting a setup.
If all three checks pass, the OpenClaw installation is complete and ready for further configuration, such as connecting channels or adding skills.
Troubleshooting
If something does not work as expected after installation, start with the built-in diagnostic commands. OpenClaw’s troubleshooting flow recommends checking the install status, gateway status, live logs, and doctor output in that order. A healthy setup should show the gateway runtime as running and the RPC probe as OK.
Run the following commands on the VPS:
openclaw status

openclaw gateway status

openclaw logs --follow

openclaw doctor
If the Control UI does not open in your browser, first confirm that the SSH tunnel is still active and that you are opening http://127.0.0.1:18789/ on your local machine. OpenClaw’s remote-access guidance for a VPS setup is based on keeping the Gateway bound locally on the server and reaching it through SSH tunneling.
If the browser opens but asks for authentication, enter the gateway token created during onboarding. The dashboard and Control UI docs note that gateway authentication is enabled by default, including for loopback access.
If the dashboard loads but chat does not respond, the most likely issue is the model provider configuration. OpenClaw’s onboarding and authentication docs require a valid provider setup on the gateway host, and the OpenClaw doctor command can help surface blocking configuration problems.
Once these checks pass, the OpenClaw setup is ready for normal use through the Control UI.
Conclusion
At this point, OpenClaw should be installed and running on your Kamatera VPS, with the gateway verified and the Control UI accessible through your browser. You can now use the dashboard to test the setup further or continue with additional configuration.