


This article explains how to install and renew SSL certificates on a Linux server using Apache and OpenSSL. SSL encrypts communication between clients and servers, helping protect sensitive data and ensure secure access to hosted applications.
In this guide, we will demonstrate the steps to take on an Ubuntu-based Linux server, but the process is the same on most Linux distributions with minor command variations.
Before proceeding, you must have the following prerequisites:
- A Linux server deployed on Kamatera
- Root or sudo privileges
- Apache web server installed
- Network access to the server IP address
Update the system
Start by updating the system package index.
sudo apt update
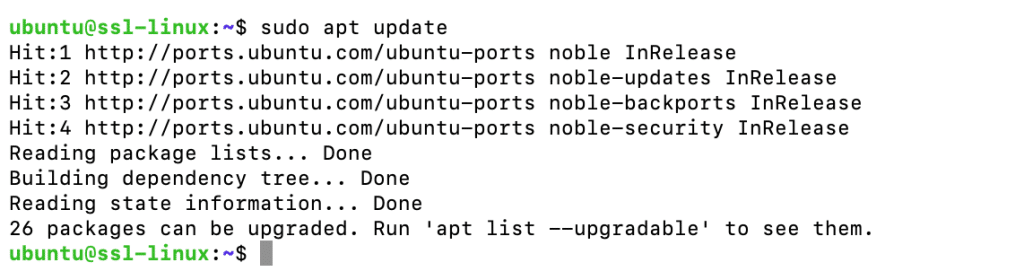
This ensures the latest package metadata is available before installing or configuring services.
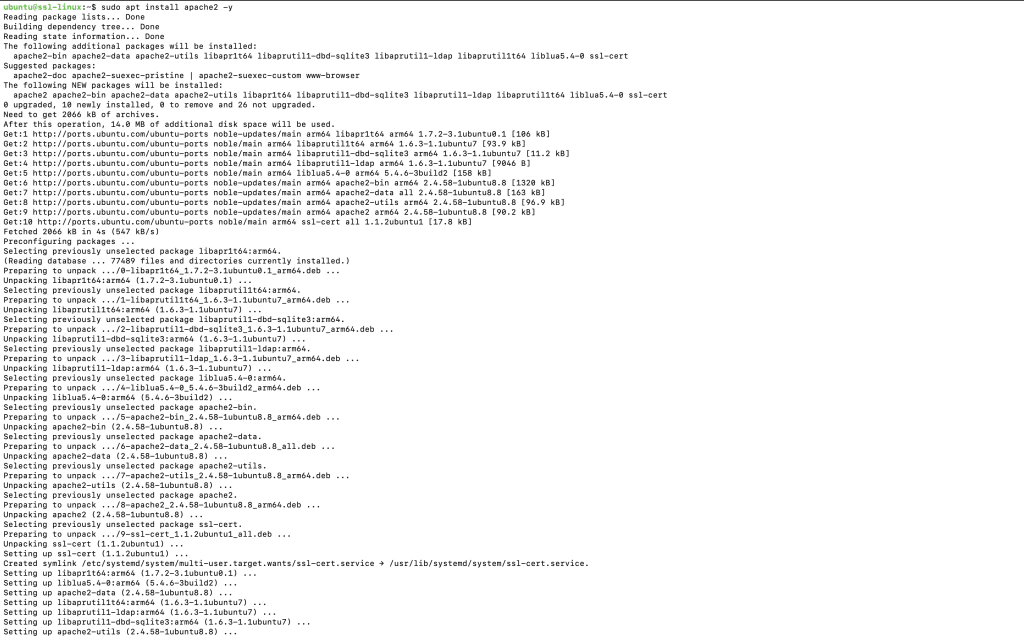
Install Apache Web Server
If Apache is not already installed, install it using the package manager.
sudo apt install apache2 -y

After installation, verify that Apache is running:
sudo systemctl status apache2

The service should show as active (running).
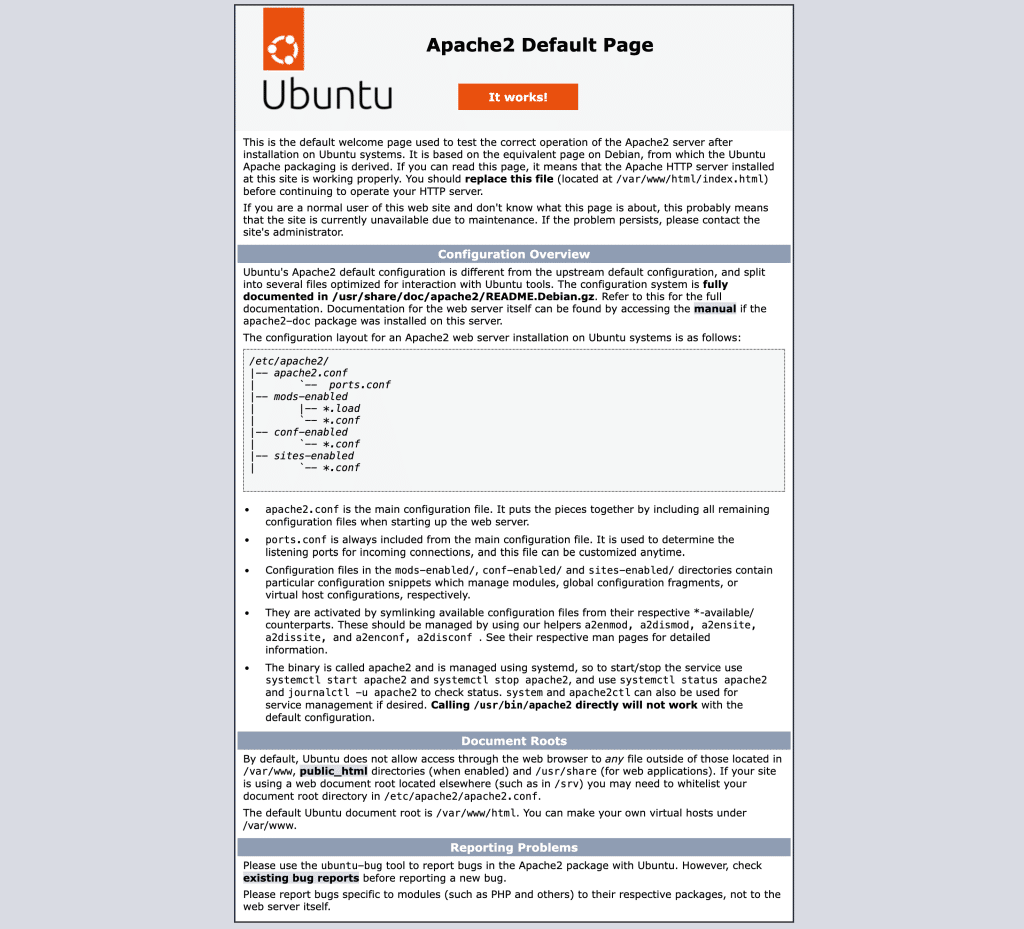
Verify Apache via browser (HTTP)
Open a web browser and navigate to the server’s IP address:
http://your_server_ip

If Apache is working correctly, the default Apache test page will be displayed.
Generate a Self-Signed SSL Certificate
For testing or internal environments, you can generate a self-signed SSL certificate using OpenSSL.
Run the following command:
sudo openssl req -x509 -nodes -days 365 \

-newkey rsa:2048 \

-keyout /etc/ssl/private/selfsigned.key \

-out /etc/ssl/certs/selfsigned.crt
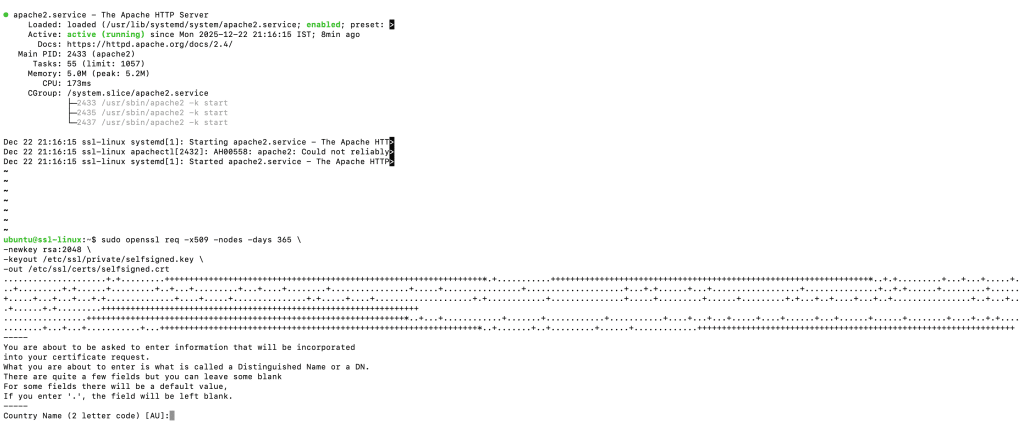
When prompted, enter the required certificate information.

For Common Name, use the server’s IP address or hostname.
Verify certificate files
Confirm that the certificate and private key were created successfully.
sudo ls -l /etc/ssl/private/selfsigned.key

sudo ls -l /etc/ssl/certs/selfsigned.crt
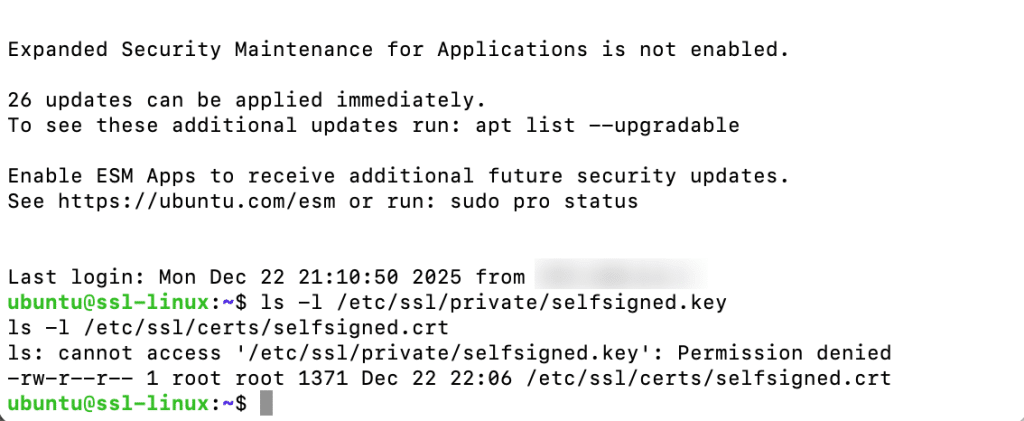
Note:
Access to /etc/ssl/private is restricted. Permission denied errors are expected unless commands are run with sudo.
Enable SSL Module in Apache
Enable the Apache SSL module:
sudo a2enmod ssl
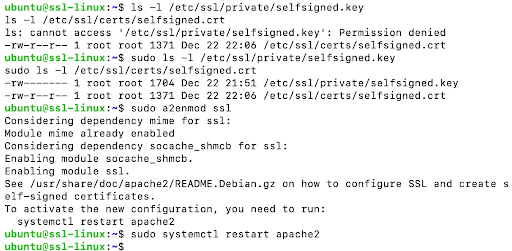
Restart Apache to apply the change:
sudo systemctl restart apache2
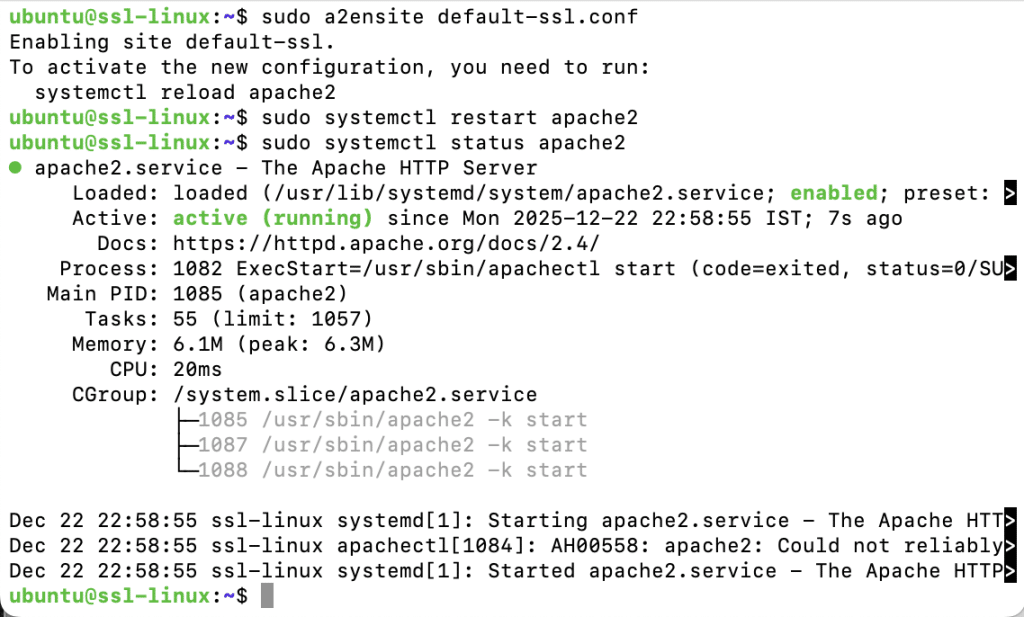
Enable the default SSL site
Apache includes a default SSL virtual host configuration. Enable it using:
sudo a2ensite default-ssl.conf

Restart Apache again:
sudo systemctl restart apache2
Verify Apache status:
sudo systemctl status apache2
Step 8: Test HTTPS Access
Open a browser and navigate to:
https://your_server_ip
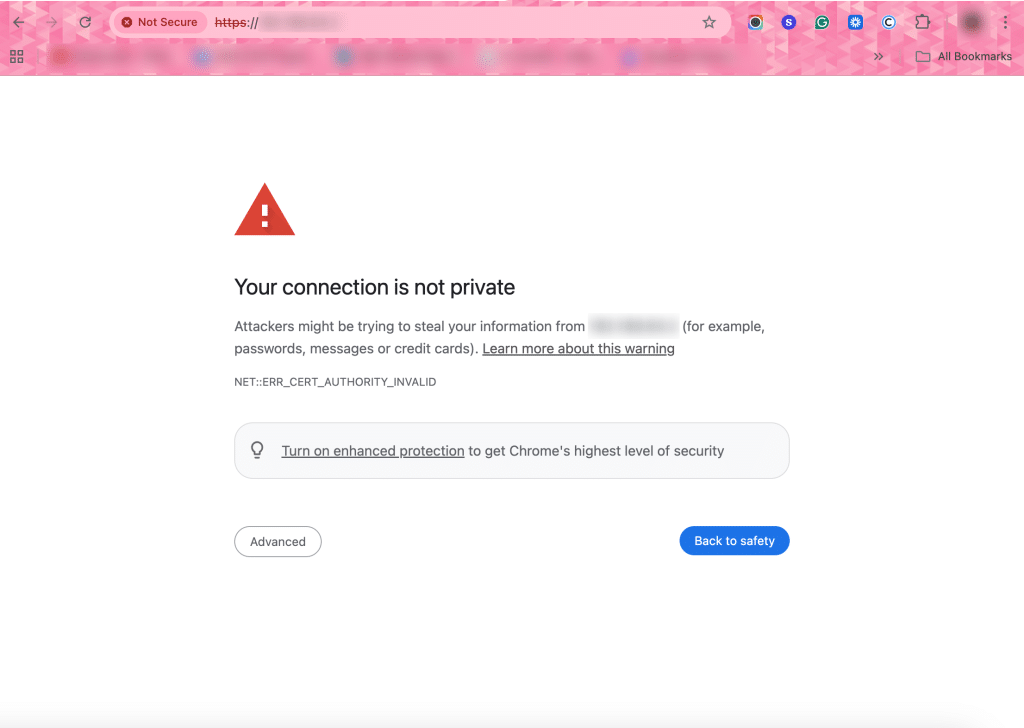
Because the certificate is self-signed, the browser will display a security warning.
Proceed past the warning to confirm that the Apache default page loads over HTTPS.
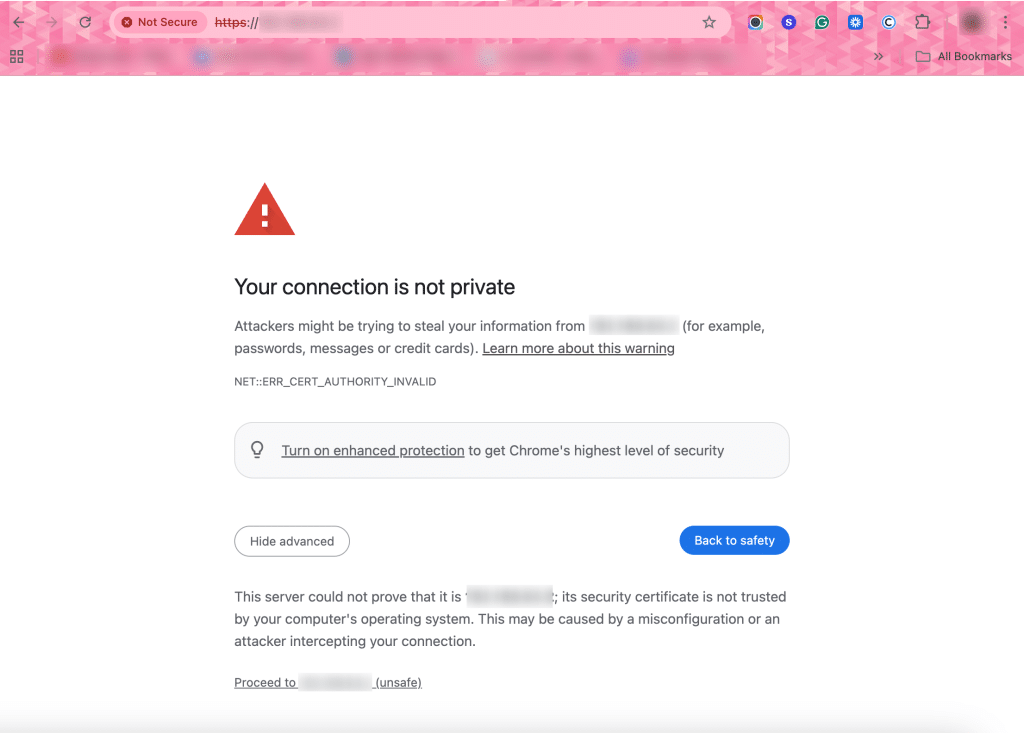
This confirms that SSL is successfully configured.
And that’s it—you’ve now successfully installed and renewed your SSL certificate on Linux, ensuring your server remains secure with trusted HTTPS encryption.