


A server IP address like 10.1.4.7 gets the job done technically, but it’s not something you’d put on a business card. A custom domain gives users a recognizable address to reach your site, and it’s a basic requirement for any public-facing web presence.
This guide walks through how to connect a custom domain to a Kamatera server running Linux. Each step includes the commands you’ll need and the expected output, so you can confirm things are working as you go.
Before starting, make sure you have the following in place:
- An active Kamatera server with a public IP address
- Access to your domain registrar’s DNS settings
The DNS configuration steps in this guide follow standard practice and apply regardless of which domain registrar you use.
Prerequisites
Before you begin, make sure the following are in place:
1. A Kamatera server running Linux. This guide uses Ubuntu-based commands, but the steps apply to most common Linux distributions including Debian and CentOS.
2. A public IP address. Your server needs a public IP address for your domain to point to. You can confirm your server’s public IP by running:
curl ifconfig.me
3. A registered domain name. You’ll need a domain registered with any registrar and access to its DNS management panel.
4. Access to your server. You can connect to your Kamatera server either via SSH or through the web console in the Kamatera dashboard. To connect via SSH, run:
ssh root@<your-server-ip>
If you’re using a non-root user, make sure it has sudo privileges.
5. Basic comfort with the terminal. This guide is written step by step, but some familiarity with running commands will help if you need to troubleshoot.
Once these are in place, you’re ready to move on.
How domain-to-server connection works
Before making any configuration changes, it helps to understand what actually happens when someone types your domain into a browser.
At a high level, the flow looks like this:
Domain name → DNS → Server IP → Web server → Website
Here’s what each step involves:
1. The user enters a domain name
When someone types yourdomain.com into their browser, the browser doesn’t automatically know where that site is hosted. It needs to translate the domain into an IP address first.
2. DNS resolves the domain
DNS (Domain Name System) handles that translation. Think of it as a directory that maps domain names to IP addresses. The key record type here is the A record, which points your domain to your server’s public IP:
yourdomain.com → 101.1.2.3
In this example, 101.1.2.3 would be your Kamatera server’s public IP address.
3. The browser contacts your server
Once DNS returns the IP address, the browser sends a request to your Kamatera server. The server receives the request, but still needs to know which site to serve, particularly if multiple domains are hosted on the same machine.
4. The web server handles the request
This is where NGINX or Apache comes in. Your web server listens for incoming requests on port 80 (HTTP) and port 443 (HTTPS), matches the incoming domain name to the correct configuration, and serves the appropriate files from the configured directory.
5. The browser renders the response
Once the web server identifies the correct site and processes the request, it sends back the page content. The browser renders it and the user sees your website.
Understanding this flow makes each configuration step that follows easier to follow and easier to troubleshoot if something doesn’t work as expected.
Point your domain to your Kamatera server
The first step is to update your domain’s DNS records so that it points to your Kamatera server’s public IP address. You’ll do this through your domain registrar’s DNS management panel.
Step 1: Add the following A records:
html
| Type | Host | Value | TTL |
|---|---|---|---|
| A | @ | <YOUR_SERVER_IP> | 300 |
| A | www | <YOUR_SERVER_IP> | 300 |
The @ record points your root domain (yourdomain.com) to your server. The www record ensures that www.yourdomain.com resolves to the same place.
Replace <YOUR_SERVER_IP> with the public IP address of your Kamatera server.
DNS propagation
DNS changes don’t take effect instantly. Depending on your registrar and TTL settings, propagation can take anywhere from a few minutes to a few hours.
Once you’ve made the changes, you can check whether your domain is resolving correctly:
nslookup yourdomain.com
Or:
ping yourdomain.com
The output should show your server’s IP address. Once it does, you’re ready to configure the server itself.
Connect to your Kamatera server
You can connect to your server either via SSH from your local machine or through the web console in the Kamatera dashboard.
To connect via SSH:
ssh root@<your-server-ip>
If you’re using a non-root user:
ssh username@<your-server-ip>
Replace <your-server-ip> with your server’s actual public IP address.

If your server is configured to use an SSH key, connect with:
ssh -i /path/to/your-key.pem username@<your-server-ip>
Once connected, you should see a terminal prompt along the lines of:
root@your-server:~#
This confirms you’re logged in and operating inside your server. You can do a quick optional check of your server environment by running:
uname -a
Step 3: Install and start NGINX
To serve your website over your domain, you need a web server. This guide uses NGINX, though Apache is also a valid option if you prefer it.
Update your package list first:
sudo apt update
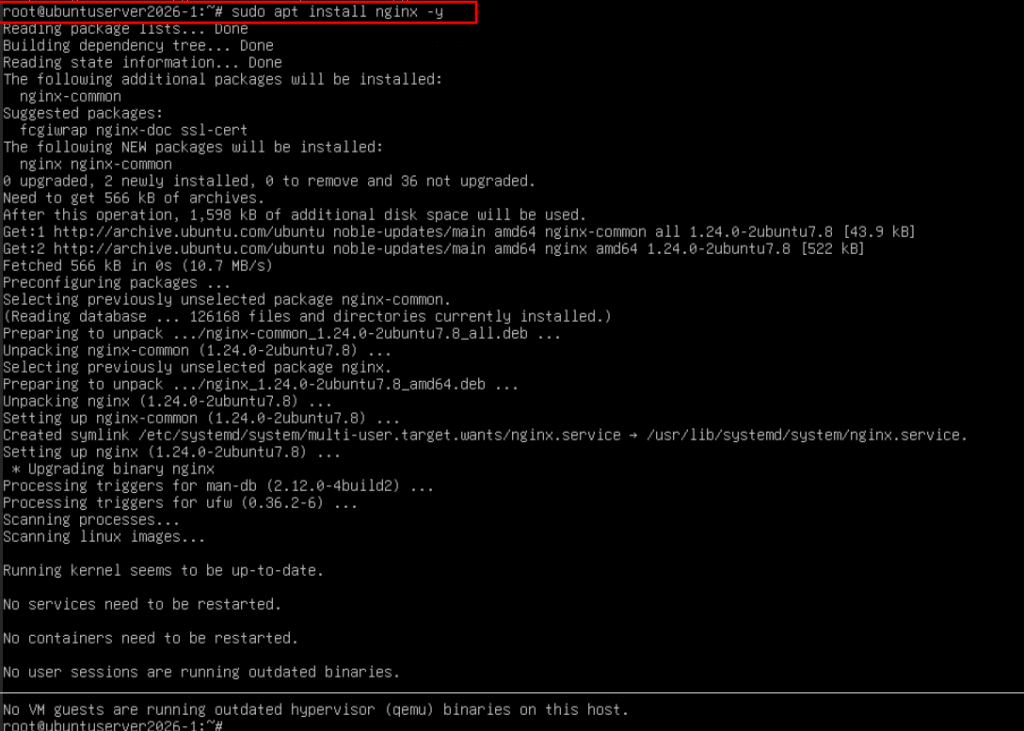
Then install NGINX:
sudo apt install nginx -y
Once installed, start the service and enable it to run automatically on restart:
sudo systemctl start nginx
sudo systemctl enable nginx
- Verify installation
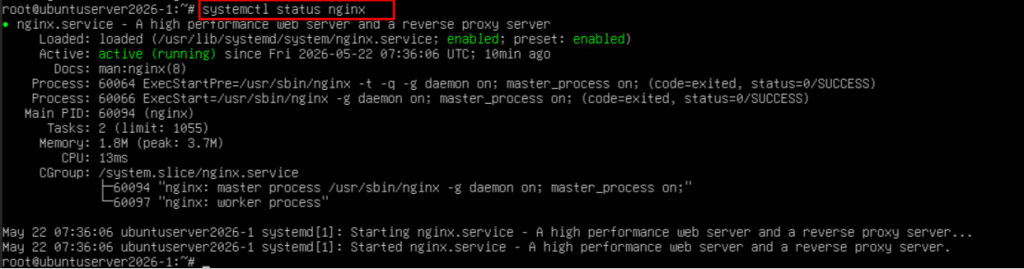
Check the status:
systemctl status nginx
Expected result:
You should see active (running) in the output.
5. Test in browser
Open your browser and visit your server IP: http://your_server_ip
You should see the default NGINX welcome page. This confirms that the web server is installed and working correctly.
 Configure NGINX to serve your domain
 Configure NGINX to serve your domain
With NGINX running, you need to create a server block that tells it how to handle requests for your domain.
Create a new configuration file:
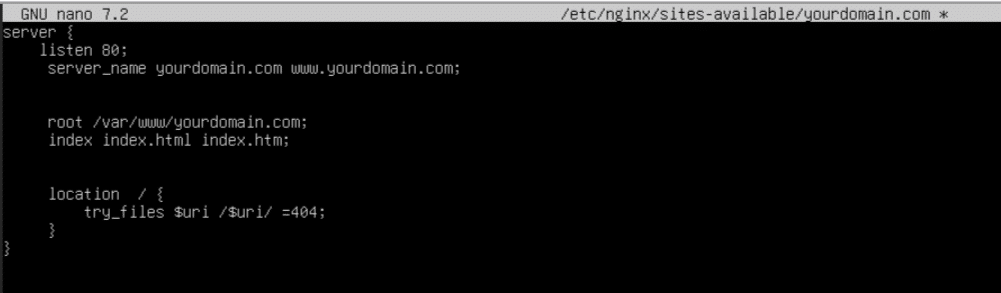
sudo nano /etc/nginx/sites-available/yourdomain.com
Add the following configuration, replacing `yourdomain.com` with your actual domain:
server {
listen 80;
server_name yourdomain.com www.yourdomain.com;

root /var/www/yourdomain;
index index.html index.htm;

location / {
try_files $uri $uri/ =404;
}
}
Replace yourdomain.com with your actual domain.
Enable the configuration by linking it to the active sites directory:
sudo ln -s /etc/nginx/sites-available/yourdomain.com /etc/nginx/sites-enabled/
Test for configuration errors before applying:
sudo nginx -t
If the test passes without errors, reload NGINX:
sudo systemctl reload nginx
Create your website directory and test page
Now create the directory where your website files will live:
sudo mkdir -p /var/www/yourdomain
Assign ownership so you can manage files without elevated permissions:
sudo chown -R $USER:$USER /var/www/yourdomain
Create a basic test page:
nano /var/www/yourdomain/index.html
Add the following content:
<h1>Your domain is successfully connected!</h1>
<p>If you see this page, your Kamatera server is correctly configured.</p>
Save and exit, then open your browser and visit: http://yourdomain.com
You should see your test page.

If the default NGINX welcome page still appears, check that the configuration file is enabled and that you reloaded NGINX after making changes.
Enable HTTPS with Let’s Encrypt
To secure your site with HTTPS, you can use Let’s Encrypt, which provides free SSL certificates through the Certbot tool.
Install Certbot:
sudo apt install certbot python3-certbot-nginx -y
Run Certbot to obtain and install a certificate:
sudo certbot --nginx -d yourdomain.com -d www.yourdomain.com
During the process, you’ll be asked to provide an email address, agree to the terms of service, and choose whether to redirect HTTP traffic to HTTPS. Selecting yes on the redirect is recommended.
Certbot will install the certificate and update your NGINX configuration automatically. Once complete, visit: https://yourdomain.com
Your site should load securely with a padlock icon in the browser.
Let’s Encrypt certificates expire every 90 days, but Certbot sets up automatic renewal. You can test that renewal works correctly with:
sudo certbot renew --dry-run
Troubleshooting common issues
Even with the correct steps, you might run into a few common issues. Below are quick checks to help you resolve them.
Domain not resolving
Run nslookup yourdomain.com to check whether DNS is pointing to your server. If it isn’t, the most likely causes are DNS propagation still in progress, an incorrect IP in the A record, or a typo in the domain name.
Default NGINX page still showing
Confirm your configuration file is enabled:
ls /etc/nginx/sites-enabled/
Then reload NGINX and double-check that server_name in your config matches your actual domain.
403 Forbidden error
This is usually a permissions issue. Run:
sudo chown -R $USER:$USER /var/www/yourdomain
sudo chmod -R 755 /var/www/yourdomain
NGINX fails to reload
Run the following command to identify any syntax errors in your configuration file.
sudo nginx -t
HTTPS not loading
Re-run Certbot and confirm that ports 80 and 443 are open on your server.
sudo certbot --nginx
Website not accessible externally
Your firewall may be blocking traffic. Run:
sudo ufw allow 80
sudo ufw allow 443
sudo ufw reload
Most issues come down to DNS delays, a missed reload, or a configuration mismatch. Working through these checks should resolve the majority of problems.
Using a Windows server instead of Linux
If your Kamatera server runs Windows, the process is largely the same. The difference is that instead of NGINX, you’ll use IIS (Internet Information Services), which is configured through a graphical interface rather than the terminal.
The basic steps are:
1. Install IIS. Open Server Manager, go to Add Roles and Features, and select Web Server (IIS).
2. Create a website. Open IIS Manager, right-click Sites, and select Add Website. Set the site name, physical path, and domain binding.
3. Bind your domain. In the website settings, configure the host name to match your domain. This is the equivalent of `server_name` in NGINX.
4. Configure DNS. Point your domain to your server IP using an A record, exactly as described in Step 1 of this guide.
5. Enable SSL. Attach an SSL certificate through IIS bindings. For Let’s Encrypt integration on Windows, tools like win-acme are commonly used, though you should verify current support and compatibility before relying on any specific tool.
Conclusion
Connecting a custom domain to your Kamatera server comes down to three core steps: pointing your domain to your server via DNS, configuring your web server to handle requests for that domain, and securing the connection with SSL.
Once this is in place, your domain becomes the primary entry point to your application or website. From here you can build further by deploying applications, setting up reverse proxies, or configuring more advanced hosting environments as your needs grow.