


A headless Linux server is a system without a graphical interface (GUI), typically managed via a command-line interface (CLI) over SSH. Running an internet speed test on such a server helps you measure the network’s download, upload, and latency metrics. This is especially useful for troubleshooting connectivity issues, benchmarking server performance, or validating data center network speeds.
One of the most common tools for performing a CLI-based speed test is Speedtest CLI provided by Ookla, the company behind Speedtest.net. This guide will walk you through installing and running a speed test on a headless Linux server using Speedtest CLI.
Step-by-Step Guide
For this guide, we are using Ubuntu 24.04, installed via Kamatera’s Server OS Images. Read more on how to deploy a Kamatera server.
- Use your terminal or command prompt to SSH into the server:
Command: ssh username@your_server_ip
Note: Replace username and your_server_ip with your actual SSH username and server IP address.

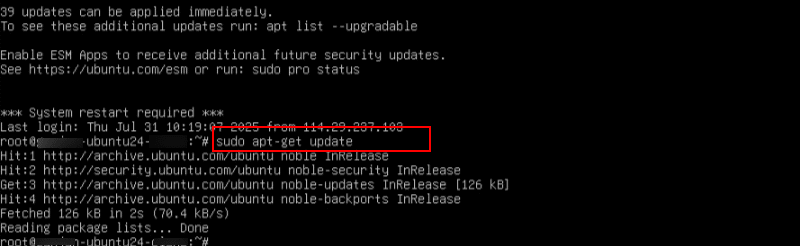
2. The below command refreshes your system’s package index, ensuring it has the latest information about available software and updates from all configured repositories. This step is essential before installing any new packages to avoid version conflicts or missing dependencies.
Command: sudo apt-get update
3. How to install Speedtest CLI:
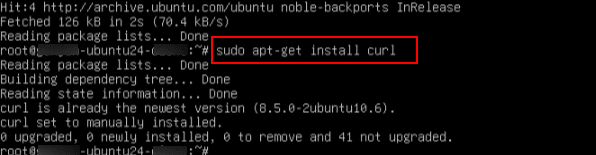
The following command installs the “curl” utility, a tool used to transfer data from or to a server using various protocols like HTTP, HTTPS, and FTP. It is commonly used to download files or interact with APIs from the command line.
Command: sudo apt-get install curl
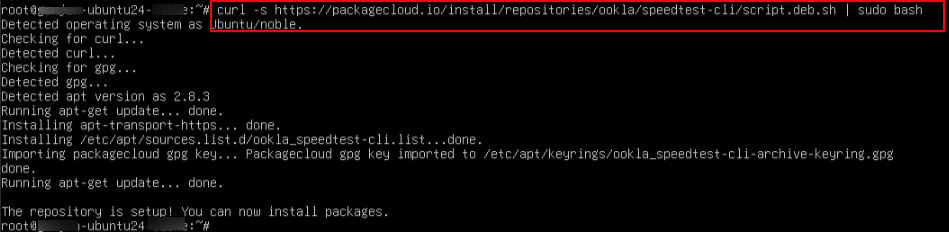
4. This command downloads and runs Ookla’s official repository setup script, which adds the Speedtest CLI package source to your system and imports its GPG key. It prepares your system to install the Speedtest CLI using “apt” from a trusted source.
Command:
curl -s https://packagecloud.io/install/repositories/ookla/speedtest-cli/script.deb.sh | sudo bash
5. The following command installs the Speedtest CLI tool from Ookla using your system’s package manager. This allows you to run internet speed tests directly from the command line. It requires that the Ookla repository be added in advance (which is done in the previous test).
Command: sudo apt-get install speedtest
If you see the error: “E: Unable to locate package speedtest”.
Ubuntu 24.04 users: This command will not work, because Ookla has not yet added support for Ubuntu 24.04 in their APT repo. Please use the Snap-based installation below instead.

6. If the APT method doesn’t work (e.g., on newer systems like Ubuntu 24.04), you can install Speedtest CLI using Snap, which is officially supported by Ookla.
To install via Snap, run
Command: sudo snap install speedtest
This works on Ubuntu 16.04 and newer (including 24.04 Noble) and Headless servers (Snap works fine over SSH)
Note:
If Snap is not already installed on your system, run the following commands first:
Command: sudo apt update

Command: sudo apt install snapd
Then, install Speedtest CLI:
Command: sudo snap install speedtest

7. Once installed, run the following command to begin the test:
Command: speedtest
When prompted “Do you accept the license? [type YES to accept]”, then type YES to accept.
You will see results showing:
- Latency
- Download speed
- Upload speed

8. You can run the command with extra flags such as show results in JSON:
Command: speedtest --format=json

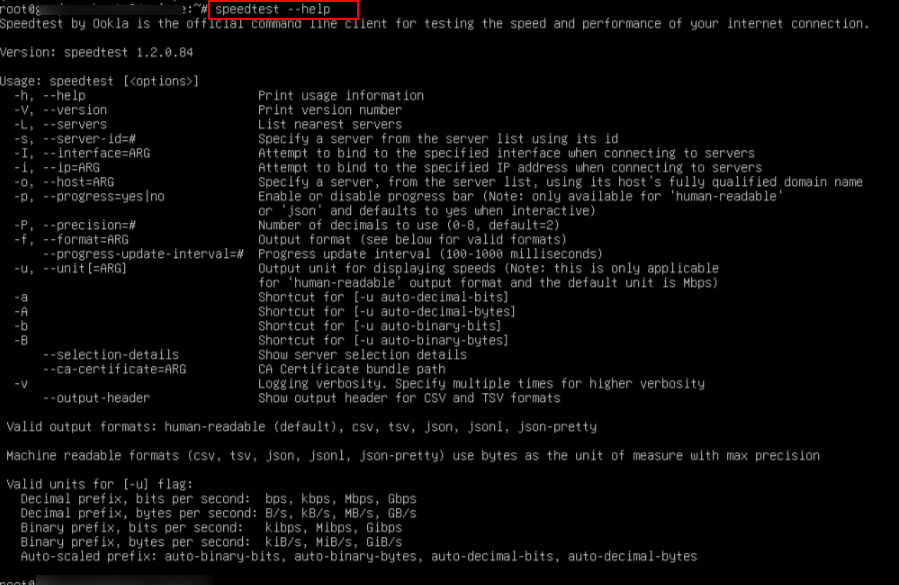
- Run this to see all supported options:
Command: speedtest --help
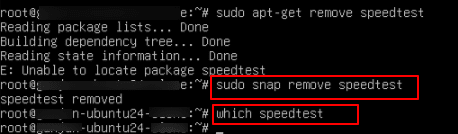
10. How to Remove Speedtest CLI:
- To remove the Speedtest CLI installed via Snap, run the following command:
Command: sudo snap remove speedtest
This will cleanly uninstall the official Ookla Speedtest CLI from your system.
- To verify that it has been removed, run:
Command: which speedtest
If nothing is returned, it is fully removed.
Note:
If you installed Speedtest CLI using APT instead of Snap, then run the below command.
Command: sudo apt-get remove speedtest-cli
And that’s it! You have succesfullly installed and run a speed test on your headless Linux environment.