


A firewall determines whether to permit or block network data based on predefined rules. When you first set up a server or introduce new applications that require internet connectivity, it is crucial to configure the firewall to grant access to the necessary incoming traffic.
This article will guide you through the process of opening a port in the firewall on your Windows server on Kamatera.
Video Tutorial:
Step-by-step guide:
-
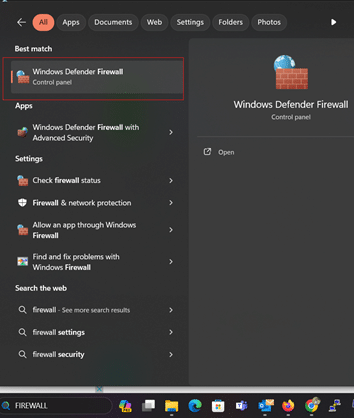
- Right-click the Start button.
- Click Search.
- Type Windows Firewall.
- Click Windows Firewall.
-
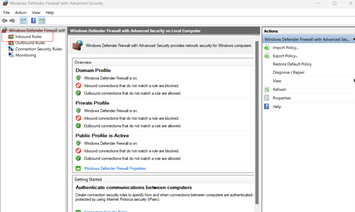
- Click Advanced settings.
- Click Inbound Rules in the left frame of the window.
-
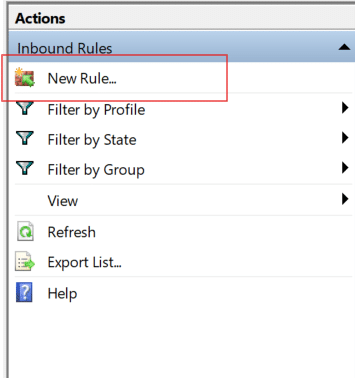
- Click New Rule… in the right frame of the window.
-
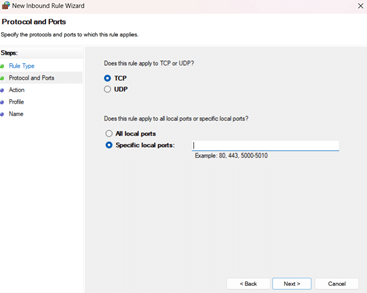
- Click Port.
- Click Next.
- Click either TCP or UDP.
- Click Specific local ports.
That’s it! You have successfully allowed a port through the firewall on your Kamatera Windows server.