


When a server goes offline, it can disrupt business operations, affect user access, and lead to potential data loss or revenue impact. In this guide, we’ll walk you through the essential steps to identify the root cause of the downtime, apply fixes, and restore normal functionality as quickly as possible. On Kamatera, many recovery steps can be simplified with built-in tools and support features.
This guide is based on a Kamatera server running Ubuntu. We accessed the server by logging in using the assigned username and password. Read more on how to deploy a Kamatera server.

1. Identify the nature of the downtime
Check if the server is entirely offline or if only specific services (like a website or database) are down. Use tools like ping, traceroute, or telnet to verify connectivity.
- For Ubuntu:
Command:
ping your-server-ip

Command:
telnet your-server-ip port
(For example: telnet your-server-ip 22)

- Kamatera console:
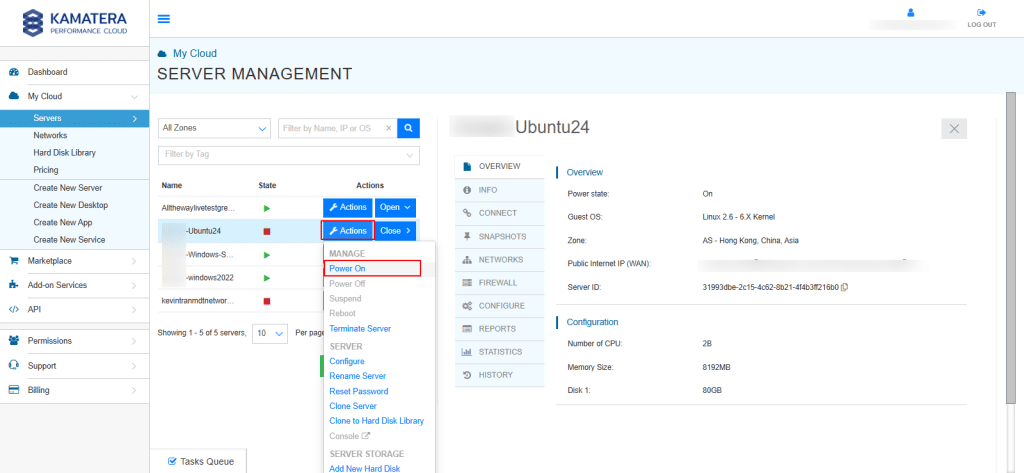
If you are using Kamatera, use the cloud management console to check the server’s current state and logs by clicking on Actions button beside the server’s name as shown in the screen below.

2. Access your server management console
First, log into your cloud provider’s management console (e.g., Kamatera Management Console) and under Actions drop-down menu, check the server’s power state: if it’s off or suspended, try restarting it from the dashboard.
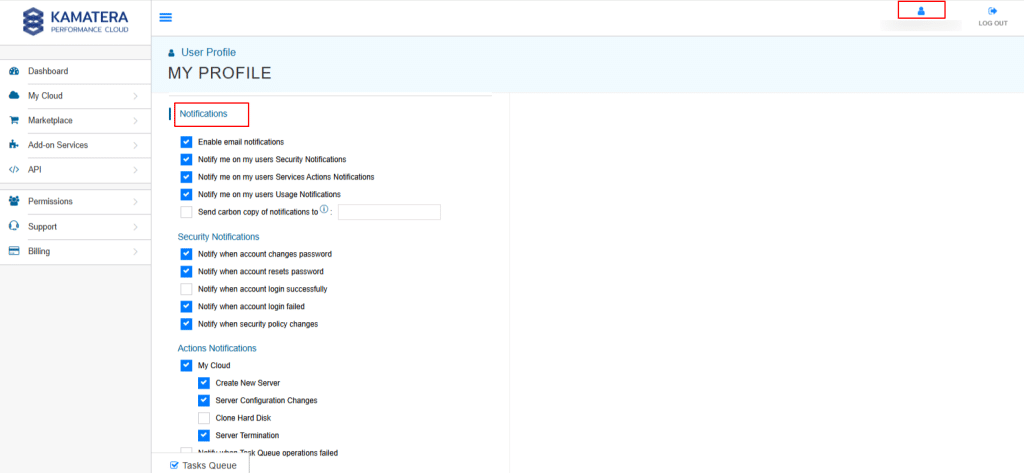
Click on the user profile icon on the left-hand side, as shown in the screenshot below, and scroll down to view notifications related to server health.
3. Check system logs
Use SSH or remote desktop (if accessible) to log into the server by running the command below.
Command:
ssh root@<server_ip>
Enter the password when prompted.

Now, view logs for error messages:
To diagnose server issues, it is important to check system and application logs for any error messages or warnings. These logs can provide valuable insights into what caused the problem, such as service failures, network issues, or application crashes.
On an Ubuntu server, you can view logs using the following commands:
- For Ubuntu:
Command:
sudo tail -n 50 /var/log/syslog
![]()
- For Windows:
Click on the Start menu or press the Windows key, then type Event Viewer in the search bar. From the search results, click on Event Viewer to open the application.
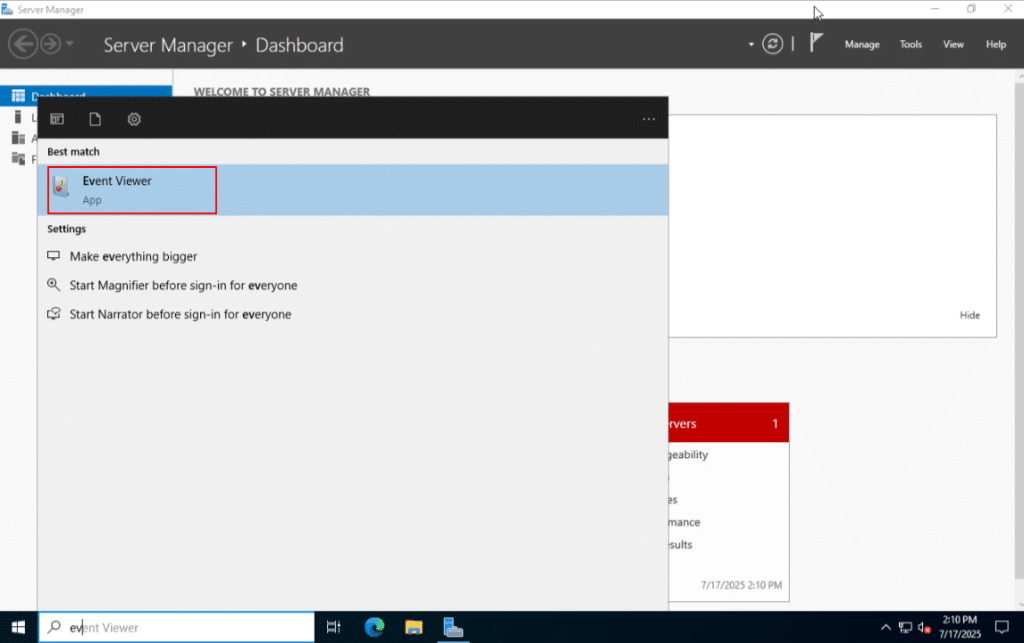
In the Event Viewer window, navigate to Windows Logs on the left panel. Click on System, Application, or Security logs to view detailed event information. Look for entries marked with Error or Warning icons, which may indicate issues related to system performance, services, or applications.

4. Verify Network Configuration
To ensure that your server can communicate with other devices and the internet, it is important to verify that it has a valid IP address, subnet mask, gateway, and DNS settings.
If it doesn’t work, check the current network configuration by running the below command to view server’s network details.
- For Ubuntu:
Command:
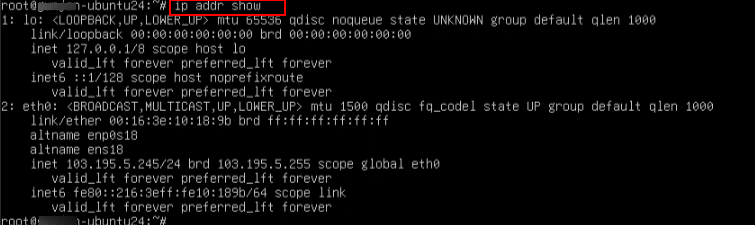
ip addr show
This will display information about all network interfaces. Look for an interface (e.g., eth0) with a valid IP address assigned.
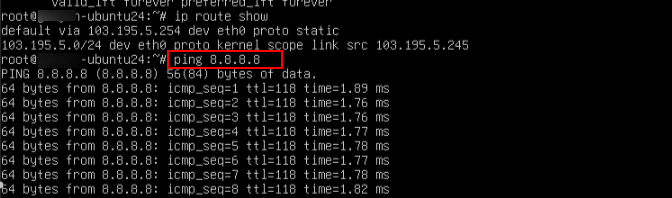
To view routing information and confirm the default gateway is set correctly, run:
Command:
ip route show
You should see a line similar to: “default via 192.168.1.1 dev eth0”

Test network connectivity by pinging an external IP (like Google DNS) to check internet access:
Command:
ping 8.8.8.8
Sometimes, just restarting the network service can help reapply settings or recover connectivity issues.
Command:
sudo netplan apply
Note: The correct command depends on your OS version and how networking is managed. If you are unsure, you can also restart the server by running the command below.
Command:
sudo reboot

- For Windows:
To view detailed information about your network configuration on a Windows server or desktop, click on the Start menu or press the Windows key, then type in cmd in the search bar. From the search results, click on Command Prompt to open the application.
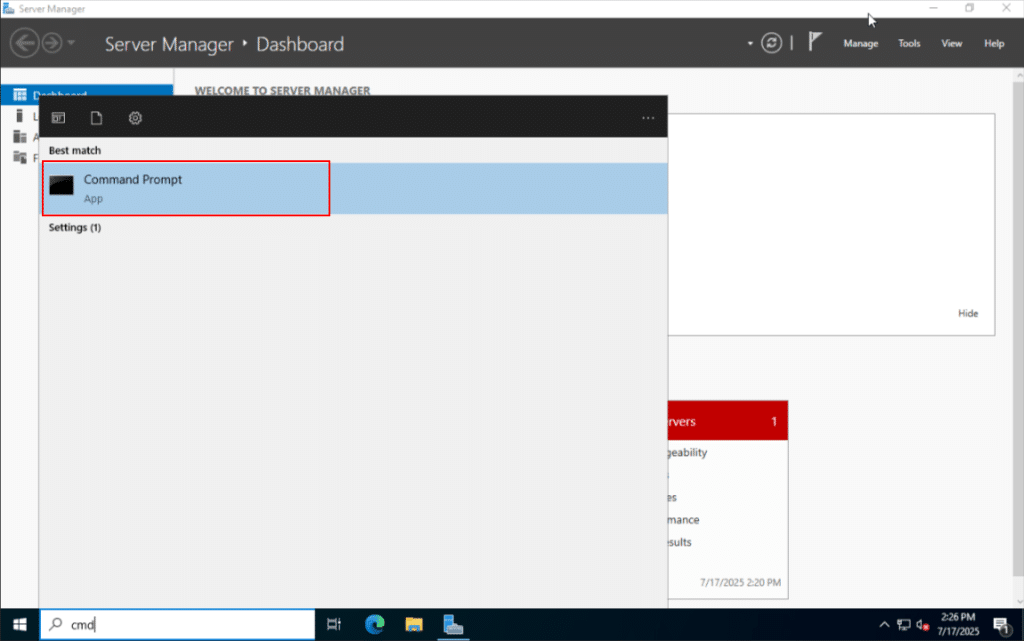
In the terminal window, type the following command and press Enter.
Command:
ipconfig /all
This will display a full list of network details for all available adapters, including Host name, IPv4 address, Subnet mask, Default Gateway, DNS servers, MAC Address, DHCP status
Note: Look for the network adapter that is connected (usually labeled as “Ethernet” or “Wi-Fi”) and ensure the fields like IPv4, Gateway, and DNS have valid values.
If any field (like IP address or gateway) is missing or incorrect, your server may not be able to access the network or internet. In that case, you may need to renew the IP address, switch to DHCP, or manually configure the settings.

When you are not getting valid IP address, or when you have changed network settings/ switched networks or when you are troubleshooting network issues, or when switching from static IP to DHCP, running the below commands helps “reset” the IP assignment:
Commands:
ipconfig /release

ipconfig /renew
The first command gives up the current IP address, and the second command requests a new IP address from the DHCP server.
Note: These commands only work if DHCP is enabled on your network adapter. If DHCP is disabled (as shown in the above screenshot: DHCP Enabled: No), the commands will fail or show: “The operation failed as no adapter is in the state permissible for this operation”.
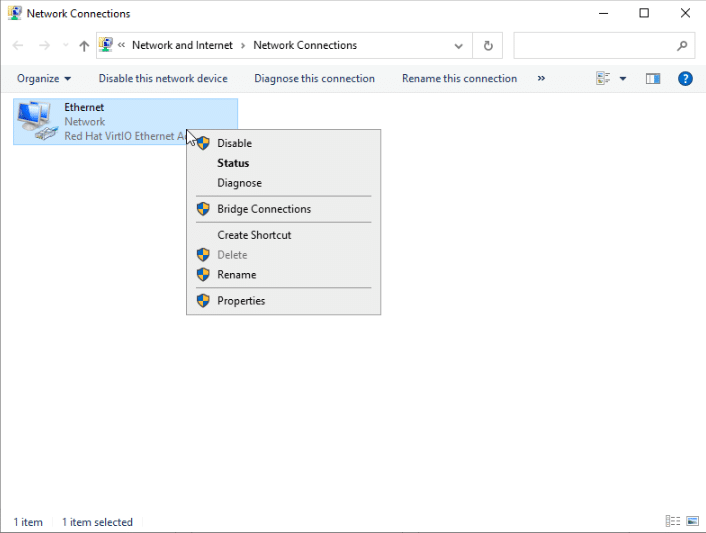
If DHCP is disabled, then enable DHCP by going to
- Control Panel-> Network and Sharing Center > Change Adapter Settings (from the left pane).
- Right-click your adapter-> Properties.
- In the pop-up window, select Internet Protocol Version 4 (TCP/IPv4) ->Click Properties.
- Now, select Obtain the IP address automatically and Obtain DNS Server automatically.
Then rerun:
ipconfig /release
ipconfig /renew
Now, run the below command to verify the interface status
Command:
netsh interface show interface
In the output, you will see Ethernet Adapter is enabled, actively connected to a network, and configured as a dedicated interface.

- Kamatera console
Check firewall or security group settings in Kamatera to ensure the necessary ports are open (e.g., 22 for SSH, 80/443 for web). Here’s detailed instructions on how to set up a firewall on Kamatera.
5. Check for resource exhaustion
Sometimes, a server may go offline or become unresponsive due to the exhaustion of critical system resources such as CPU, memory (RAM), disk space, or network bandwidth. Identifying and resolving these bottlenecks can help bring the server back online.
-
- For Ubuntu:
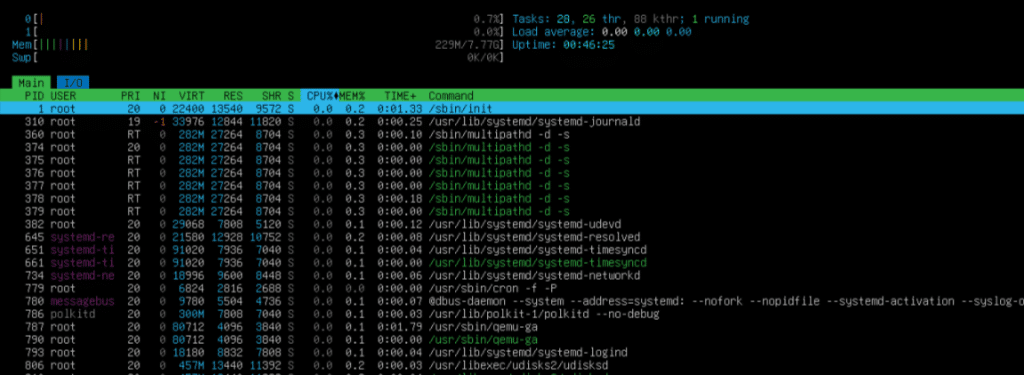
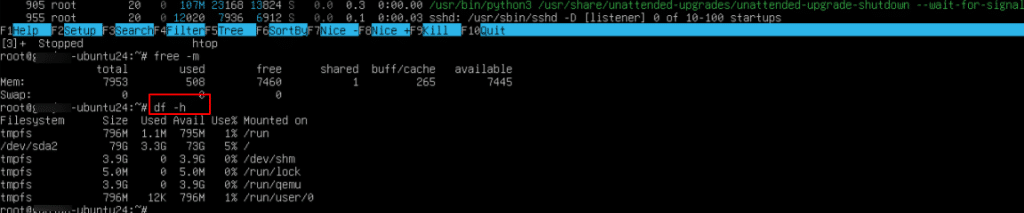
Use tools like top, htop, free -m, df -h to inspect CPU, RAM, and disk usage. Run the following commands to monitor key resources.
To check CPU and memory usage, run
Command:
top

Command:
htop #if installed
To check memory usage, run
Command:
free -m

To check available disk space, run
Command:
df -h
- For Windows:
Use the following tools to check for system resource bottlenecks: Task manager: Beside the start menu, in the search bar, type Task Manager and from the search results, select Task Manager. 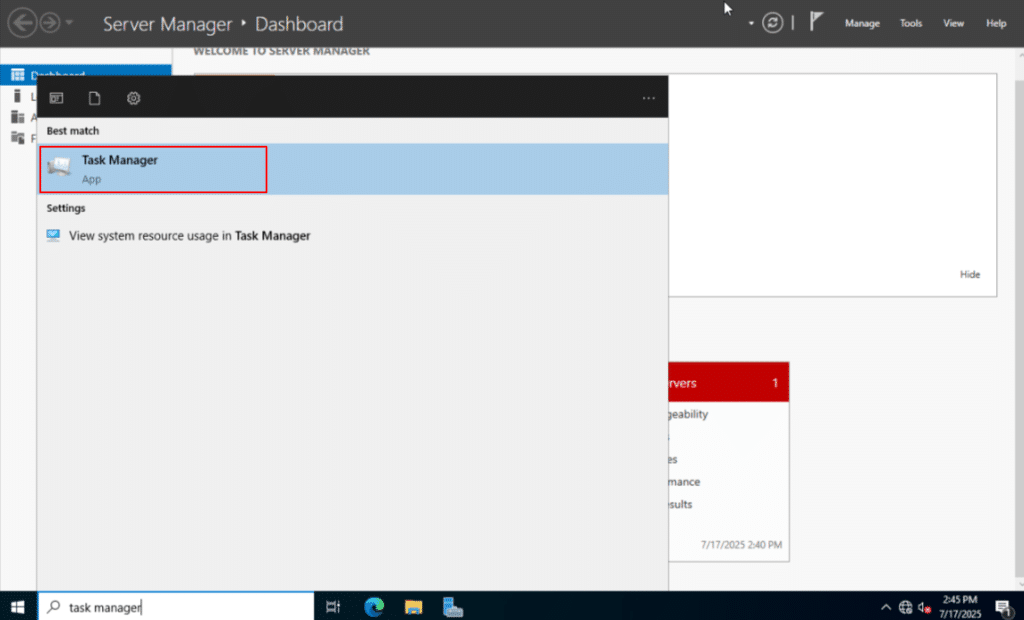 Go to the Performance tab and check CPU, Memory, Disk, and Ethernet usage.
 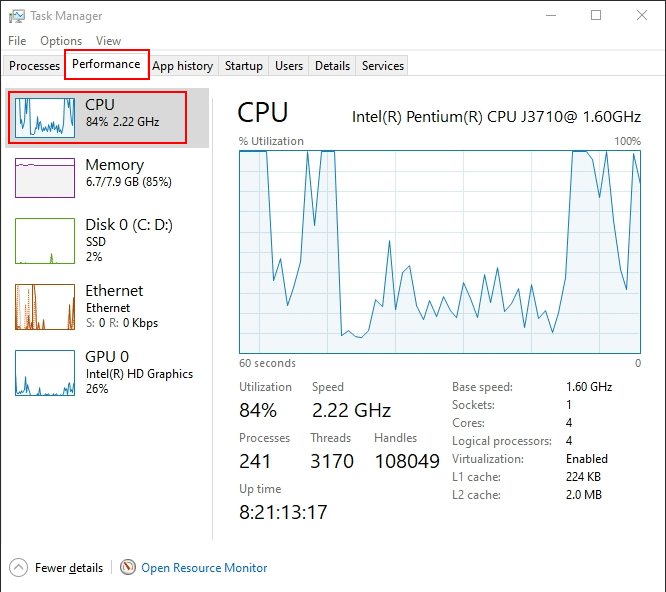 Resource monitor: Press Windows + R, type resmon, and press Enter. This provides a more detailed breakdown of processes consuming system resources.
 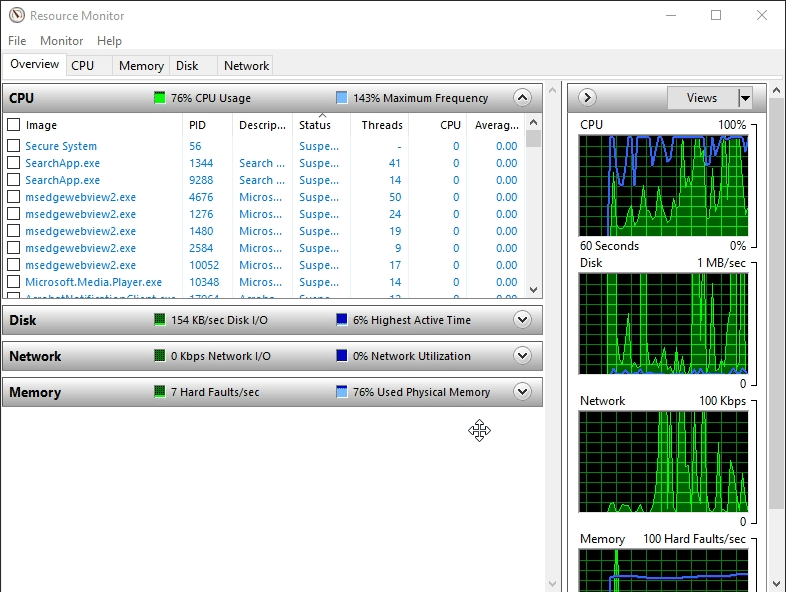 Event viewer Search for and open Event Viewer. Navigate to: Windows Logs > System or Application. Look for Warnings or Errors related to memory pressure, disk I/O issues, or driver failures.
  Disk usage check Open File Explorer, go to This PC, and check for red bars indicating low disk space.
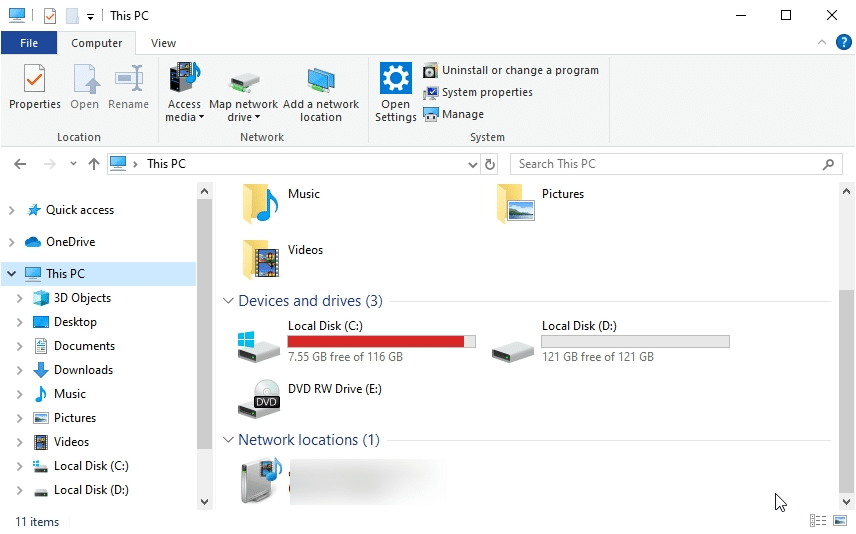
- Kamatera console
In Kamatera, you can resize the server directly from the console if resource limits are an issue. In the Server Management dashboard, click CONFIGURE and you can update the server configuration. 
6. Restart essential services
Restart the services that were down:
- For Ubuntu:
Command:
sudo systemctl restart <your-service>
Note: Replace <your-service> with actual service name.
sudo systemctl restart apache2 # For Apache
sudo systemctl restart nginx # For Nginx
sudo systemctl restart mysql # For MySQL
sudo systemctl restart postgresql # For PostgreSQL

- For Windows:
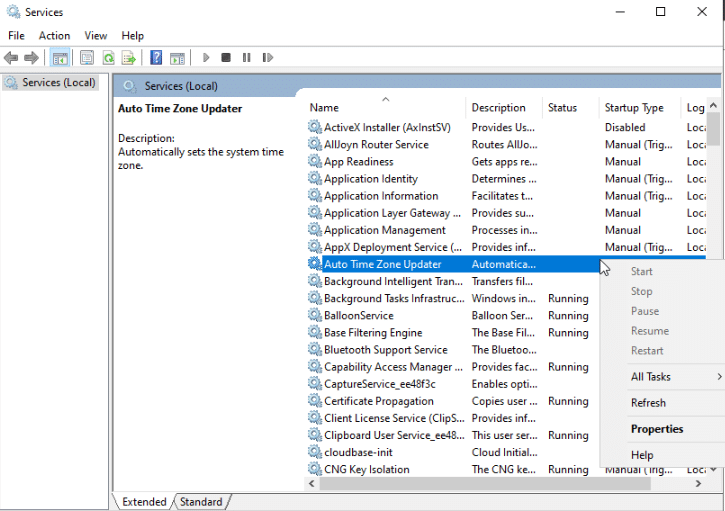
Click on the Start menu or press the Windows key on your keyboard. In the search bar, type Services. From the search results, click on the Services app.

The Services window will open, displaying a list of all Windows services and their current status (Running, Stopped, etc.). From here, you can start, stop, restart, or change the startup type of specific services that may be affecting server functionality.
Note: Look for essential services like DHCP Client, DNS Client, or Network Connections. If any of these are stopped, try right-clicking and selecting Start or Restart.
7. Perform a Full Reboot (If needed)
Reboot the server entirely, if partial fixes don’t work.
- For Ubuntu:
Run the command below to reboot the server.
Command:
sudo reboot
![]()
- For Windows:
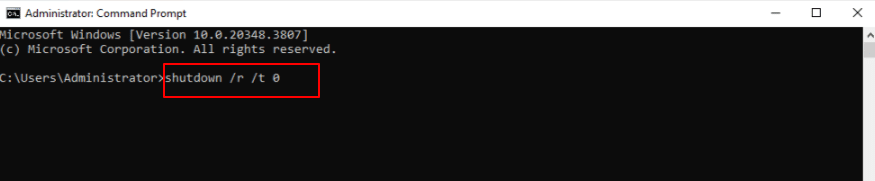
In the command prompt, run the command below to reboot the server.
Command:
shutdown /r /t 0
- Kamatera Console
In the Server Management dashboard, click Actions button beside the server. From the drop-down menu, select Reboot.

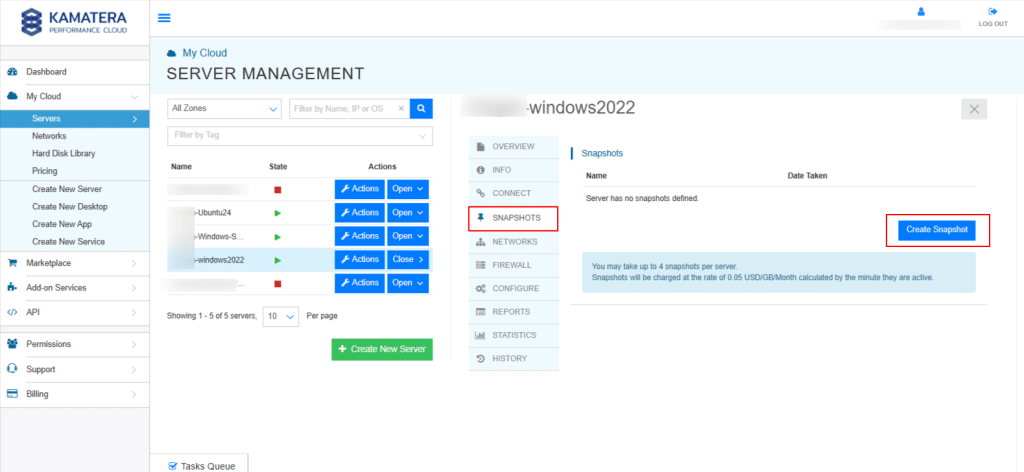
Restore from Backup (If required): If the system remains unresponsive or corrupted, consider restoring your latest backup. Kamatera offers snapshot and image-based backup options for quick recovery. Go to your server, click SNAPSHOTS, and click Create Snapshot as shown in the screen below.
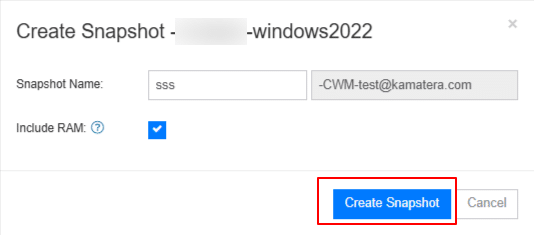
When a pop-up window opens, enter the Snapshot name and click Create Snapshot.
This will create a snapshot, as shown in the screen below.
You will then see two options: Revert and Commit.
Revert: This option allows you to roll back the server to the state captured in the snapshot. It is useful if recent changes caused issues or unexpected behavior.
Commit: This option confirms and saves the current state of the server, effectively discarding the snapshot. Use this once you have verified that everything is functioning correctly.
Note: Use these options carefully, as reverting can undo all changes made after the snapshot was taken.

8. Monitor after recovery
Once your server is back online, verify that all essential services (such as web servers, databases, and applications) are running smoothly and accessible from external networks. Test connectivity by accessing the server’s public IP or domain from a browser or remote system.
To prevent future downtime or detect system issues early, consider using monitoring tools like Glances. Glances provides real-time insights into CPU, memory, disk, network, and process activity all in a single terminal view. By running it periodically or in the background, you can proactively monitor system performance and spot bottlenecks before they impact availability.
Run the below commands:
Command:
sudo apt update
Command:
sudo apt install glances

Now, run:
Command:
glances
You will now see a live dashboard of your system resources.
9. Document the incident
Document and record the root cause, steps taken, and resolution time. This will help streamline future recovery efforts and prevent recurring issues.
And those are all the steps you can take to get your server back online.