


Customer IDs are essential identifiers that link users to specific customer organizations, enabling proper billing, access control, and organizational separation across your reseller account. For resellers managing a large or complex client base, keeping your customer records clearly organized is essential for billing, support, and reporting. This article guides you through the process of assigning a unique Customer ID to each of your user accounts.
As a reseller managing multiple customer accounts, correctly assigning Customer IDs ensures that users have access to the right resources, appear under the correct organization in your dashboard, and are billed to the appropriate customer account.
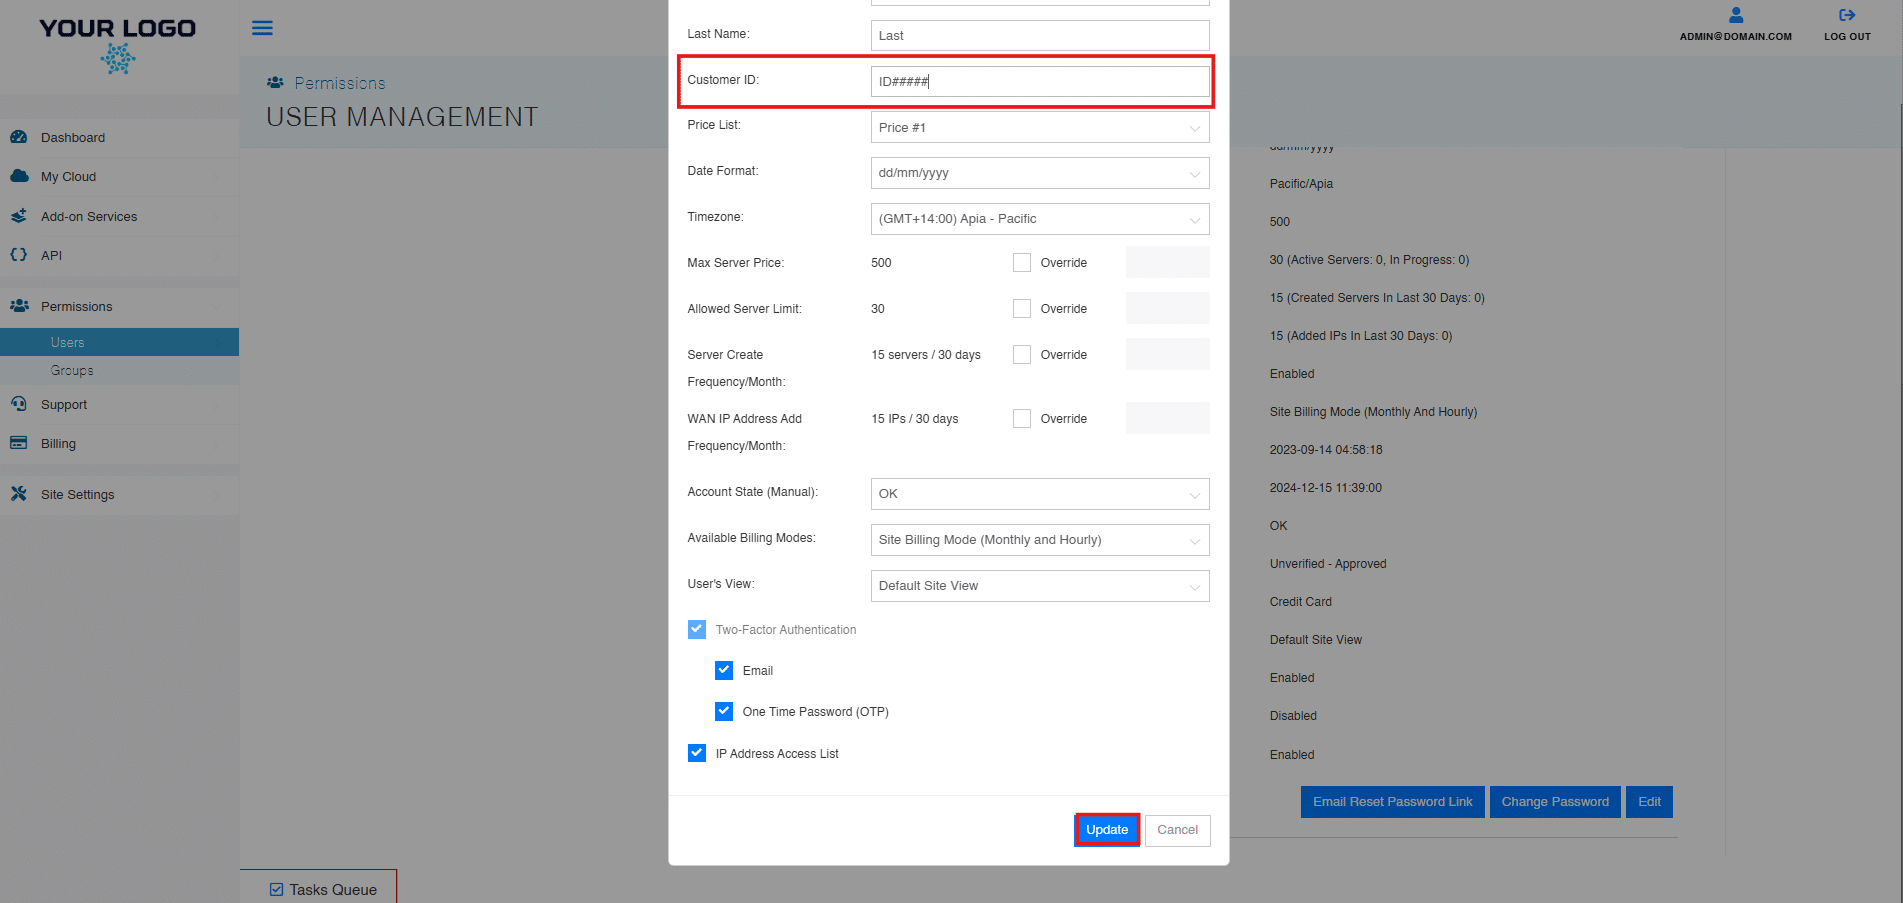
- From the administrative panel on the left side of the screen, select “Permissions” > “Users.”
- Select the user from the User Management list.
- Select “Edit,” located in the bottom right corner of the User Information window.
- Input your preferred customer ID for this user and select “Update.”
And that’s it! You have successfully learned how to assign and manage a unique customer ID for each of your user accounts.