


One of the most important practices for any server administrator is ensuring data safety through regular backups. Backups protect you from accidental data loss, system crashes, or malicious attacks by allowing you to quickly restore your server to a previous stable state. In this guide, we’ll walk you through the steps to back up your Kamatera server and restore it when needed.
For this process, we will be using an Ubuntu server on Kamatera’s cloud platform. Here’s how to deploy a Kamatera server.
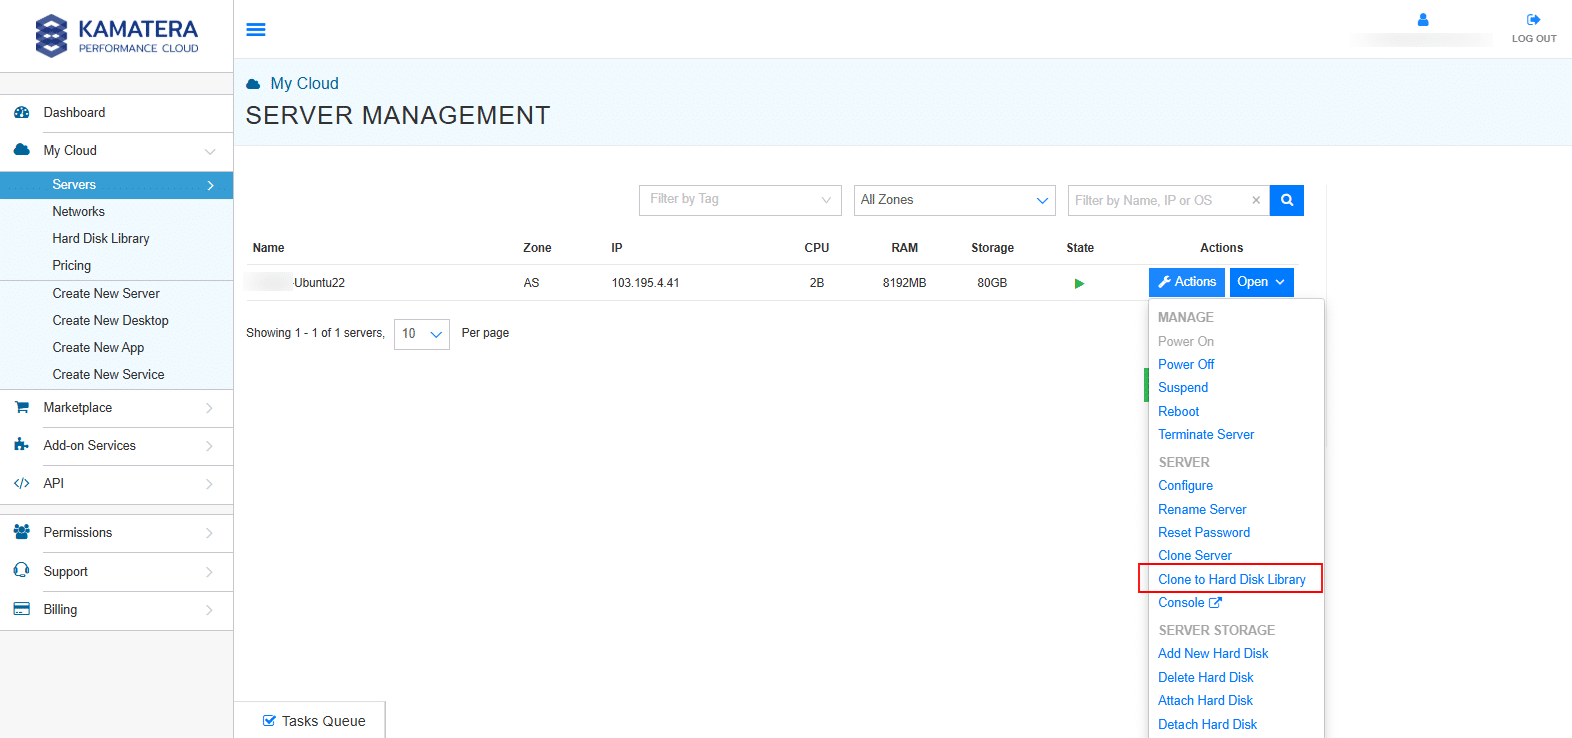
- Enter your credentials to access the Kamatera management console and click Login. Your Ubuntu server will appear in the SERVER MANAGEMENT dashboard. Click on Actions, then select Clone to hard disk library from the dropdown menu.
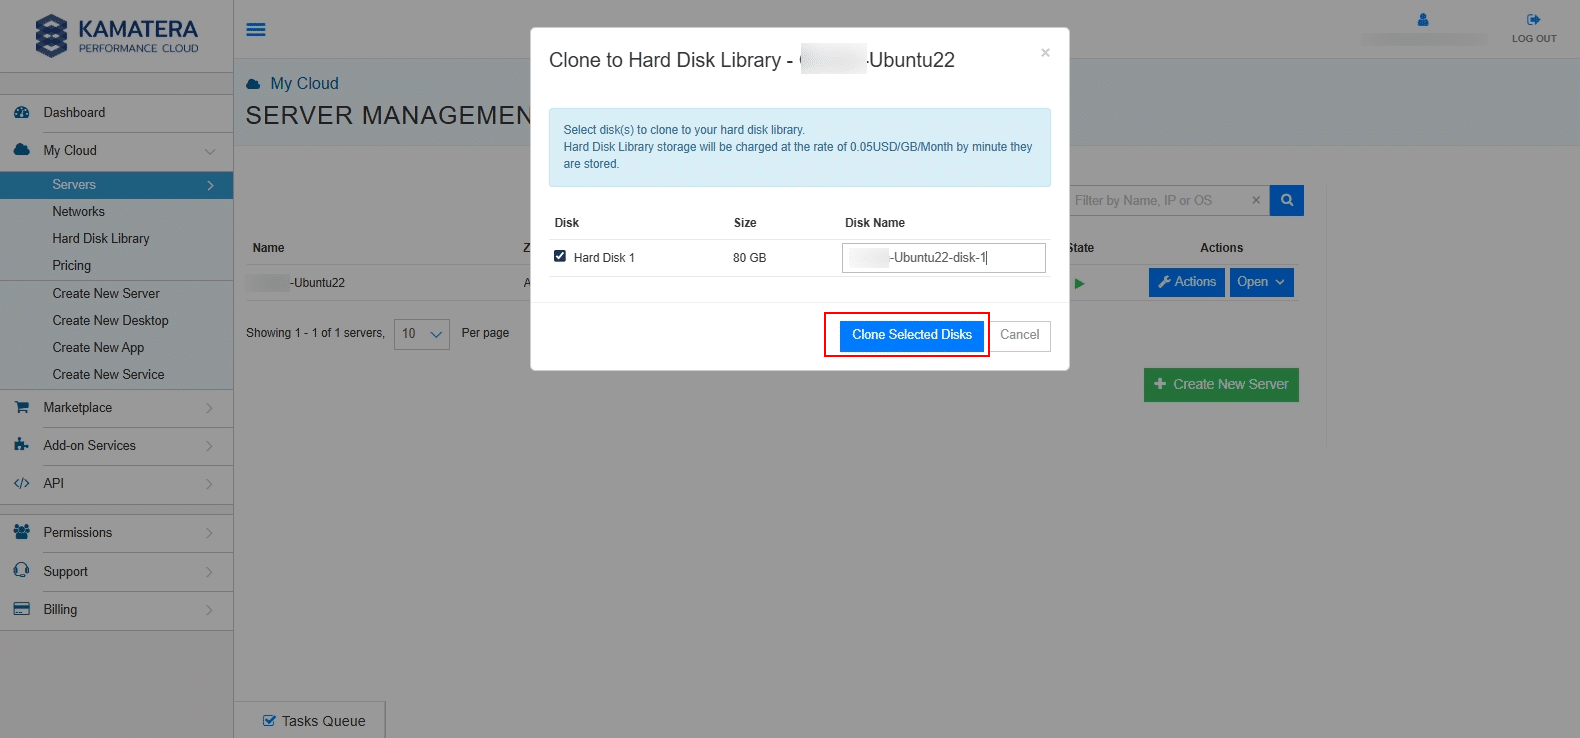
2. If there are no active snapshots, you will see the screen below. Check the box next to Hard Disk 1, enter a name in the Disk Name field, and click Clone Selected Disks to proceed.
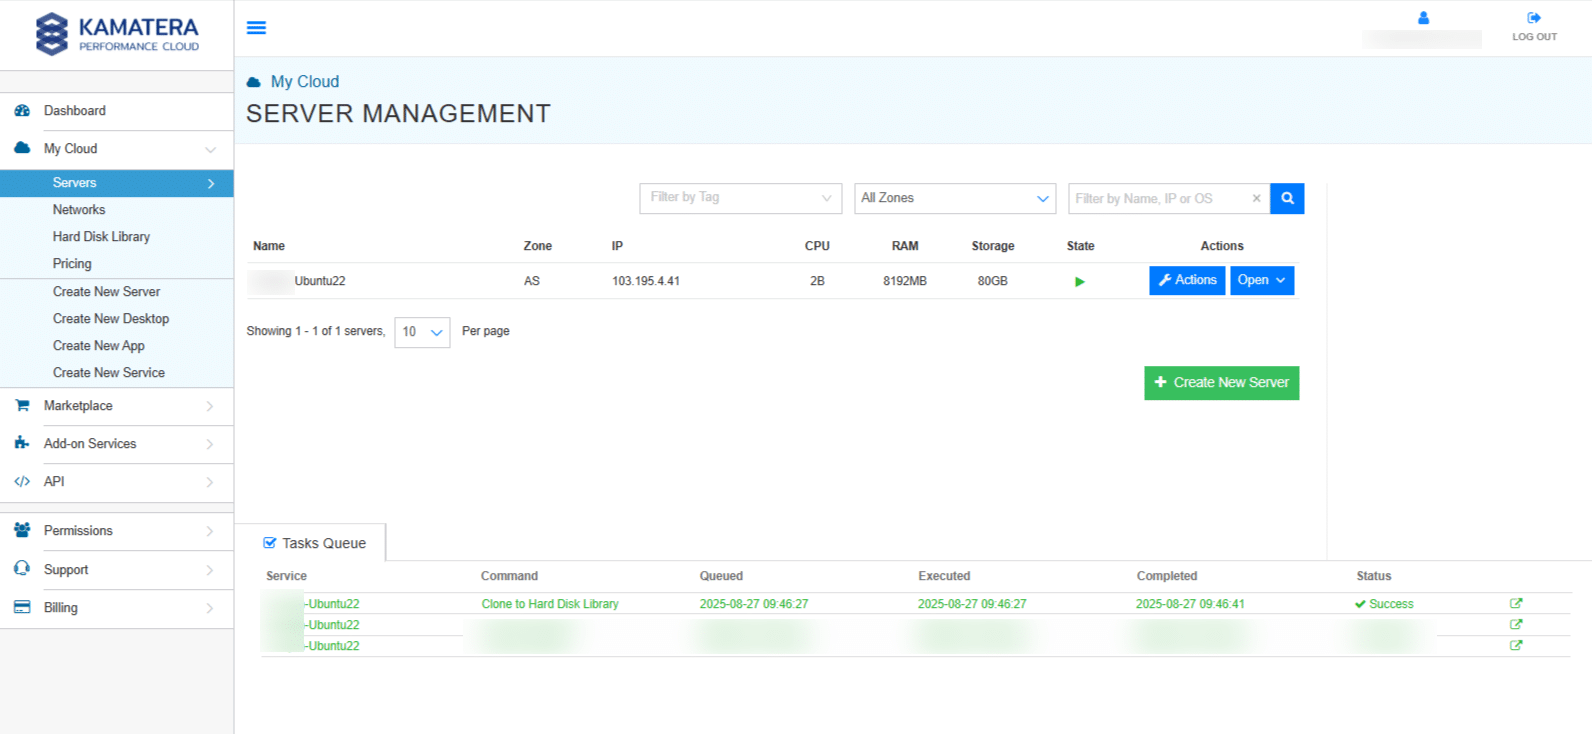
3. Under the Tasks Queue, you will see a Success message next to the Clone to Hard Disk Library operation.
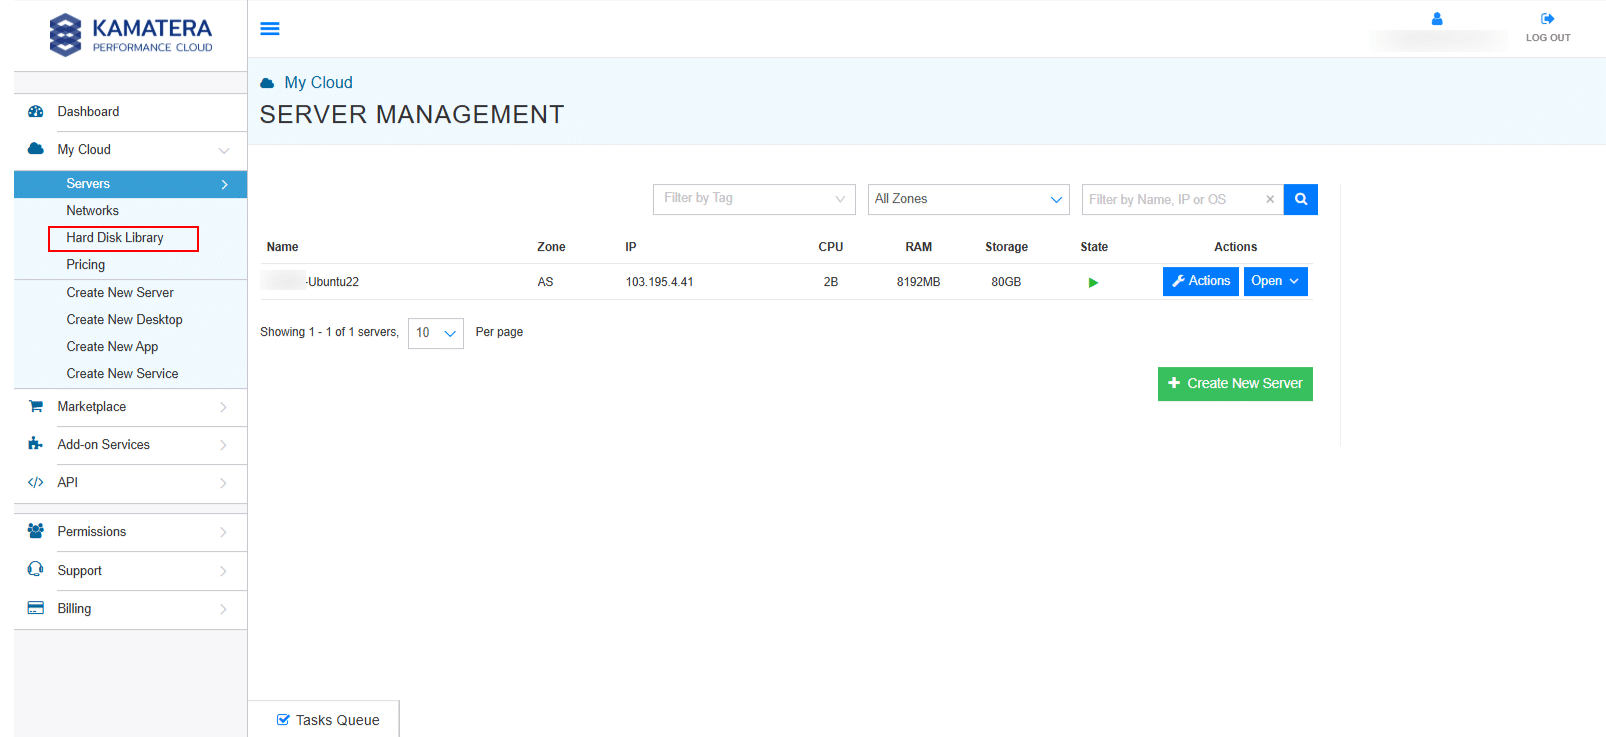
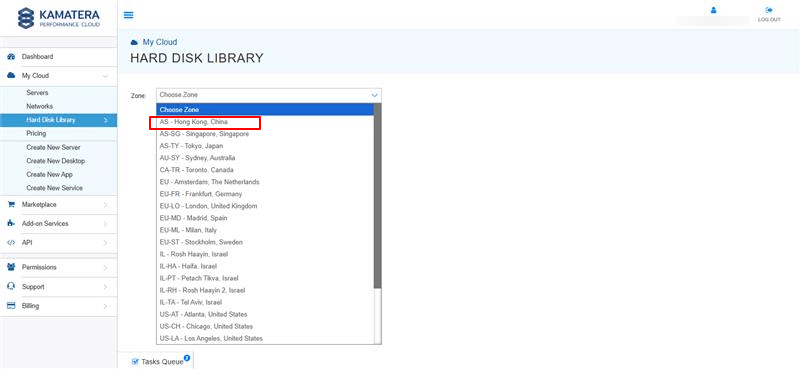
4. From the left-hand navigation menu, choose Hard Disk Library.
5. Then, select the appropriate Zone (data center location) where the clone was created (here, AS- Hong Kong, China is selected).
6. Click on the MY PRIVATE IMAGES tab to view your backup image, which you can use to create new servers or attach as a disk.
Note: In Kamatera, backups are stored as server images. These images can be used to restore your server or to create new ones.
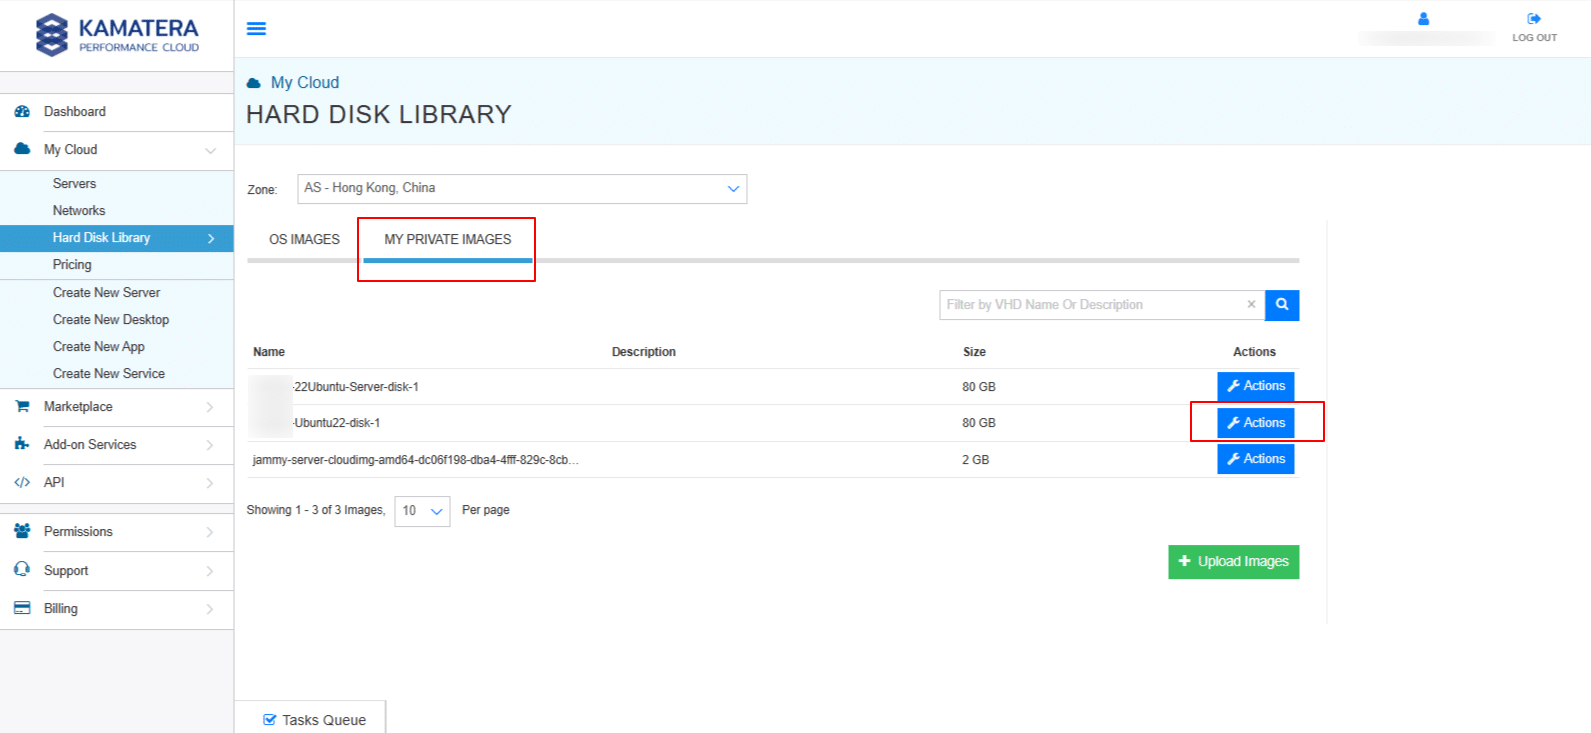
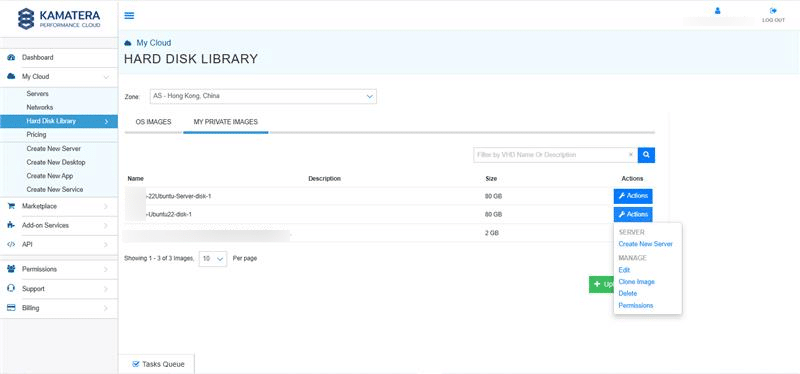
7. Click on the Actions button located next to your backup image. A dropdown menu will appear with several options, including:
- Create New Server: Launch a new server using this backup image.
- Edit: Change the name, description, and configuration of the backup image.
- Clone Image: Make a duplicate copy of the backup image.
- Delete: Permanently remove the backup image from your library.
- Permissions: Manage who can access or use this backup image.
Now let’s go through each option in detail:
- Create new server:
When you click on Create New Server, you will see the Origin Server Information, which includes the backup image you selected and the server zone.
You can toggle to Detailed View to configure server specifications such as:
-
- Type (General, Dedicated, Burstable, High Availability)
- CPU (number of cores)
- RAM (memory size)
- Storage and additional resources
For step-by-step instructions on how to configure these specifications, refer to: How to Configure a Windows Server on Kamatera.
Note: While the guide shows Windows configuration, the process and options are the same for Linux and other operating systems.

- Edit:
When you click on Edit, a pop-up window opens where you can configure the details.
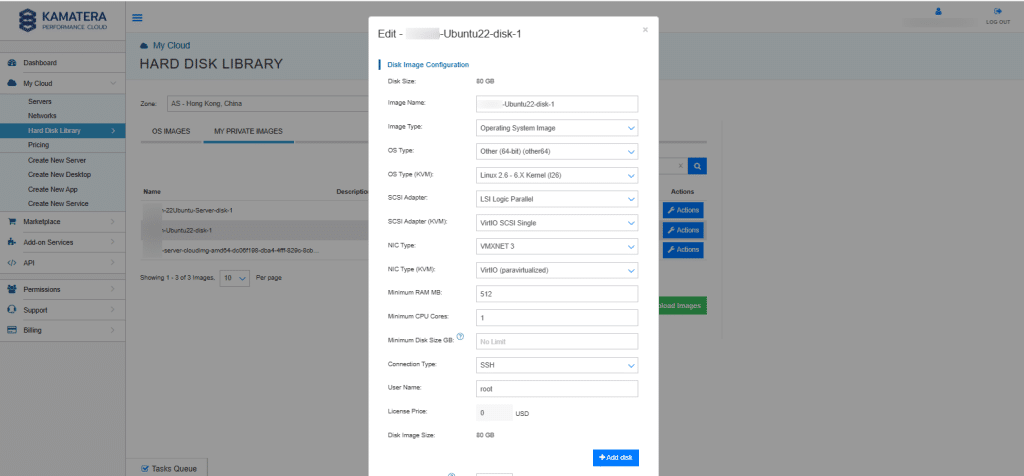
The table below explains each option available in this configuration screen:
| Field | Description |
| Disk Size | Displays the size of the disk image (not editable here). |
| Image Name | The name of your backup image. You can edit this to give a meaningful name for easier identification. |
| Image Type | Defines the purpose of the image. For example, “Operating System Image” means it contains a full OS that can be used to create servers. |
| OS Type | Select the operating system family (e.g., Windows, Linux, Other 64-bit). |
| OS Type (KVM) | Specifies the kernel or OS variant used for virtualization. Example: Linux 2.6 – 6.X Kernel. |
| SCSI Adapter | Defines the virtual disk adapter type (e.g., LSI Logic Parallel). |
| SCSI Adapter (KVM) | For KVM virtualization, select the SCSI adapter type (e.g., VirtIO SCSI Single). |
| NIC Type | The virtual network adapter type (e.g., VMXNET 3). |
| NIC Type (KVM) | For KVM-based virtualization, select the NIC adapter type (e.g., VirtIO – paravirtualized). |
| Minimum RAM MB | The minimum amount of memory (in MB) required for this image to run properly. |
| Minimum CPU Cores | Minimum number of virtual CPU cores required for this image. |
| Minimum Disk Size GB | Minimum storage required to run this image. Default is “No Limit” unless specified. |
| Connection Type | The protocol used to connect to the server (e.g., SSH for Linux, RDP for Windows). |
| User Name | The default login username for this image (e.g., root for Linux). |
| License Price | If applicable, this field shows any additional licensing cost for the OS or software included in the image. |
| Disk Image Size | Shows the final size of the disk image. This is generally the same as the original disk size. |
| Min. Size Disk#2 (which appears when you click on +Add Disk) | Specifies the minimum size required for the second disk. |
Remaining columns:
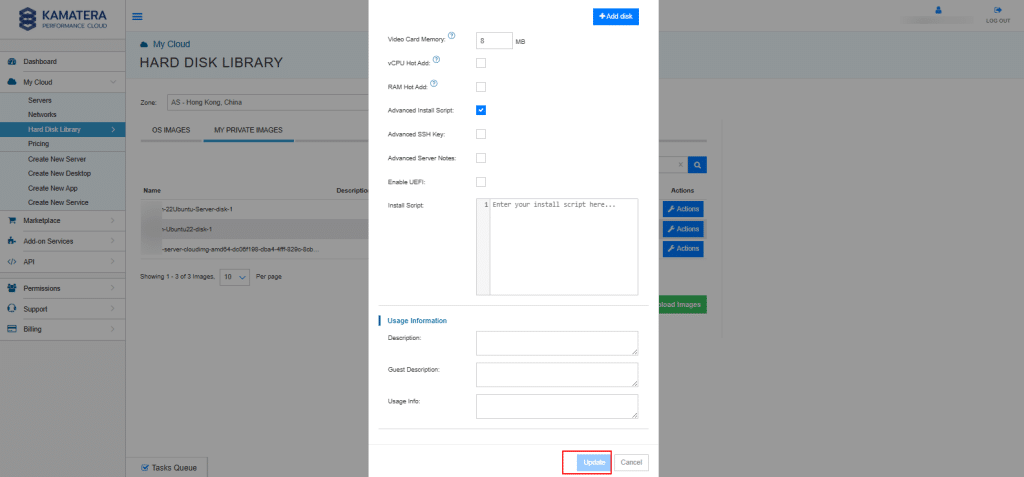
| Column | Description |
| Video Card Memory | Sets the amount of memory (in MB) allocated to the virtual video card of the server. |
| vCPU Hot Add | Allows adding virtual CPUs to the server without requiring a reboot. |
| RAM Hot Add | Allows adding more RAM to the server without rebooting. |
| Advanced Install Script | Lets you add an installation script (bash, PowerShell, etc.) that automatically runs when the server is deployed. |
| Advanced SSH Key | Option to use an SSH key for secure access instead of just a password. |
| Advanced Server Notes | Field to attach additional notes or documentation about the server configuration. |
| Enable UEFI | Enables UEFI boot mode instead of traditional BIOS, required for some modern OS installations. |
| Install Script | Text box to enter your custom install script that runs after deployment. |
| Description | A short description for identifying the disk/server. |
| Guest Description | Additional description visible to the guest system or administrators. |
| Usage Info | Notes or usage instructions for the image/disk, useful for documenting its purpose. |
Once the required information is filled in, click Update to save the changes, or click Cancel to discard them.
- Clone Image
When you click on Clone Image, a new window will appear. In this window, select the destination zone and enter a disk name. Once completed, click Clone Image to start the process. This creates a copy of your server’s disk image, which can later be used to restore the server or create a new one. You can monitor the progress in the Tasks Queue section.

By following these steps, you can easily create and manage server backups (stored as images) in Kamatera, enabling reliable restore options and ensuring business continuity across your cloud infrastructure.
Kamatera also supports snapshots, which are point-in-time copies of your server’s disk. While snapshots are useful for quick rollbacks (e.g., before system updates), backups (stored as images) are better suited for long-term retention and reliable restoration.
Creating and Using Snapshots
A snapshot is a point-in-time image of your server’s entire state, including the operating system, configuration, applications, and data. In Kamatera, snapshots serve as a fast and reliable backup method, allowing you to capture the current condition of a server before making major changes such as software updates, configuration tweaks, or system upgrades.
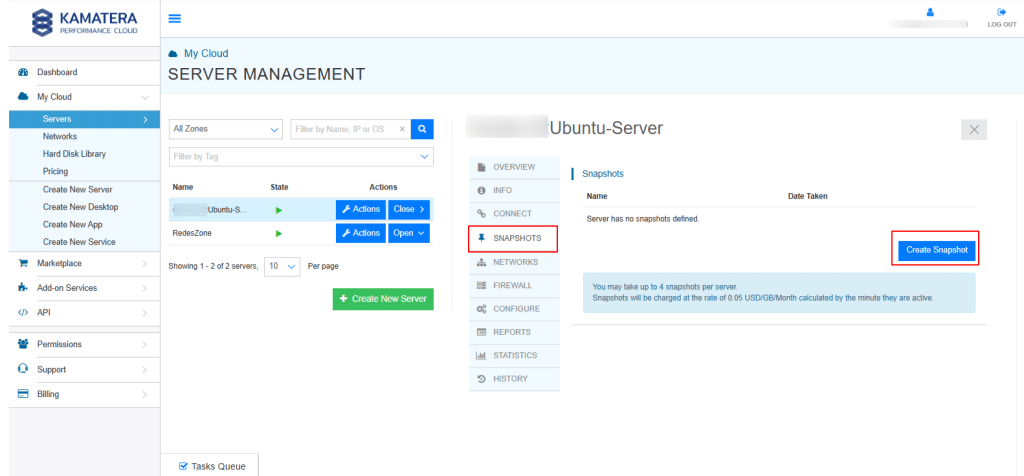
- Since the Ubuntu server is set up and running, let’s proceed to create a snapshot. Navigate to the Snapshots tab and click Create Snapshot.
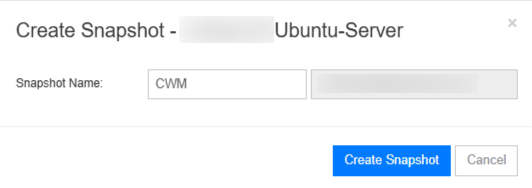
- Enter the name for the snapshot and click Create Snapshot and wait for the snapshot to complete.
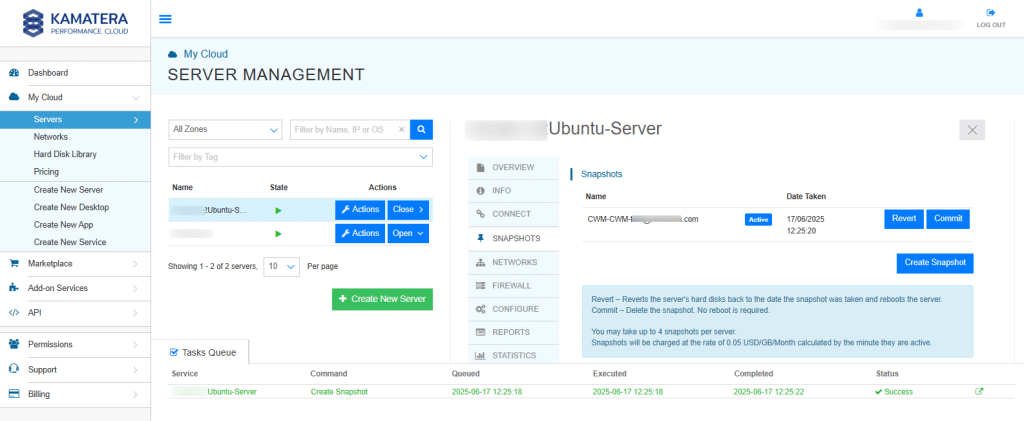
- Once the snapshot is created, it will appear under the Snapshots tab. You will see two available options: Revert and Commit.
Click on Revert option.
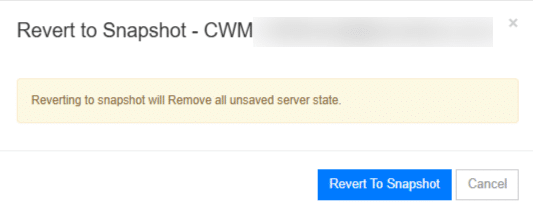
- When you click on Revert, the following screen will appear.
Click on Revert to Snapshot.
Note: This action restores the server’s hard disk to the exact state it was in at the time the snapshot was taken. It is especially useful for rolling back changes made during software updates, configuration modifications, or in the event of system failures.
- In the screen below, you will see that the server state is OFF. Click on the Actions button and select Power ON to start the server.

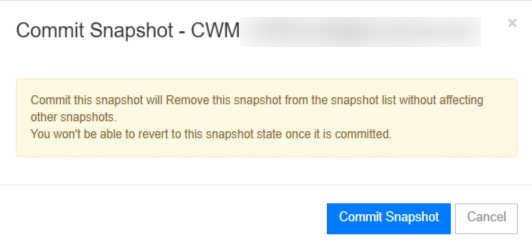
- When you click on the Commit button, a confirmation pop-up window will appear. Click on Commit Snapshot to proceed with deleting the snapshot. This action is typically performed after confirming that the system is stable, and the snapshot is no longer needed for recovery.
You’ve now learned how to take a snapshot, use it safely, and clone a server in Kamatera. These steps help you back up your server, make changes with confidence, and quickly create copies when needed. Kamatera also offers backup services. For a small monthly fee, daily backups of your server are saved for up to 14 days. If the worst happens, Kamatera’s technical support team will perform a full restoration on your server, or only on the files that are inaccessible. If you haven’t signed up for our monthly service, don’t worry. Backup restoration is available to all our customers.