Docker is one of the most popular platforms for building, packaging, and running applications inside lightweight, portable containers. Containers make it easy to deploy applications consistently across environments, reduce conflicts, and speed up development workflows. For anyone starting with Docker, it’s important to know a set of basic commands that help you manage images, containers, and networks effectively.
Kamatera’s cloud infrastructure supports Docker seamlessly, making it easier for businesses and developers to deploy and scale containerized applications.
This guide walks you through the most commonly used Docker commands. Whether you are a beginner or refreshing your knowledge, these commands will serve as the foundation for working with Docker.
For this user guide, we are using a Kamatera server with Docker. (Here’s instructions on how to deploy a Kamatera server.) Instead of manually setting up Docker on a new server, you can simply choose a Kamatera server image with Docker pre-installed during deployment. This saves time, ensures proper configuration, and allows you to start working with containers immediately on reliable cloud infrastructure.
Set up and authenticate
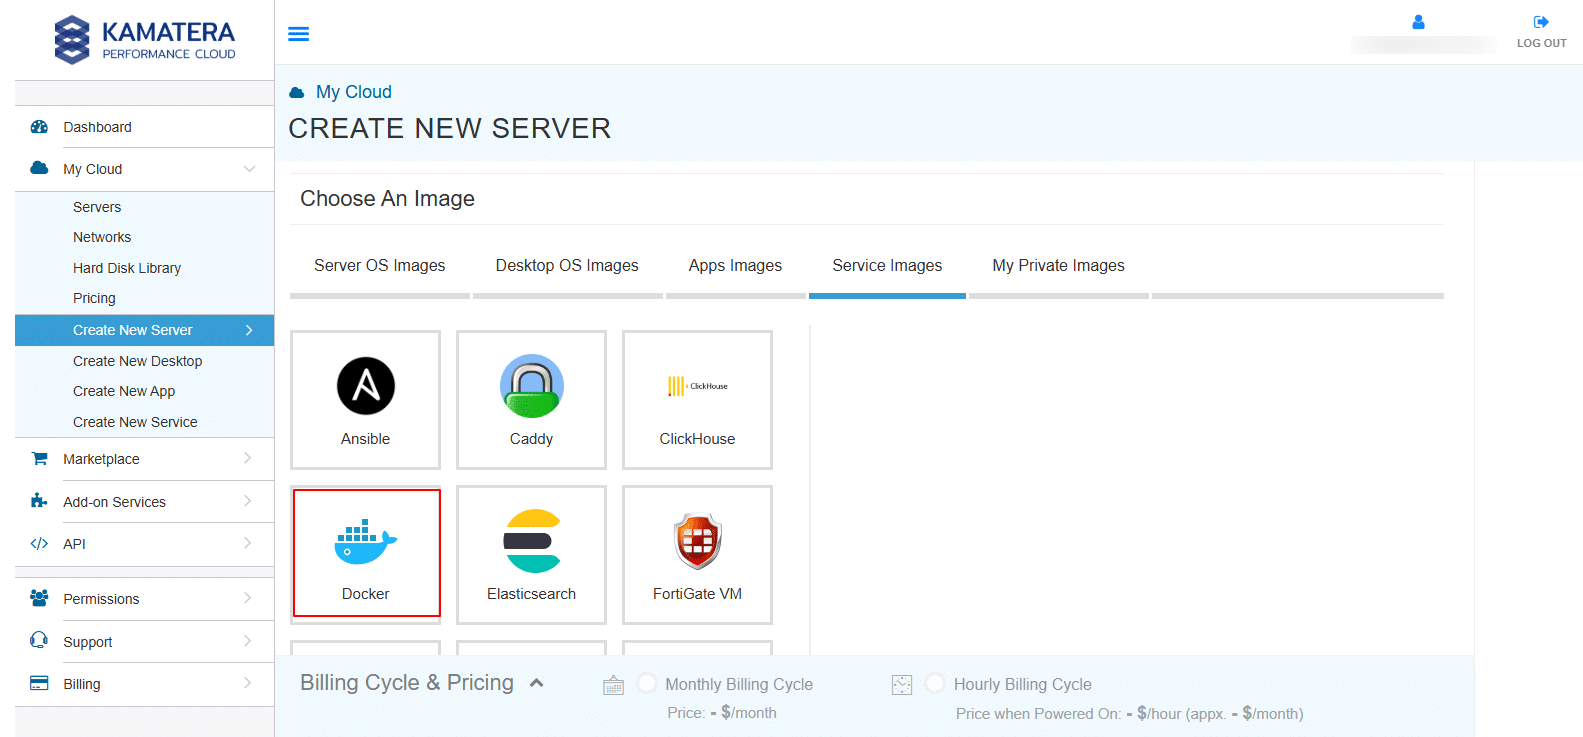
- The first command verifies that Docker is installed and running. This displays the installed Docker version.
Command:
docker --version

2. The next command is used to authenticate with Docker Hub (or any other Docker registry). Authentication is required before you can push images to your account or pull private images.
Command:
docker login

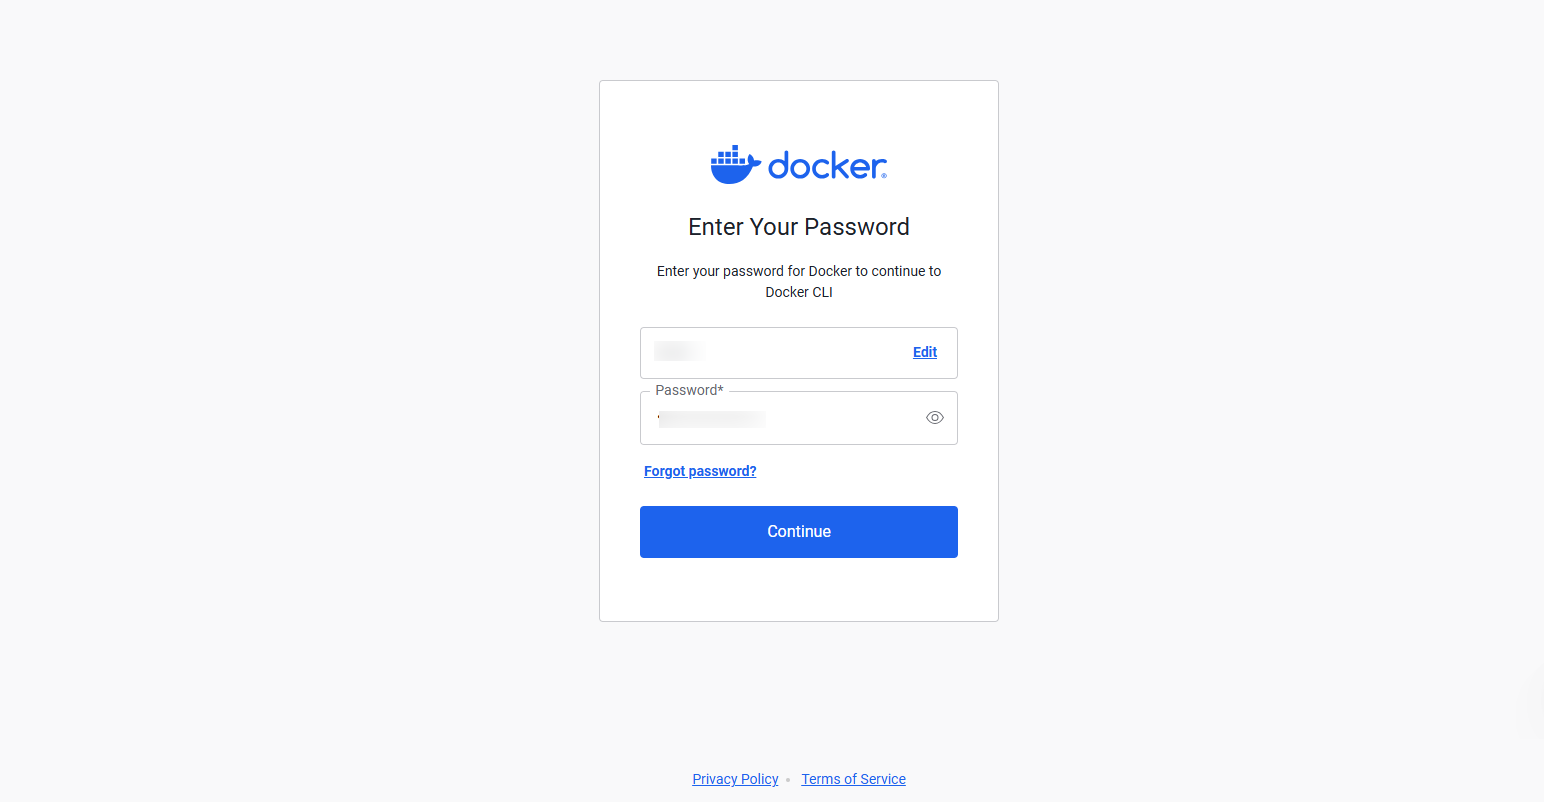
Go to https://login.docker.com/activate, enter the code and click Continue.
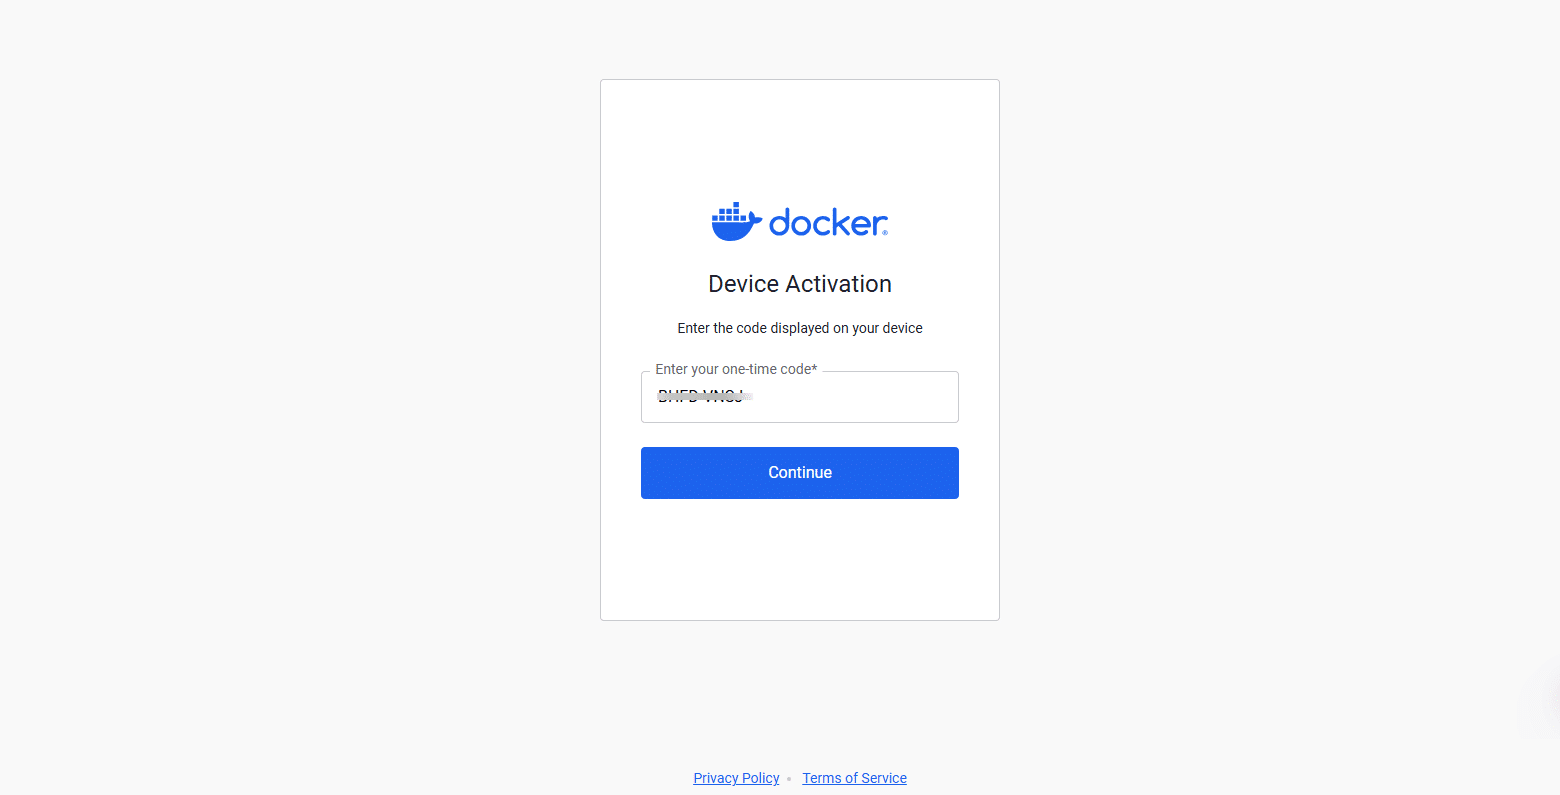
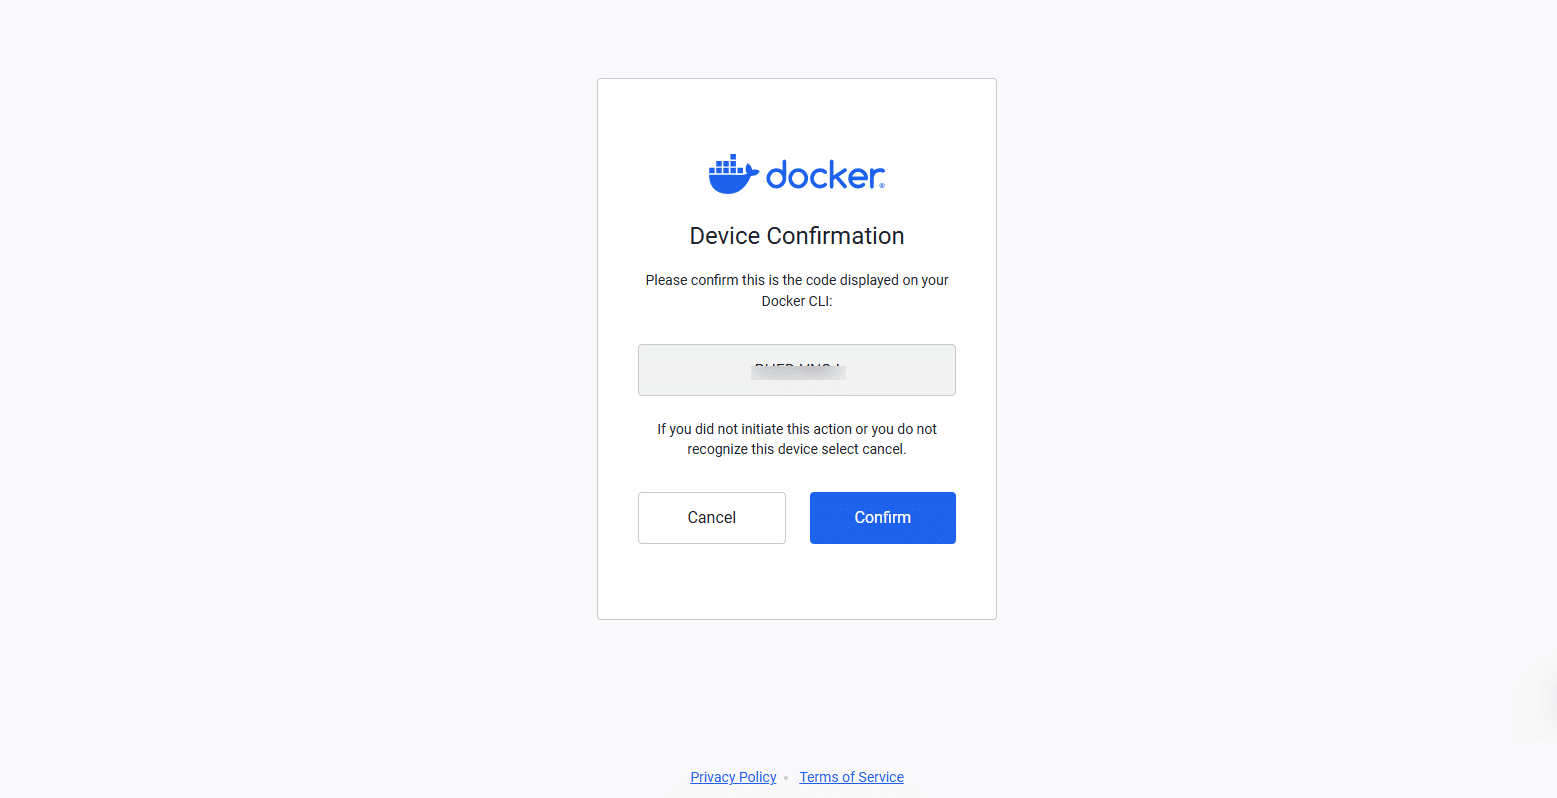
Confirm the code and click Continue.
Enter Username or email address using Docker for work. Click Continue.
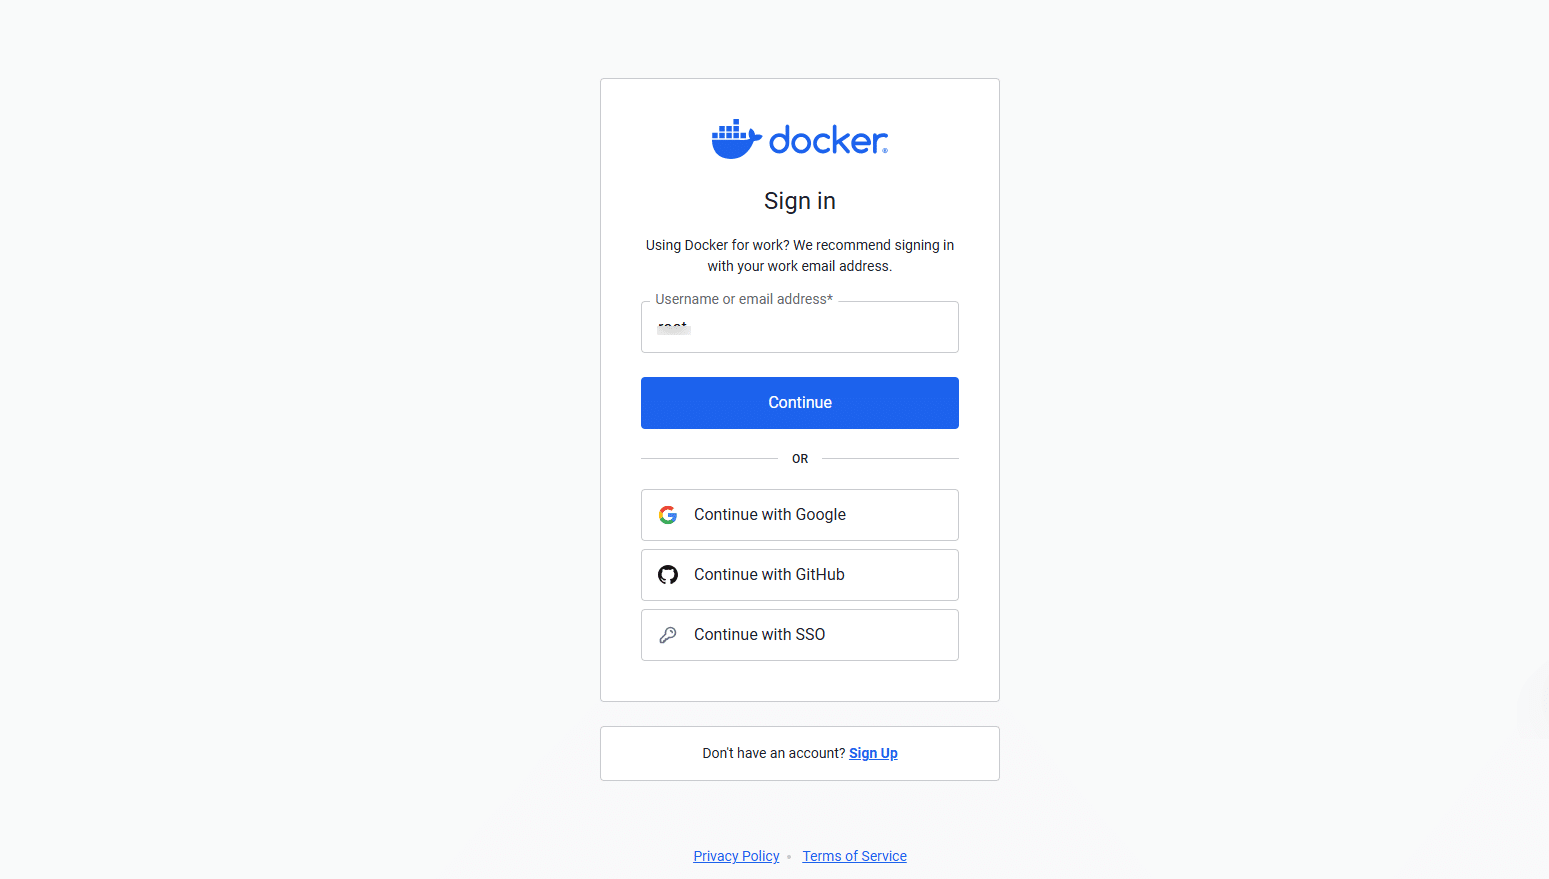
Enter the Username or email address and Password and click Continue.
3. Docker images are like blueprints for containers. You can pull images directly from the Docker Hub.
Command:
docker pull ubuntu
Note: This command downloads the latest Ubuntu image locally.

Manage images and containers
4. To view the images that are downloaded, run the following command:
docker images

5. Start a container from an image by running the below command:
docker run -it ubuntu
Note: This command creates a new container from the ubuntu image, starts that container and attaches you to its interactive shell (bash or sh depending on image). This command should be used when you want to start a brand-new container (For example: testing a fresh Ubuntu environment).

You’ll be inside the Ubuntu container’s shell, where you can run regular Linux commands just like you would on a normal Ubuntu machine. The -it option makes the container interactive, allowing you to execute commands directly inside it.

6. Execute commands inside the running container with this command:
docker exec -it <container_id> bash
Note: Running this command opens a new bash shell inside an already running container. It does not create a new container, but it just gives you access to the existing one. Use this command only when you want to debug, inspect, or run extra commands inside a container that is already running (e.g., a web server container).
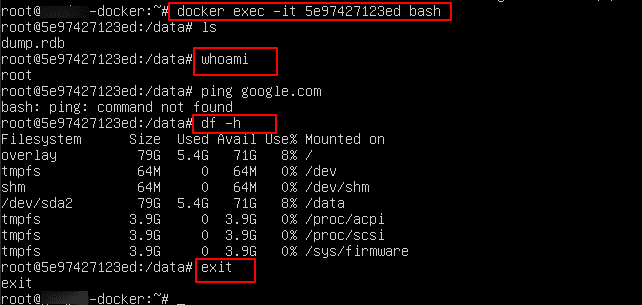
The key difference between docker run and docker exec
- docker run: creates & starts a new container from an image.
- docker exec: enters an existing running container.
7. View containers:
- To view which containers are currently running
Command:
docker ps
- To view all containers that are running and stopped
Command:
docker ps –a

- To view the latest container
Command:
docker ps –l
- To view only the Id of the containers
Command:
docker ps -q

8. Start, stop, and restart the containers:
- To start a container
Command:
docker start <container_id>
- To stop a container
Command:
docker stop <container_id>

- To stop multiple containers
Command:
docker stop <container_id1> <container_id2>

- To restart a container
Command:
docker restart <container_id>

9. Remove container and image:
- To remove a container
Command:
docker rm <container_id>
- To remove an image
Command:
docker rmi <image_id>
- To check whether the image is removed from your system (from the screenshot, you can see there are no images as we removed the image).
Command:
docker images
Troubleshooting and monitoring

10. To troubleshoot or monitor
Command:
docker logs <container_id>

11. If you have a Docker file:
- You can build your own image by running the below command:
Command:
docker build -t <image_name>:tag .
Or
Command:
docker build -t <image_name>
Note:
- The first command
docker build -t <image_name>:tag .
builds an image from a Dockerfile, tags it with a name and version (e.g., myapp:1.0), and uses the current directory (.) as the build context.
- The second command
docker build -t <image_name>
assigns the default tag latest, creating an image named <image_name>:latest.
- Using explicit version tags (like v1, v2) is a best practice for version control and easier deployment management.
- Once you build your own customized image using a Dockerfile, you can store it in a remote registry like Docker Hub. To do this, push your image with the following command:
Command:
docker push <Image_name/Image ID>
- The docker system prune command is a powerful cleanup tool that removes all unused Docker objects in one go, including stopped containers, build cache, unused networks, and dangling images (untagged images not used by any container).
Command:
docker system prune
12. Docker Inspection
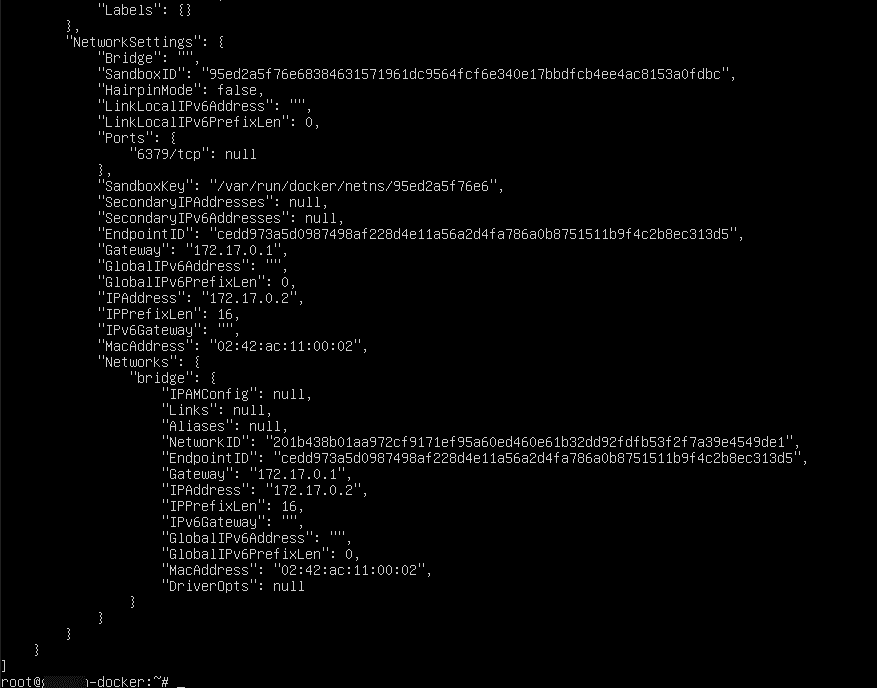
When Docker containers run into errors, you can debug them using the docker inspect command. This provides detailed information about a container, including its configuration, state, networking, and mounted volumes.
Command:
docker inspect
13. Docker Container Top Command
The docker container top command displays the running processes inside a container. It works similar to the Linux top command but is specific to the container you target.
Command:
docker container top <container_id_or_name>

14. To access a Docker container from the outside world, you need to map a port on your host machine (e.g., your laptop) to a port inside the container. This process is called port mapping.
Command:
docker run -d -p <port_on_host>:<port_on_container><container_name>
For example: docker run -d -p 8080:80 nginx
Here, port 8080 on the host is mapped to port 80 inside the container, allowing you to access the Nginx web server by visiting http://localhost:8080 in your browser.
That brings us to the end of our list of commands to help you manage your Docker containers.
