


Kamatera makes it easy to deploy a Fedora server (or Fedora Desktop image) in minutes by selecting a Fedora image during server creation. Instead of manually installing Fedora from an ISO, you provision a pre-built Fedora image, then log in to complete post-deployment setup (updates, users, SSH hardening).
In this guide, you’ll create a new Kamatera server using a Fedora image, access it via the Kamatera remote console (and optionally SSH), and run a few basic verification and setup steps.
Prerequisites
- A Kamatera account with access to the cloud console
- Billing enabled (or trial credits)
- Basic familiarity with Linux login + terminal
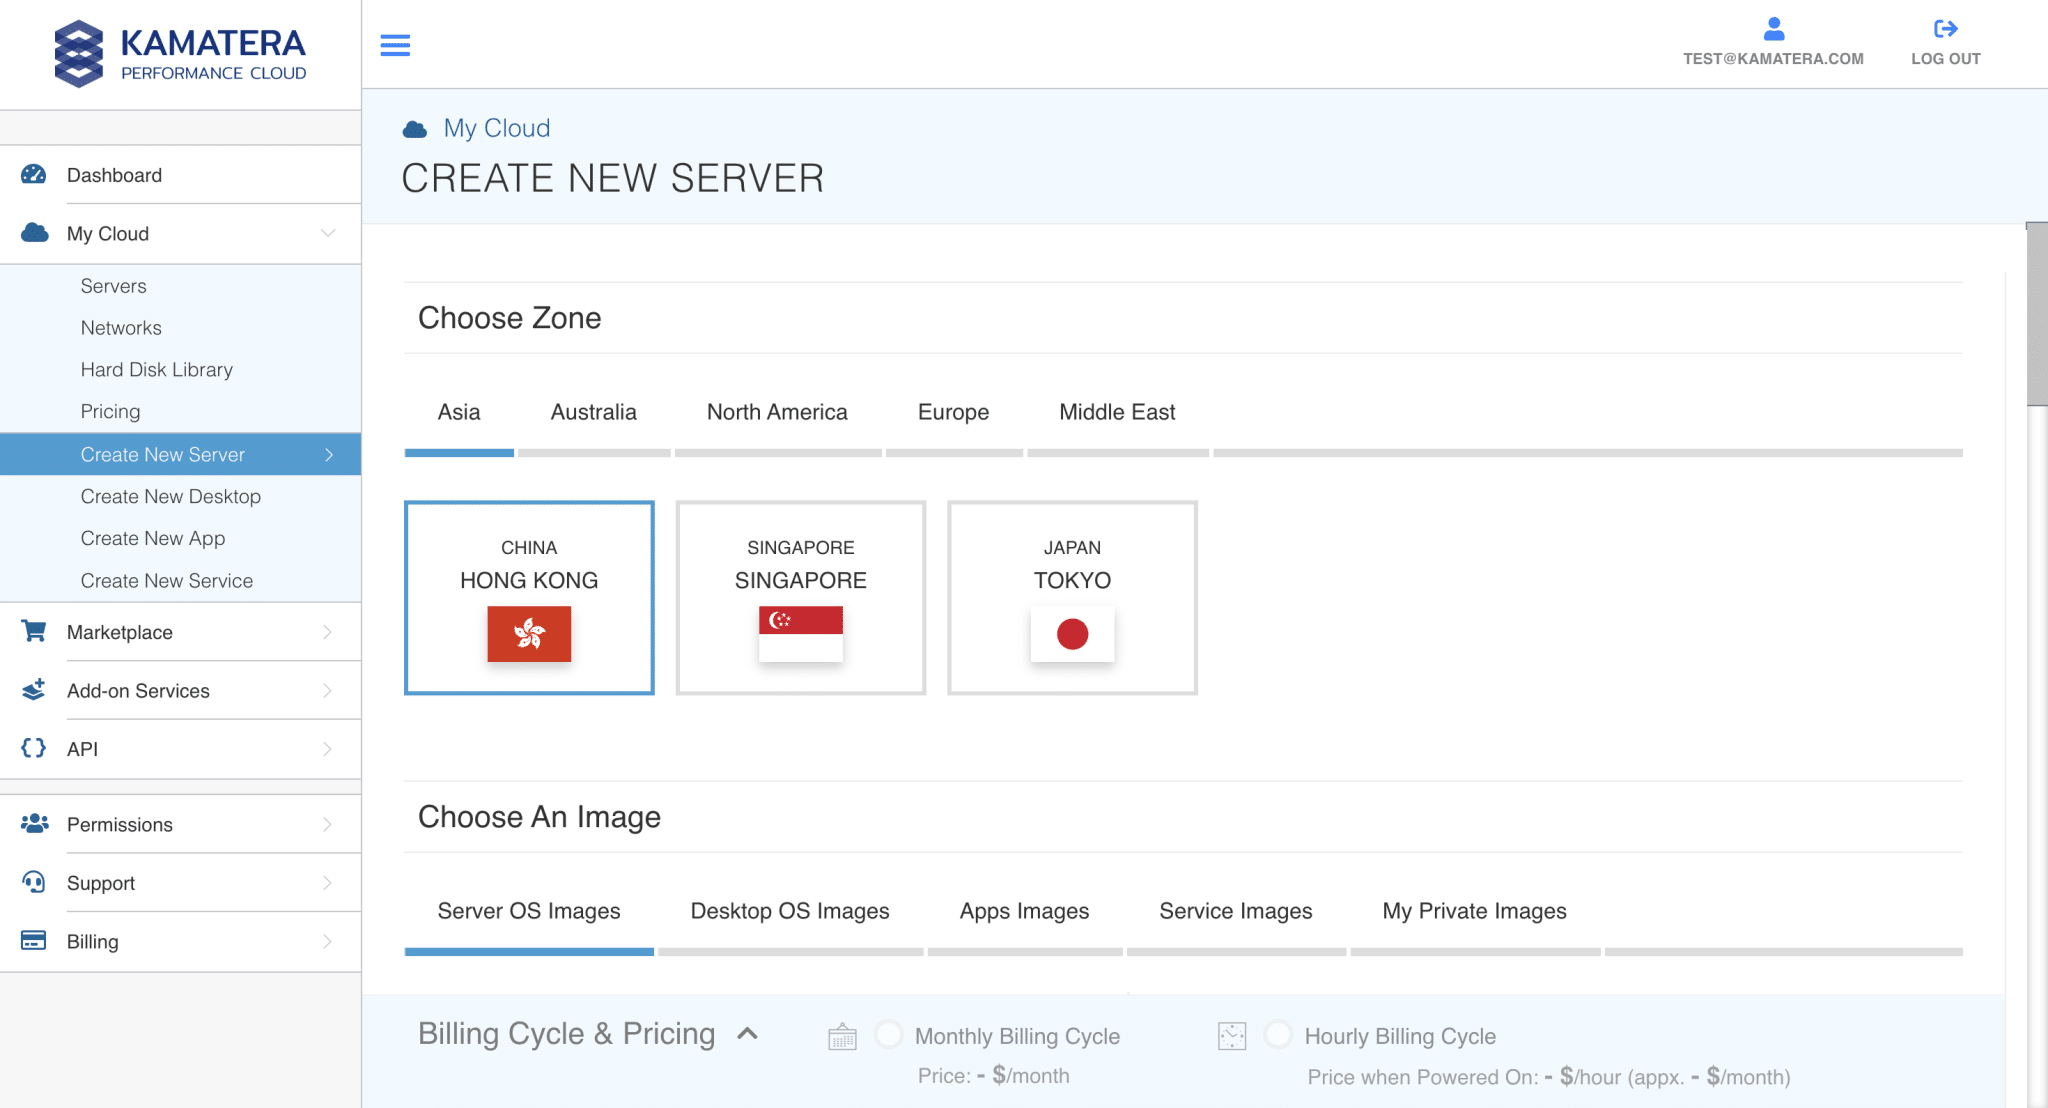
Start a new server build
- Log in to the Kamatera console.
In the left menu, go to: My Cloud → Create New Server.

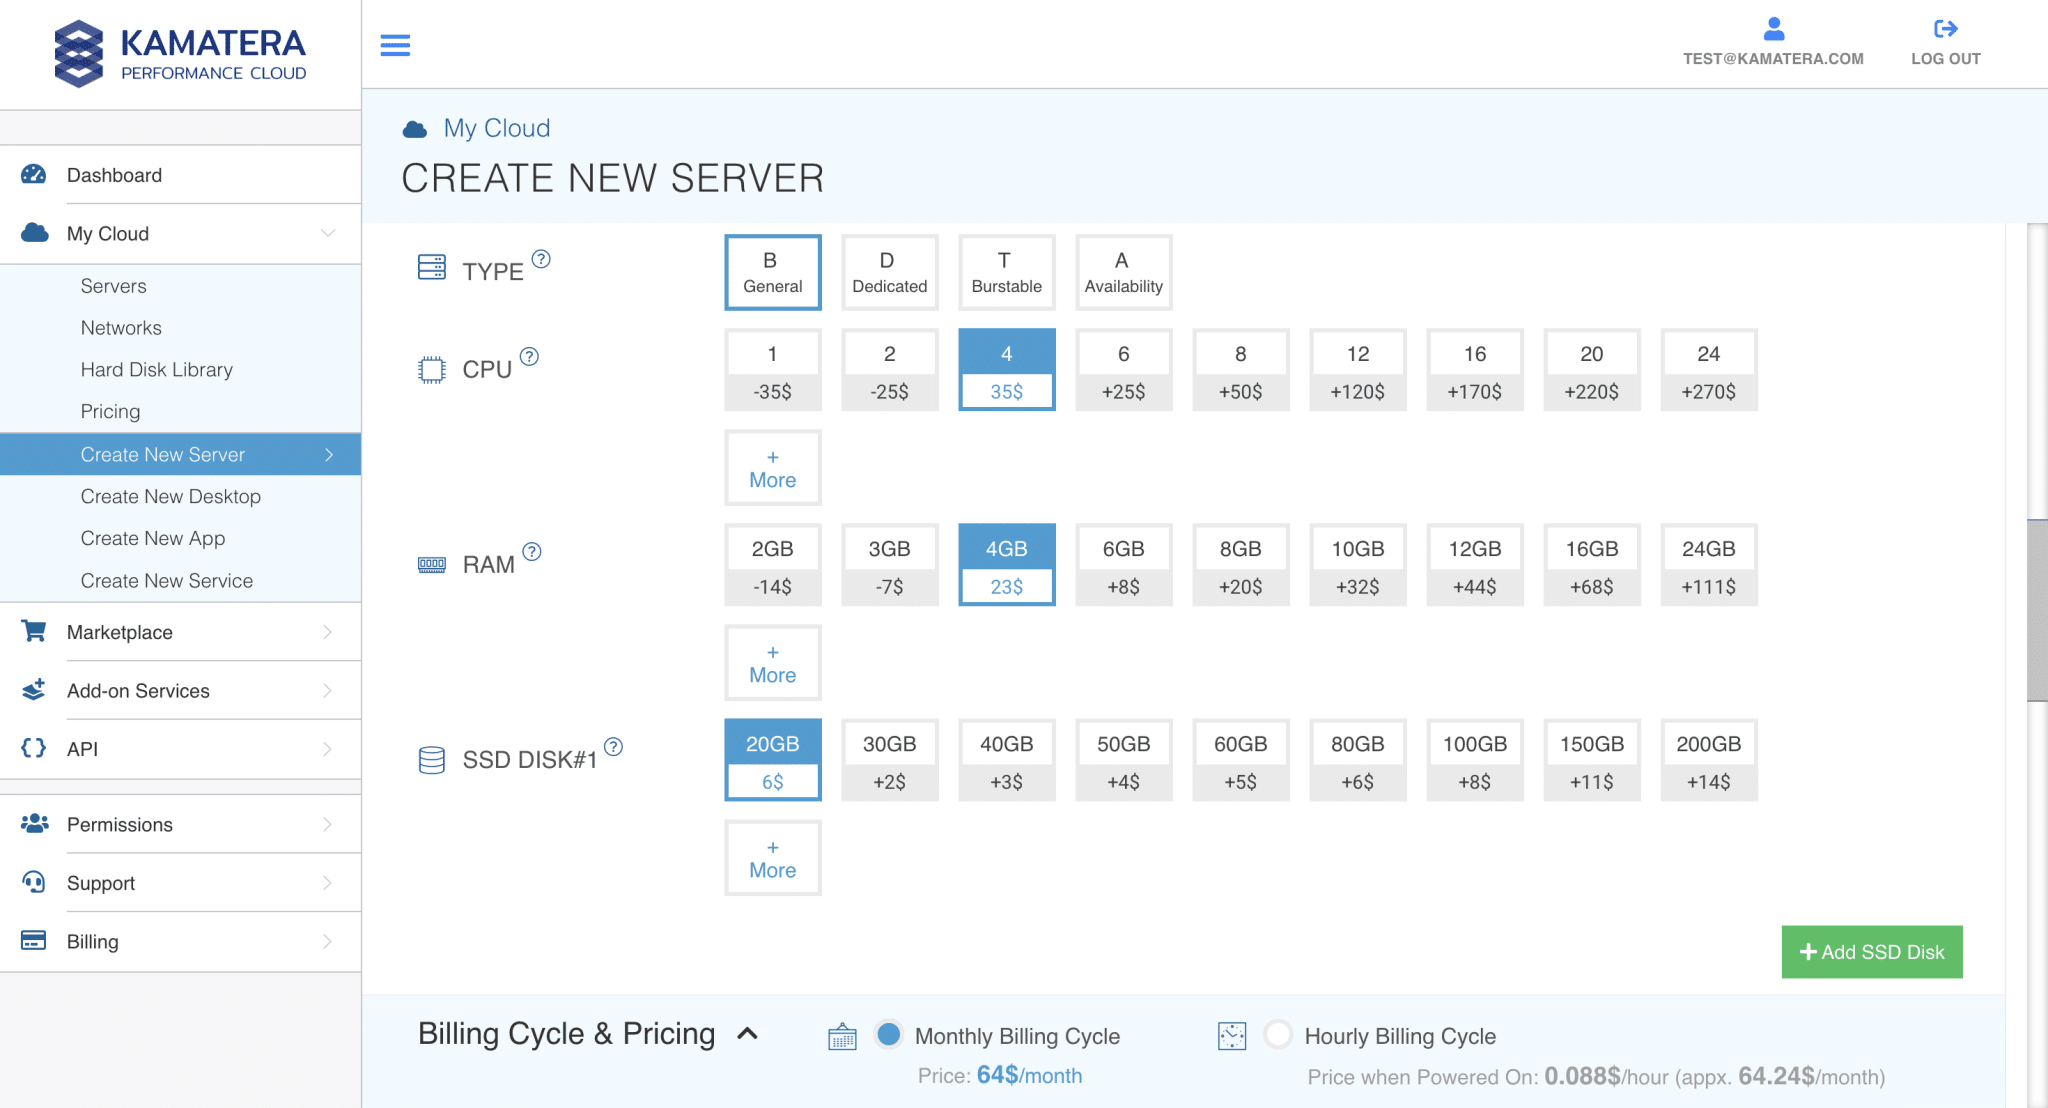
Configure the server image and specs
In the server creation flow, select:
- A) Zone / Region
Choose the zone closest to your users (or the region you want to test from).
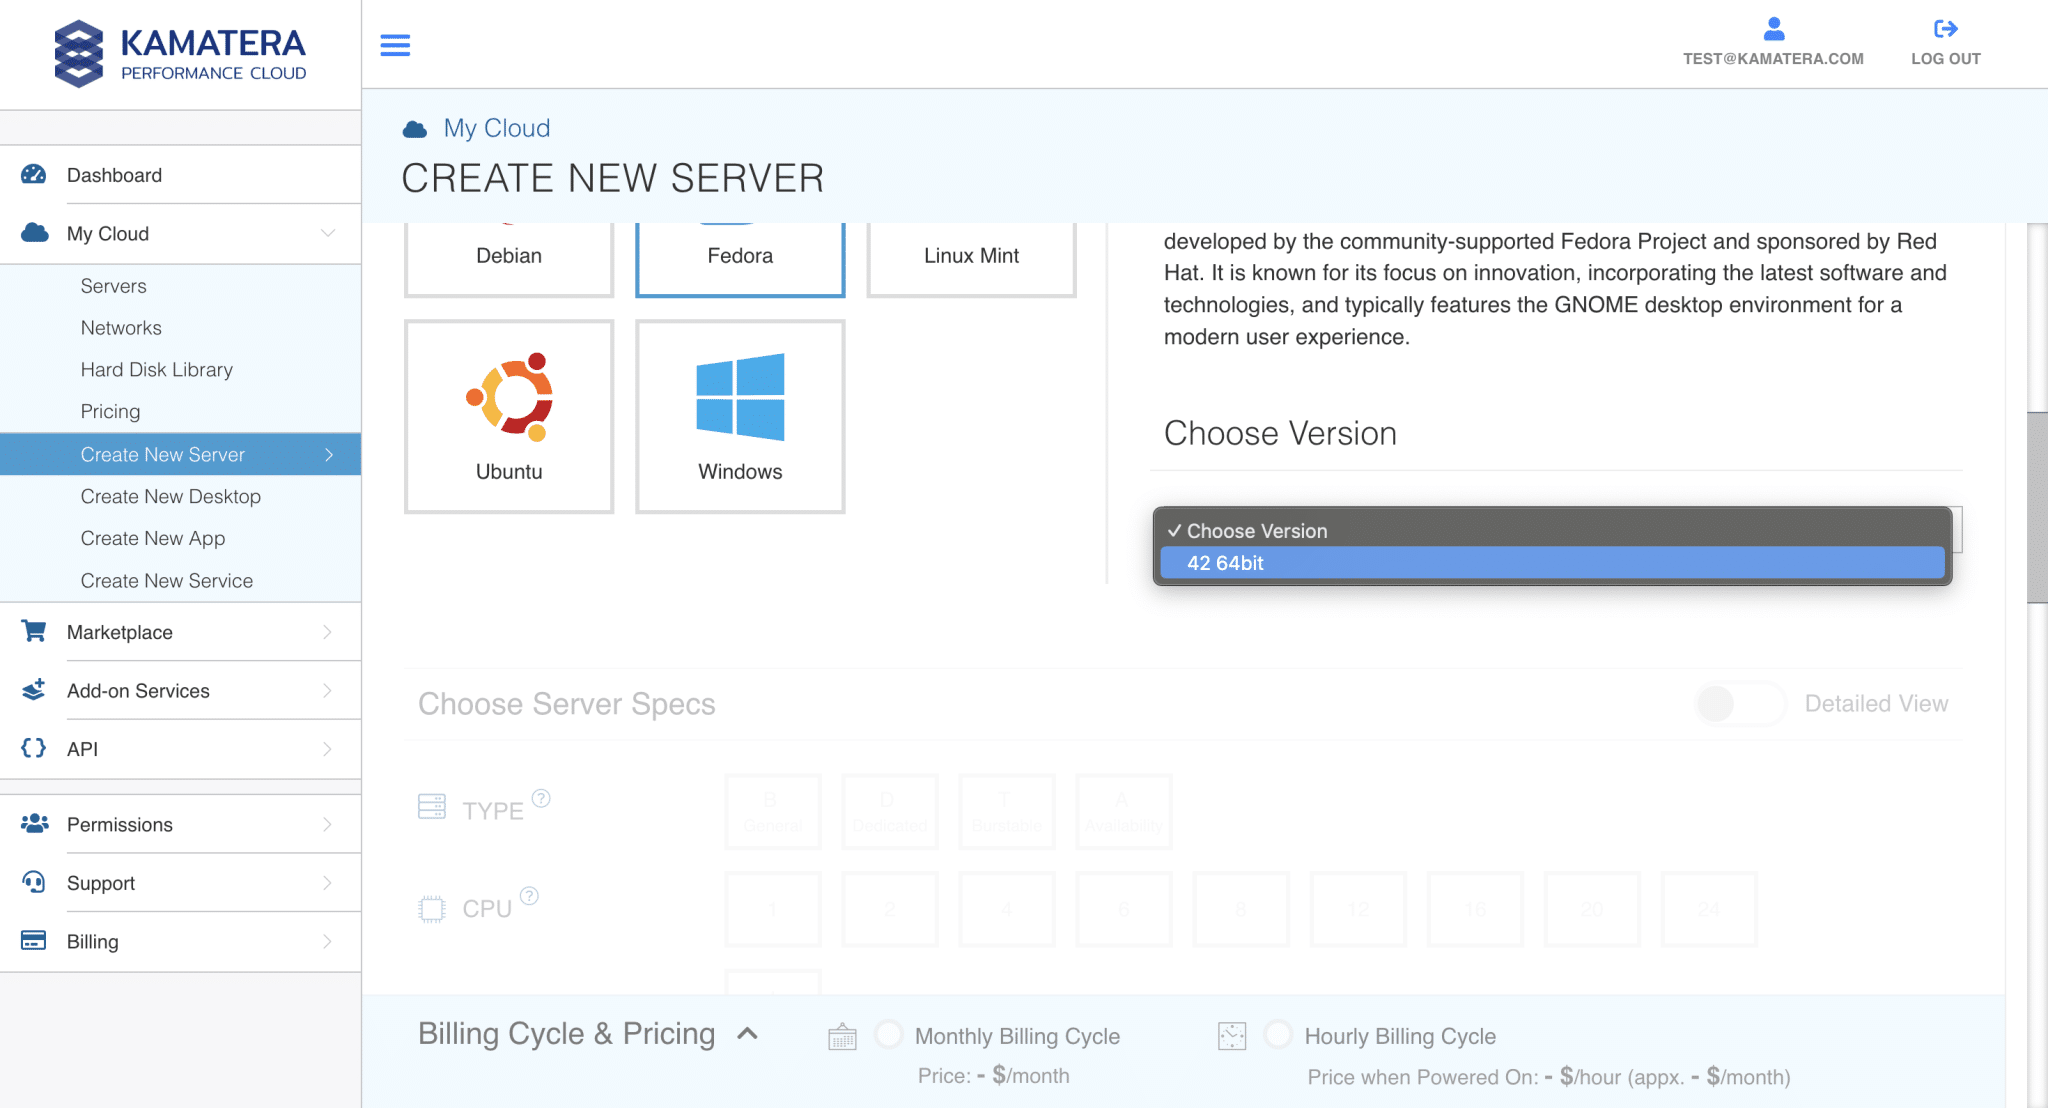
- B) Image
Select the Fedora image from the Desktop OS images list.
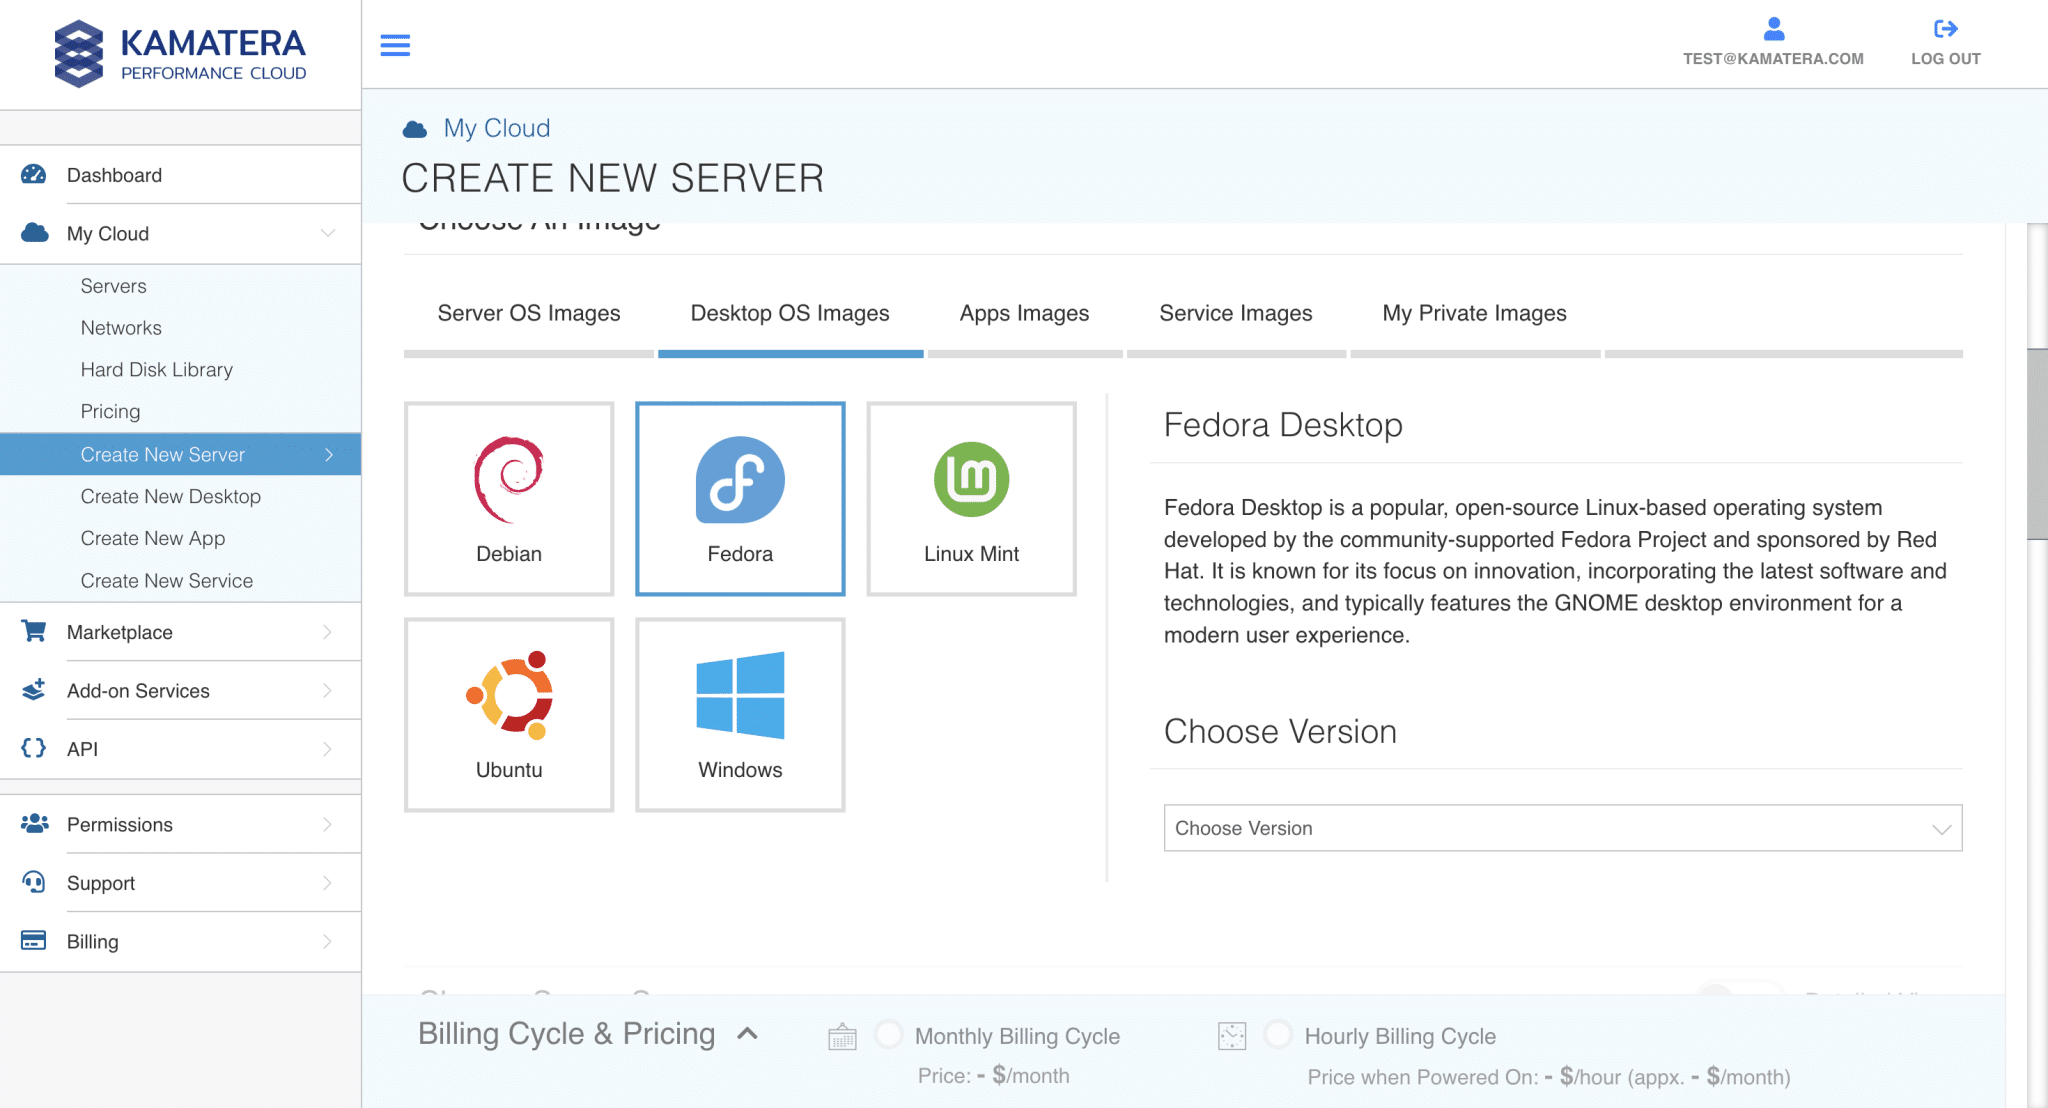
Select the version (42 64bit)
- C) Server resources
Pick the CPU/RAM/disk based on your use case. A small test machine often works with:
- 1 vCPU
- 2 GB RAM
- 20 GB disk
Choose networking options
Under Choose Networking:
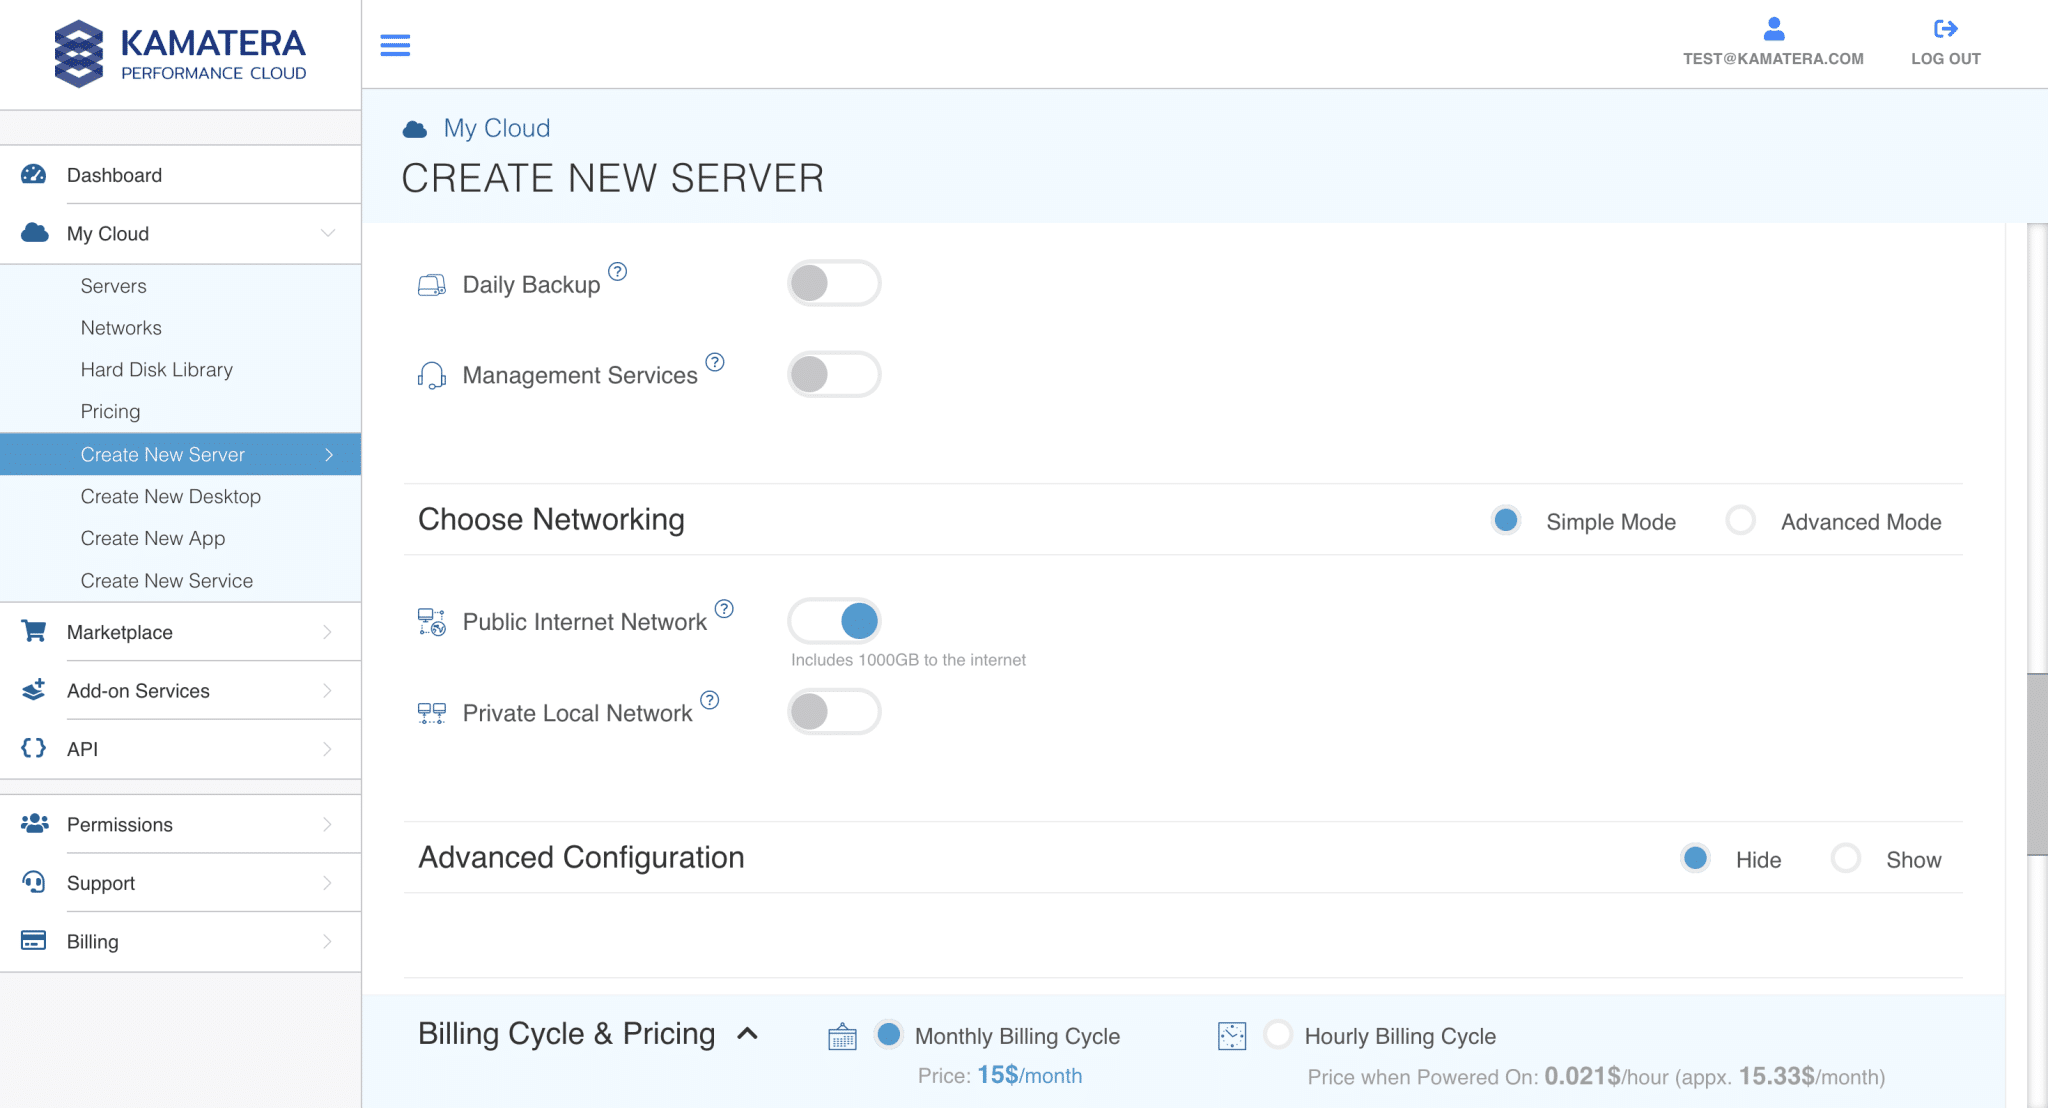
- Public Internet Network: enable this if you want the server reachable from the internet (typical for SSH access).
- Private Local Network: enable this only if you are connecting it to an internal Kamatera private network.
Tip: If you’re unsure, enable Public Internet Network first. You can tighten security later via firewall rules.
Step 4: Advanced configuration (optional but recommended)
Expand Advanced Configuration only if you need it:
Install Script
If you want a script to run automatically after the server is created (like installing packages), paste it here.
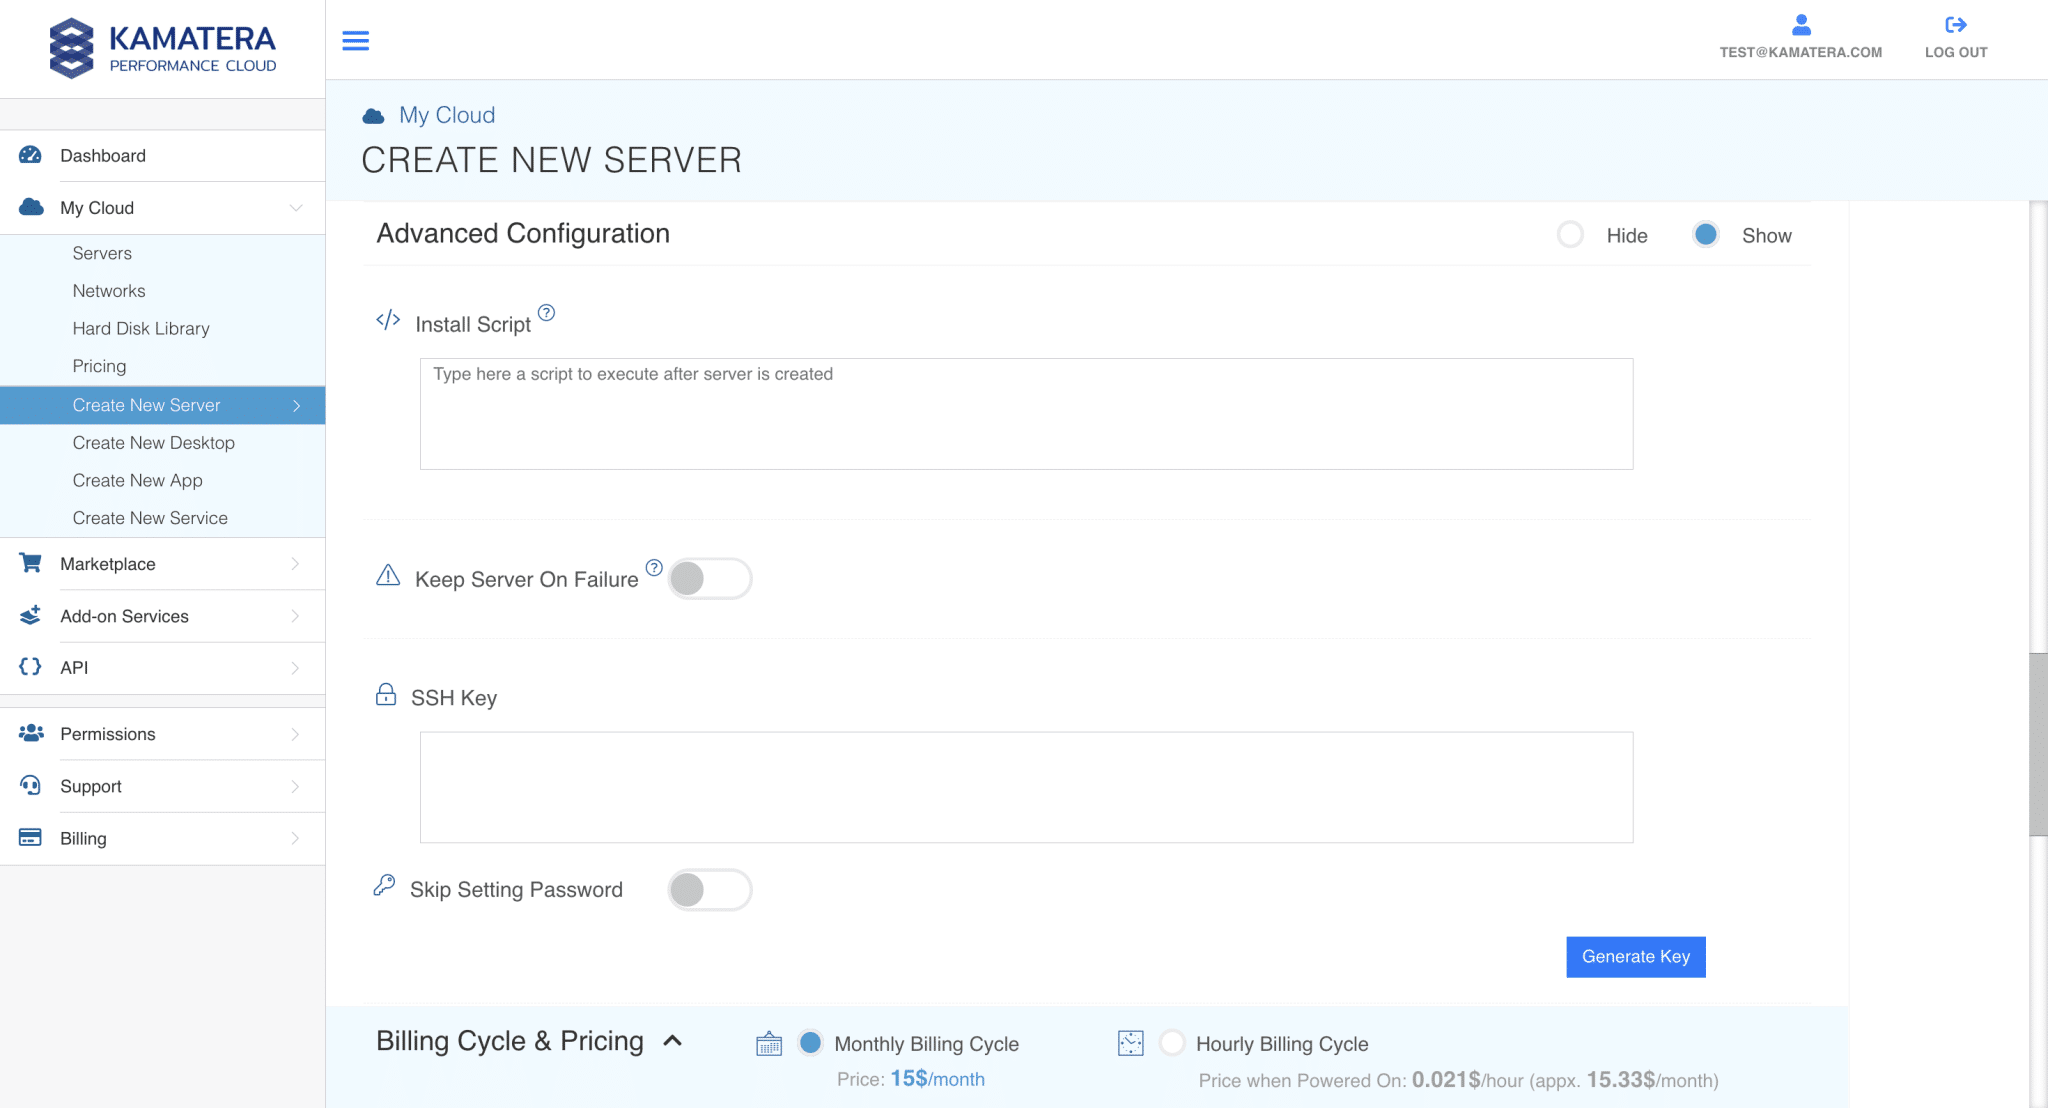
SSH Key
You can also add an SSH key, this is more secure than password auth.
If you don’t add a key, you’ll use the server password to access.
Note: Don’t assume Fedora is configured the same way across all images. Always confirm access details from the server’s Connect tab after creation.
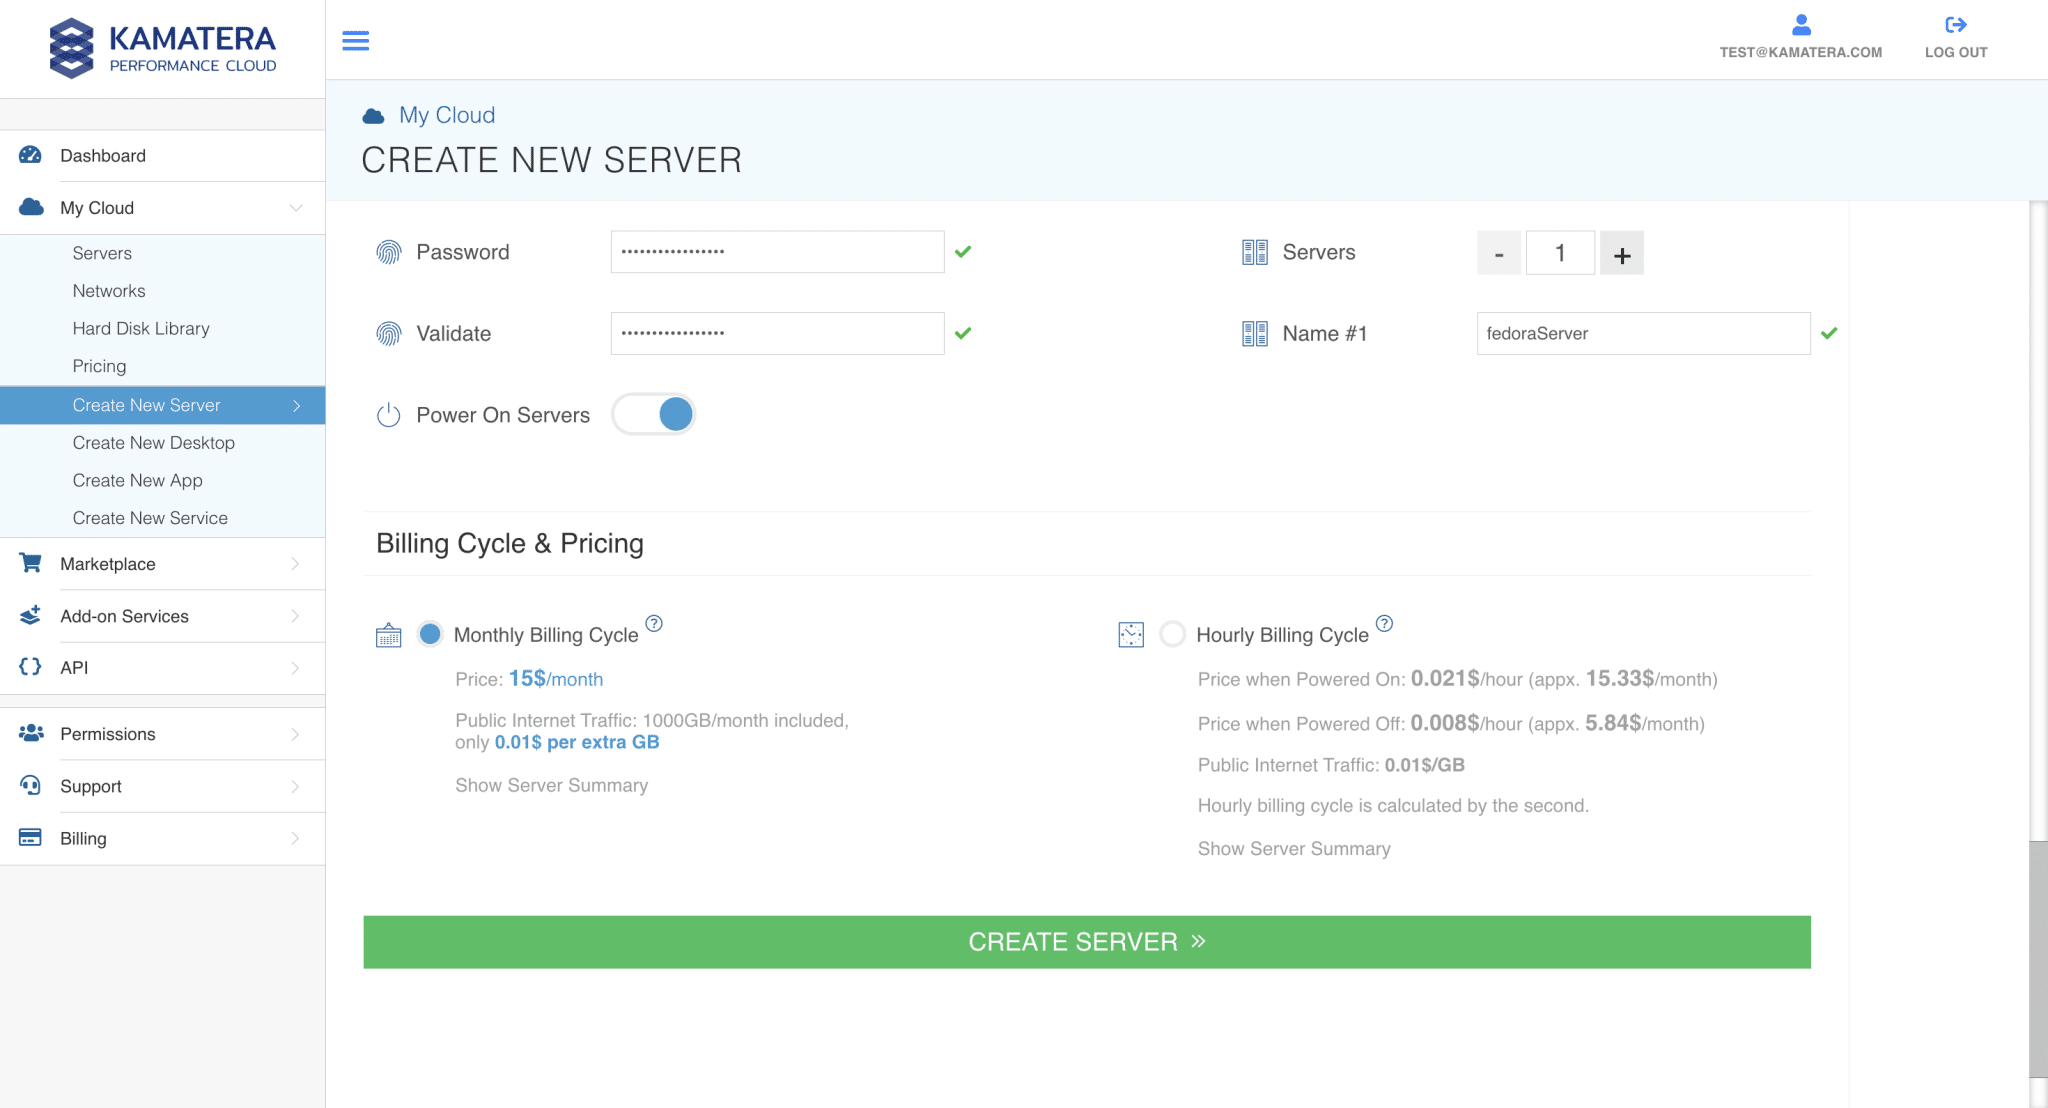
Finalize settings and create the server
Under Finalize Settings:
- Set a strong Password (and validate it).
- Keep Power On Servers enabled.
- Set Servers to 1 (unless you really want multiple identical servers).
- Enter a Server name (example: fedoraServer).
- Choose billing cycle (monthly or hourly).
- Click CREATE SERVER.
Wait for provisioning to complete
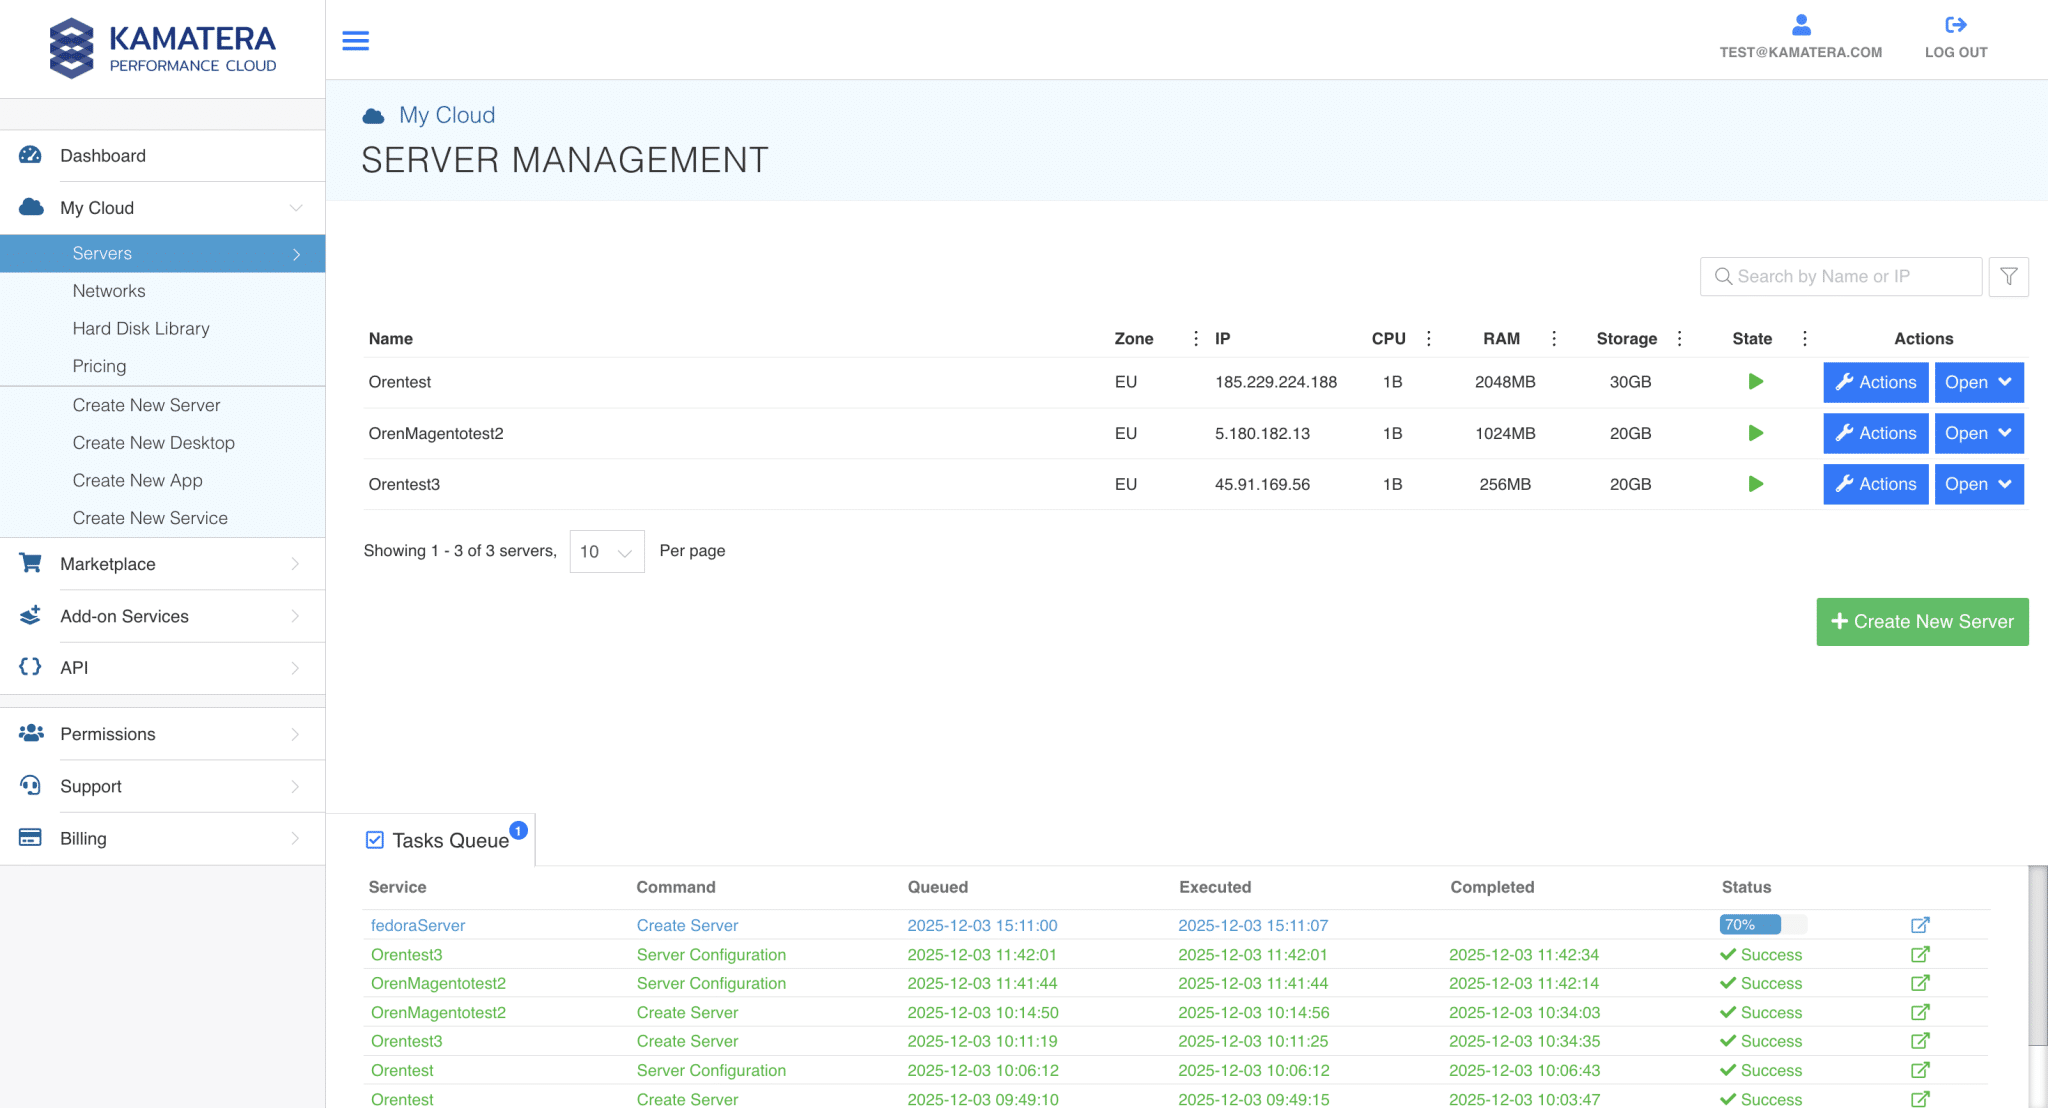
Go to My Cloud → Servers and locate your server by name.
You may also see a Tasks Queue progress entry. Wait until the status is completed successfully.
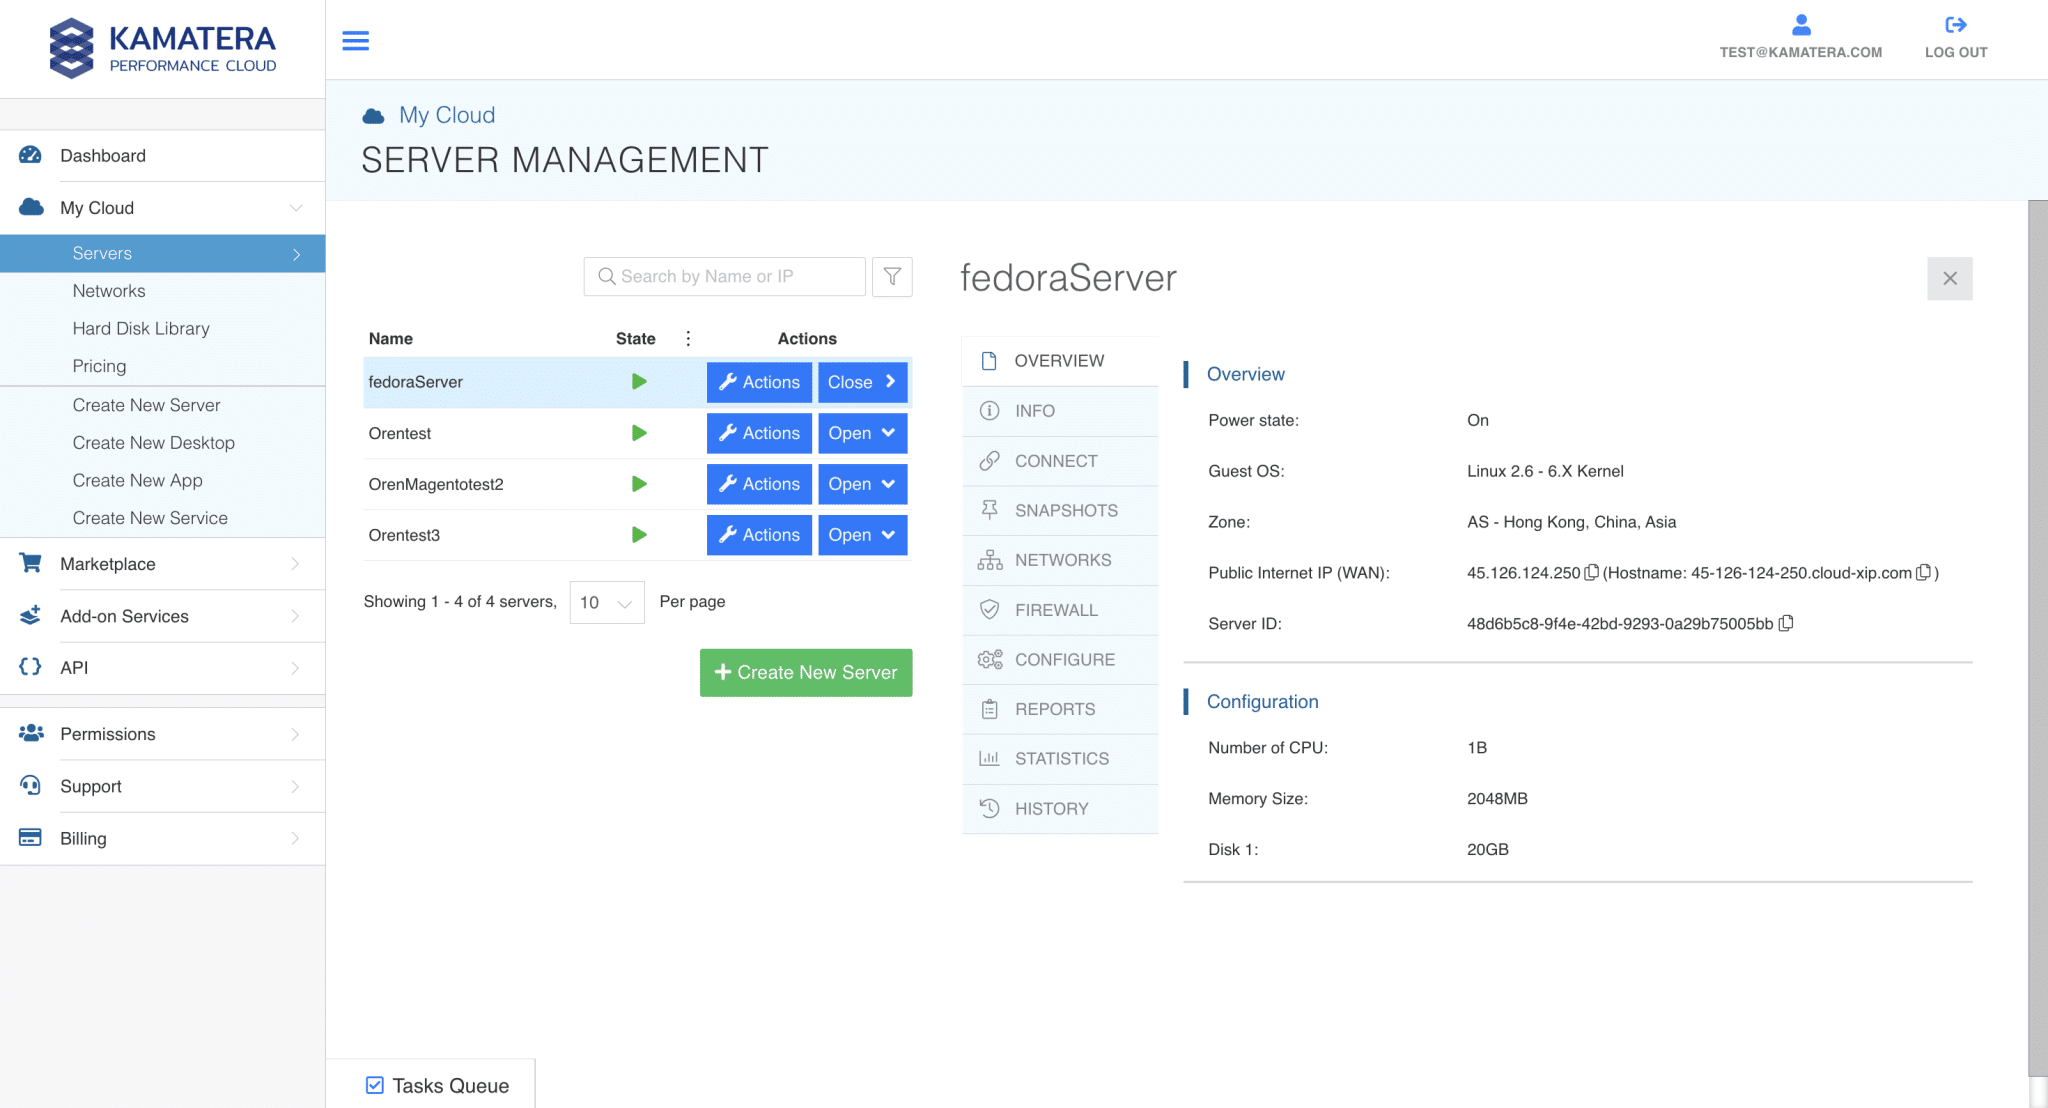
Open the server and get access details
Click Open (under actions) to view details.
- A) Confirm key info (Overview)
Look for:
- Power state: On
- Zone
- Public Internet IP (WAN)
- CPU / RAM / Disk
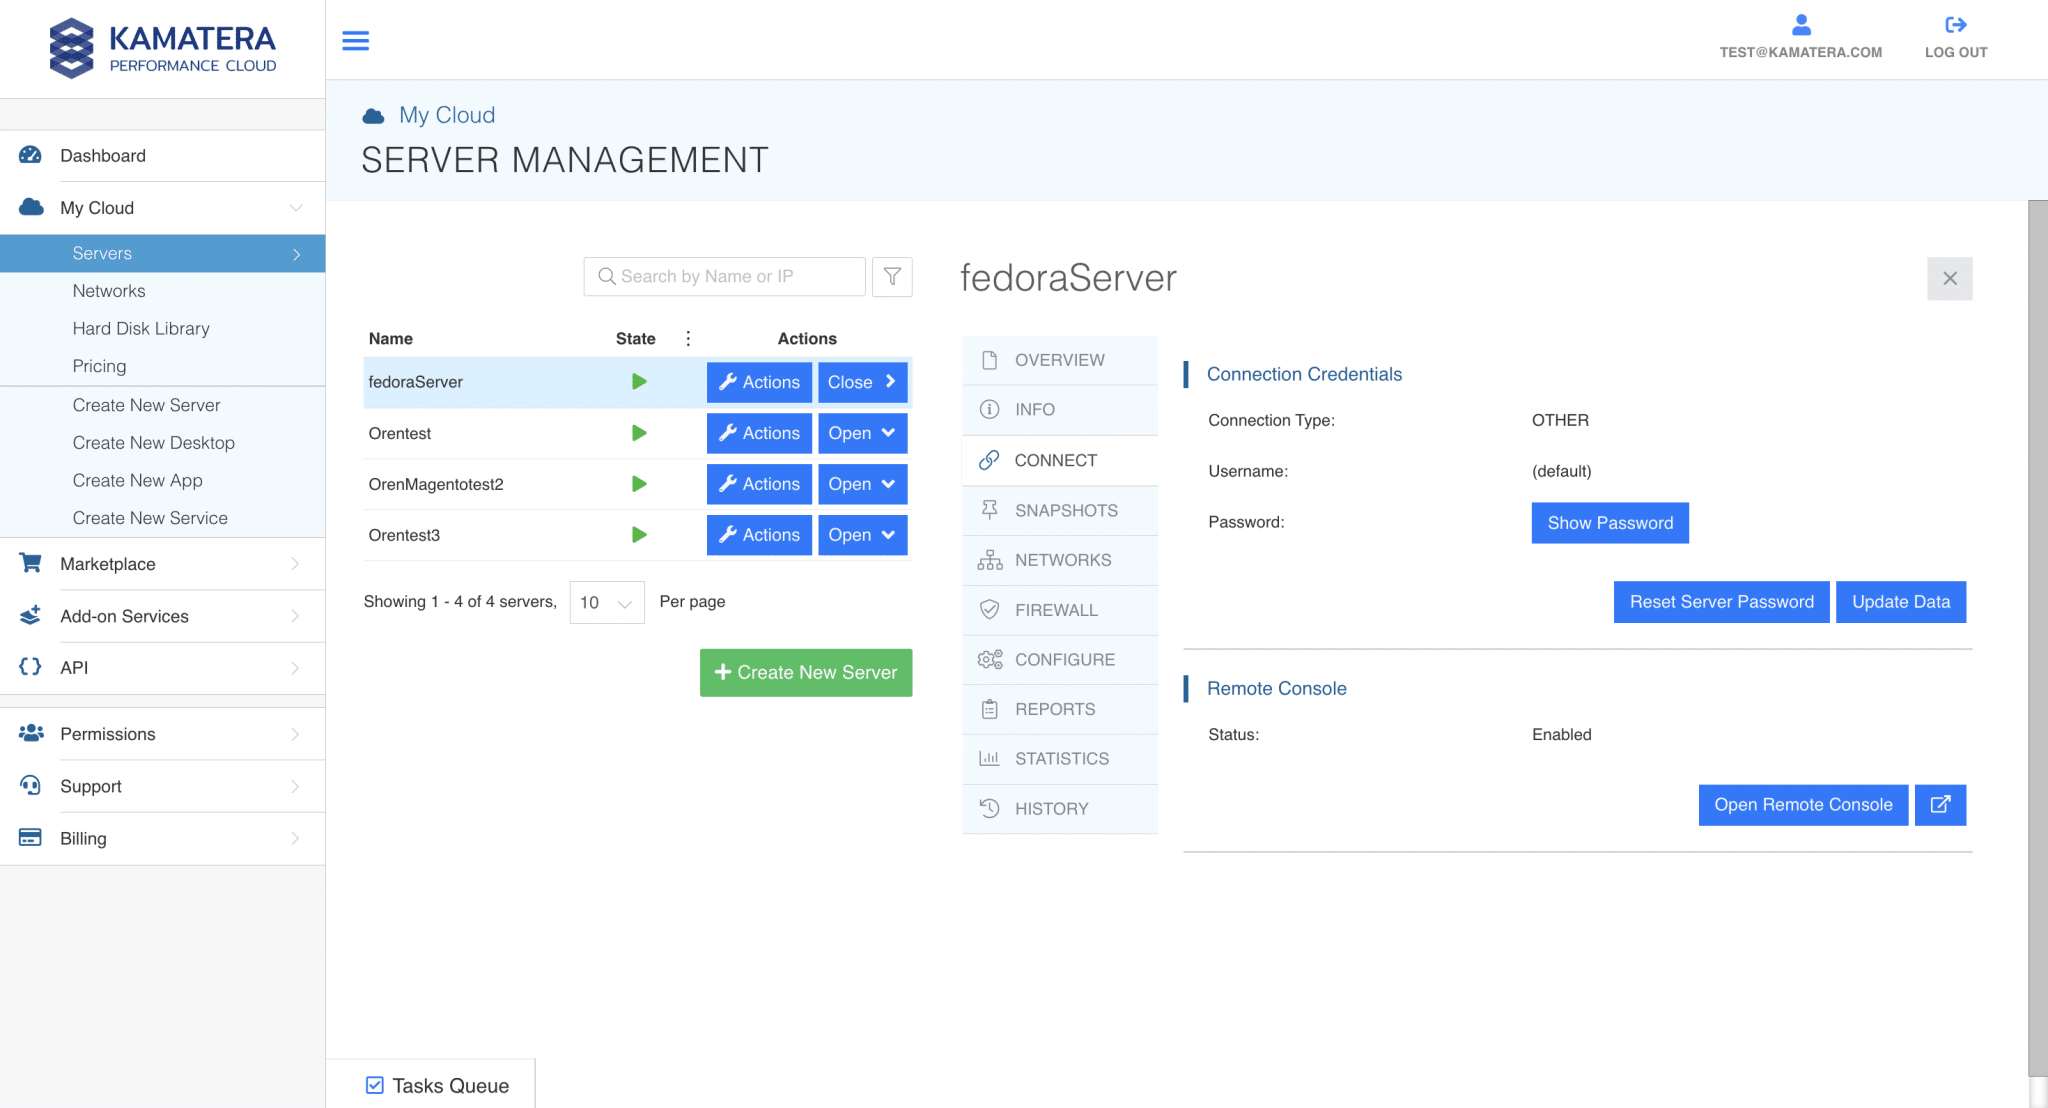
- B) Access credentials (Connect)
Open the Connect section to see:
- Connection type
- Username (may appear as “default” depending on image)
- Password (use Show Password)
Important: Don’t guess the username. Use whatever Kamatera displays for this exact server/image.
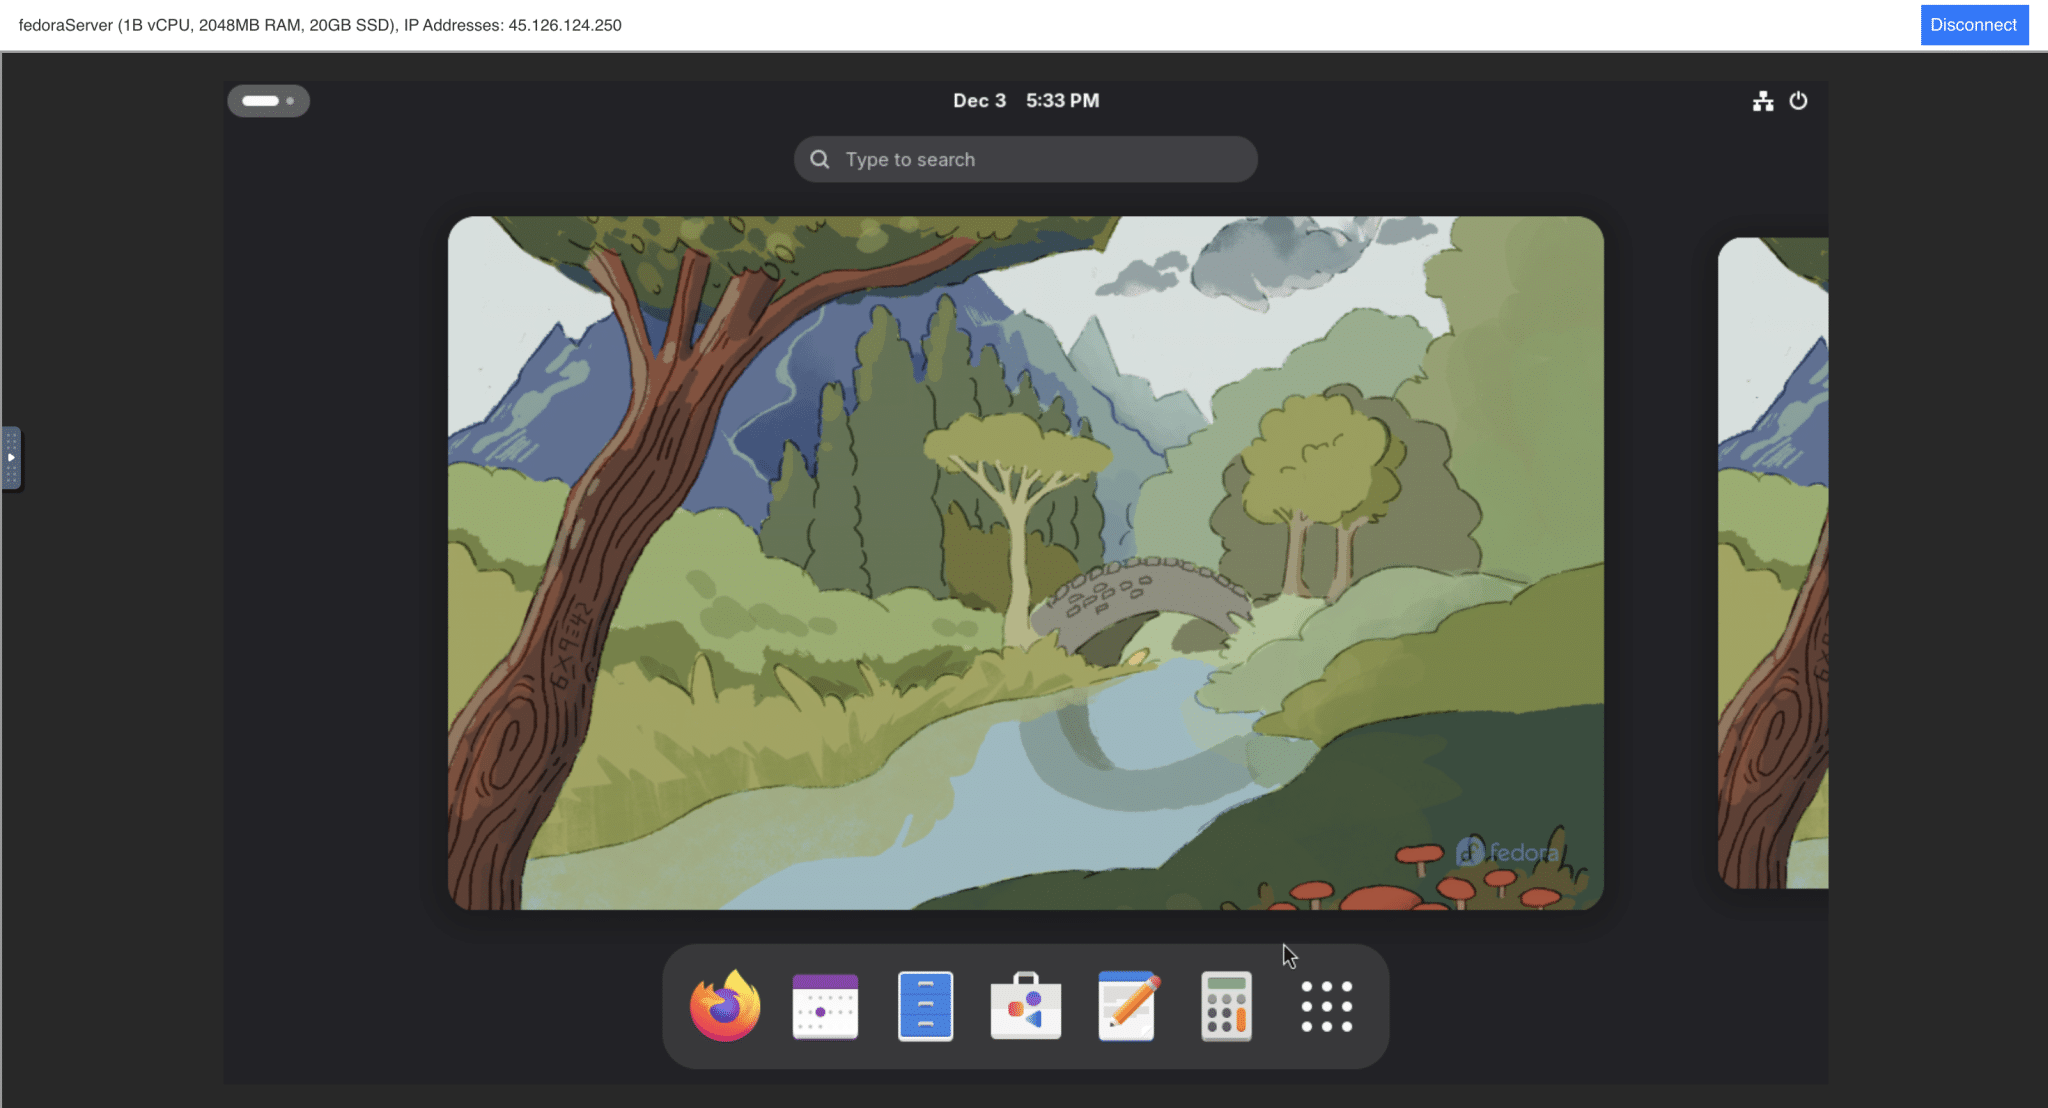
Log in using Remote Console (recommended first login)
Still inside the server panel:
- Go to Connect
- Click Open Remote Console
3. Log in using the credentials from the Connect section.
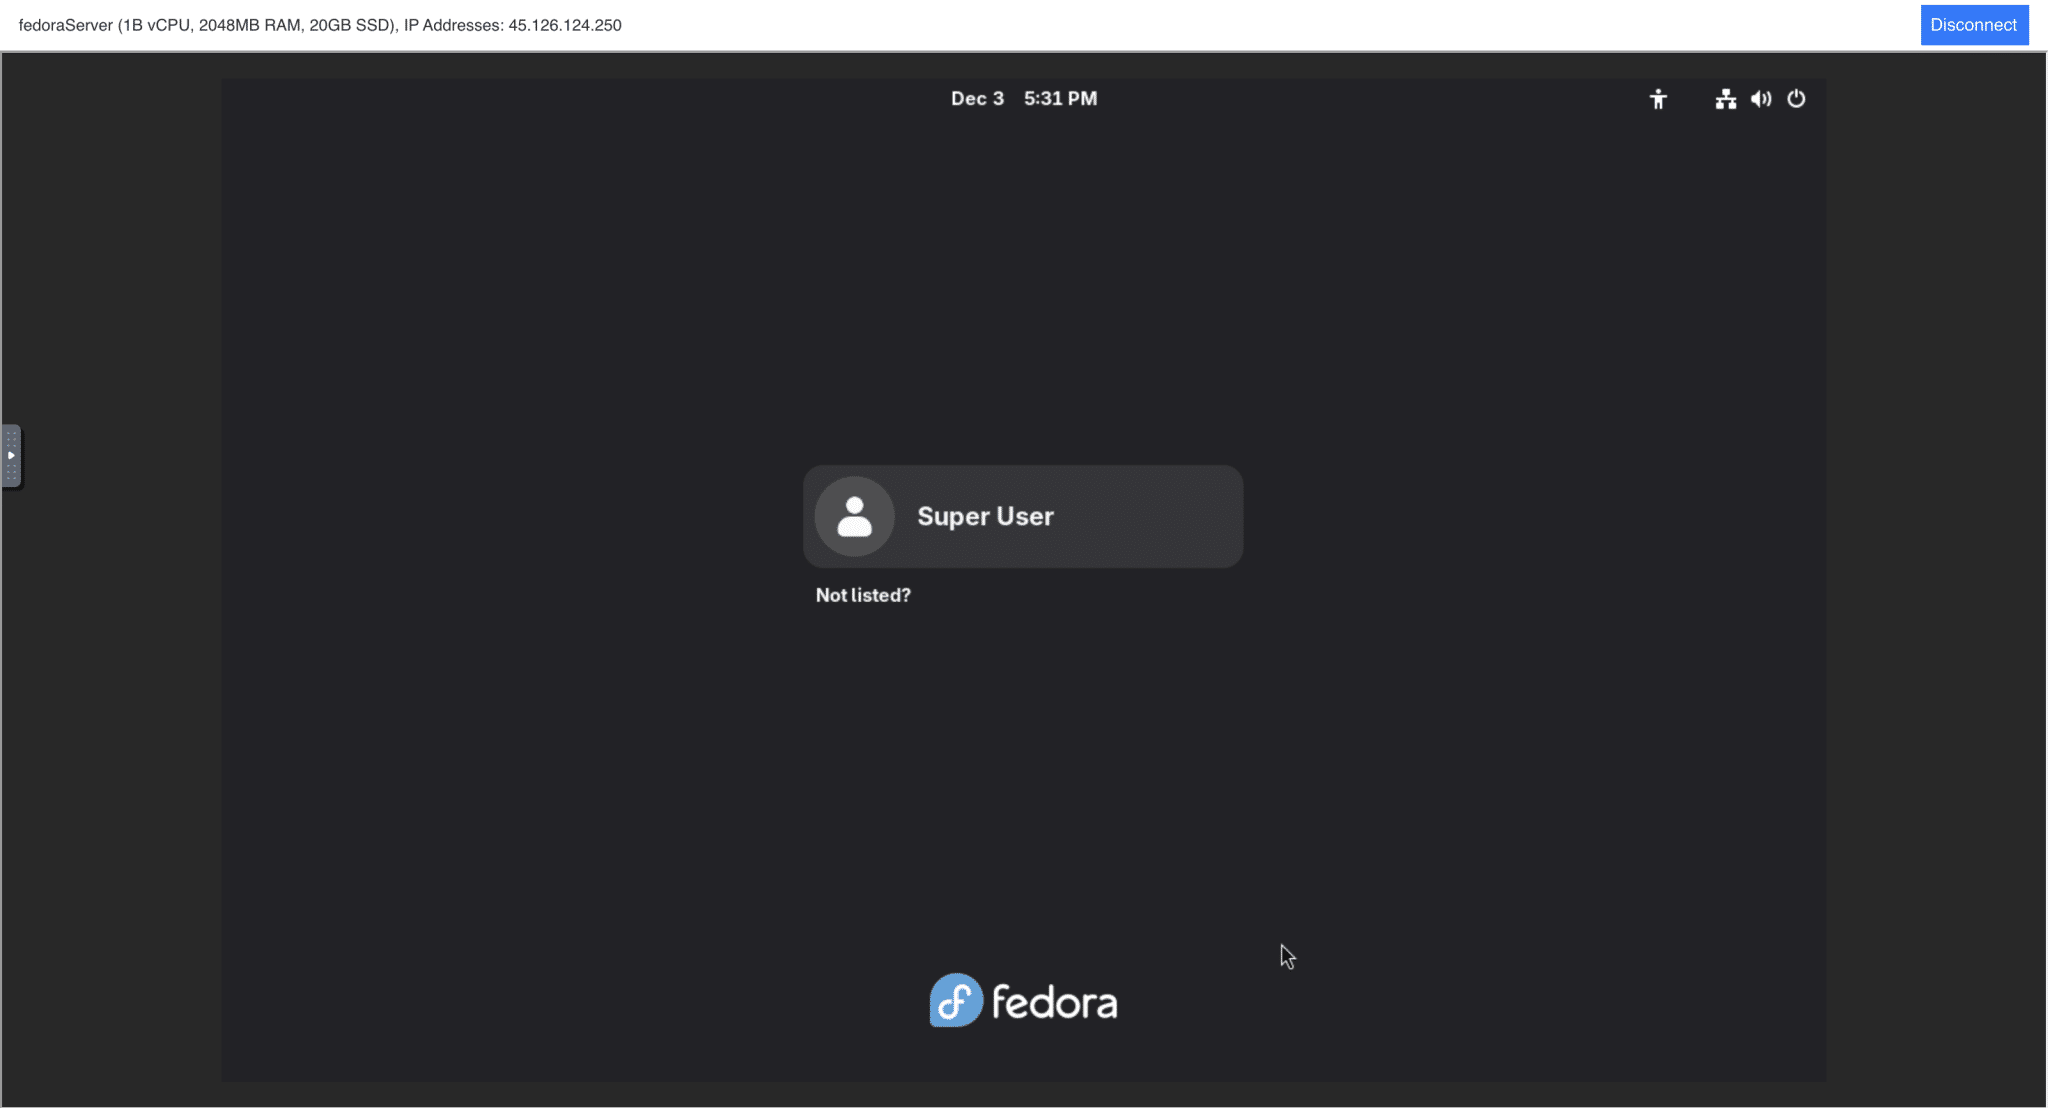
This is the safest first-login method because it works even if SSH is not reachable yet (firewall, ports, sshd disabled, etc.).
Verify Fedora and perform basic setup
Optional safety hardening
After you confirm access works:
- Create a non-root admin user and use sudo
- Disable password login once SSH keys are working
- Restrict inbound ports to only what you need (22, 80/443, etc.)