


As you manage clients across different geographical regions, setting the correct time zone for each user is a small but critical detail for running a professional cloud service. This article guides you through the simple process of assigning a specific time zone to your client accounts within the reseller panel.
Accurately setting the user’s time zone ensures that all reports, logs, billing cycles, and scheduled actions are displayed and executed according to their local time. This eliminates confusion, prevents operational errors, and enhances the overall clarity and reliability of the service you provide.
Let’s ensure your clients see the right time, every time.
- From the administrative panel on the left side of the screen, select “Permissions” > “Users.”
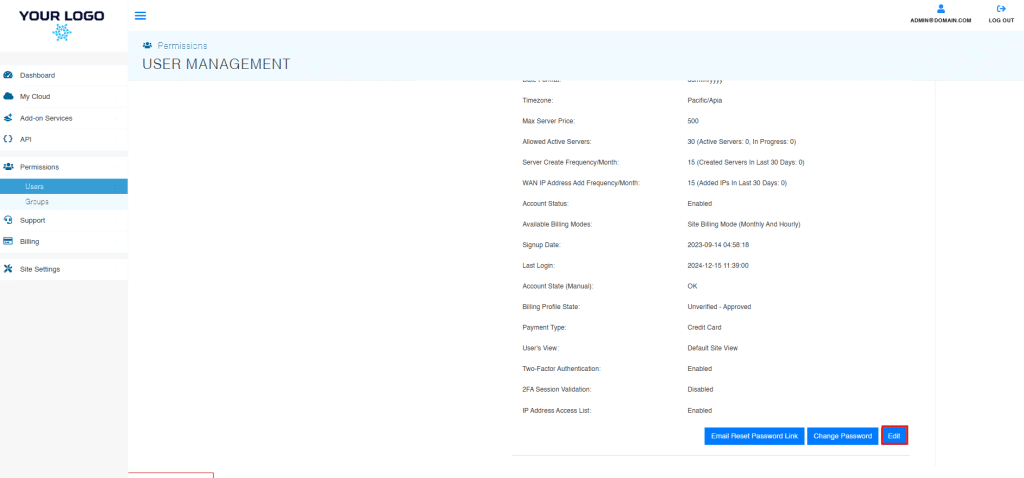
- Select the user from the User Management list and click Edit, located in the bottom right corner of the User Information window
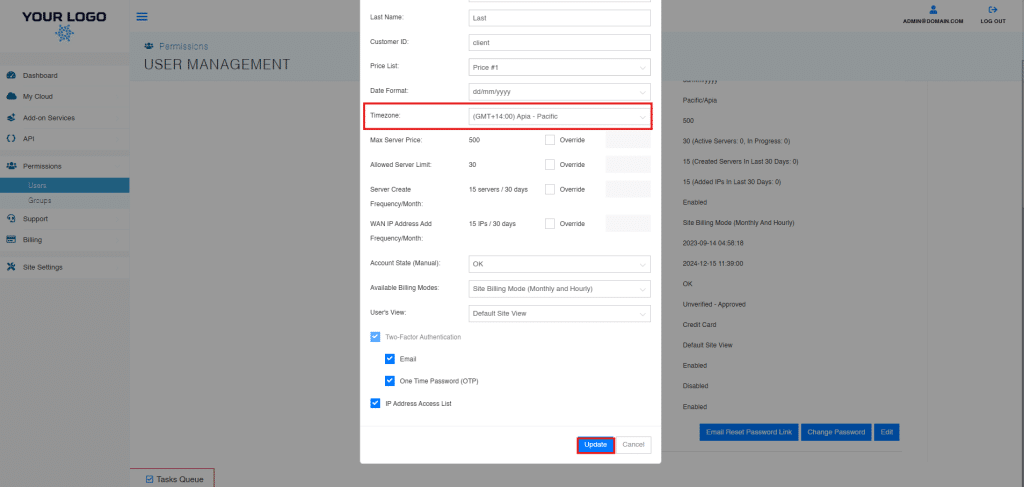
- The Edit User pop-up will appear. Select the timezone from the Timezone drop down menu and click Update when finished.
4. The changes will now reflect in the User Info Tab within User Management.
And that’s it! You have successfully learned how to assign and update a specific time zone for your user accounts.