


High Availability Proxy (HAProxy) is a powerful tool to help manage web traffic so sites stay fast and reliable. This open-source software acts as a load balancer and proxy server, making it easier to manage incoming requests. It balances the load across multiple servers and directs user requests efficiently.
Here are the steps to install HAProxy on an Ubuntu server from Kamatera.
- Login to Ubuntu terminal with username and password.
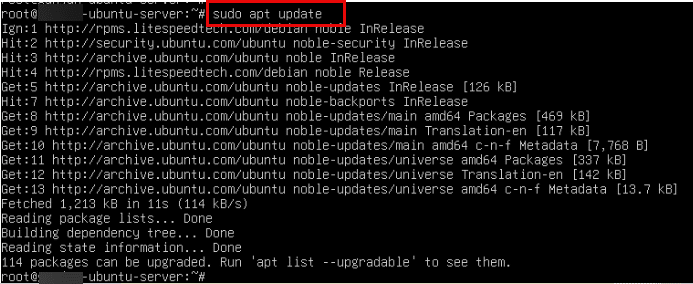
Run the command below to update the latest packages.
Command:
sudo apt update
Download and run HAProxy
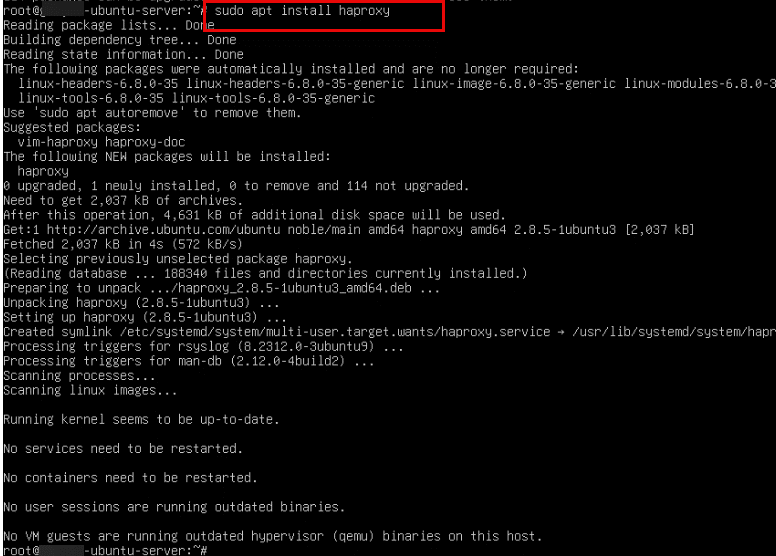
2. Now, install HAProxy by running the below command.
Command:
sudo apt install haproxy
3. You can verify the version of HAProxy by running the below command.
Command:
haproxy -v

4. As one Apache server is already installed, create another Apache server. First update the latest packages by running the below command.
Command:
sudo apt update
5. Run the command below to install the second Apache server.
Command:
sudo apt-get install apache2 -y

6. Write a message to check if the server is working or not.
Command:
echo “<h1>Success! this is my second apache server</h1>” |tee /var/www/index.html
If you see the message as “Success! This is my second apache server”, then the server is running.

7. Open the new browser and enter http://your_ip_address:80, then you will see the message: “Success! This is my second apache server.”

Configure your HAProxy
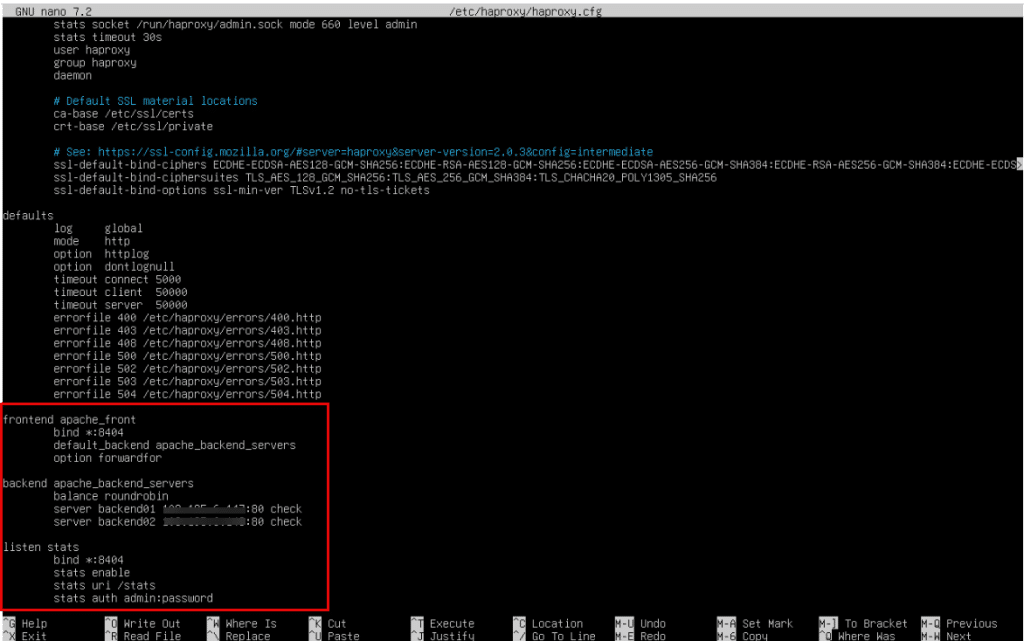
8. Now, edit the configuration file by running the command below.
Command:
sudo nano /etc/haproxy/haproxy.cfg
![]()
9. Edit the configuration file.
Enter the frontend, backend, and listen stats.
Command:
frontend apache_front

                    bind *:8404

                    default_backend apache_backend_servers

                    option forwardfor

backend apache_backend_servers

                    balance roundrobin

                    server backend01 xxx.xxx.6.147:80 check

                    server backend02 xxx.xxx.6.148:80 check

listen stats

                     bind *:8404

                     stats enable

                     stats uri /stats

                     stats admin:password
Note:
- bind *:8404 will listen requests on port 8404.
- While signing in, enter username and password as admin and password respectively.
Save the file by
-
- Pressing Ctrl+o (saves content to the current file)
- When prompted press Enter and
- To exit GNU nano editor, press Ctrl+x
10. Run the command below to see if the configuration is valid or not.
Command:
sudo haproxy -c -f /etc/haproxy/haproxy.cfg
You will get the message as ‘configuration file is valid.’

11. After editing the file, restart haproxy
Command:
sudo systemctl restart haproxy

12. Once the system is restarted, enable haproxy by running the below command.
Command:
sudo systemctl enable haproxy

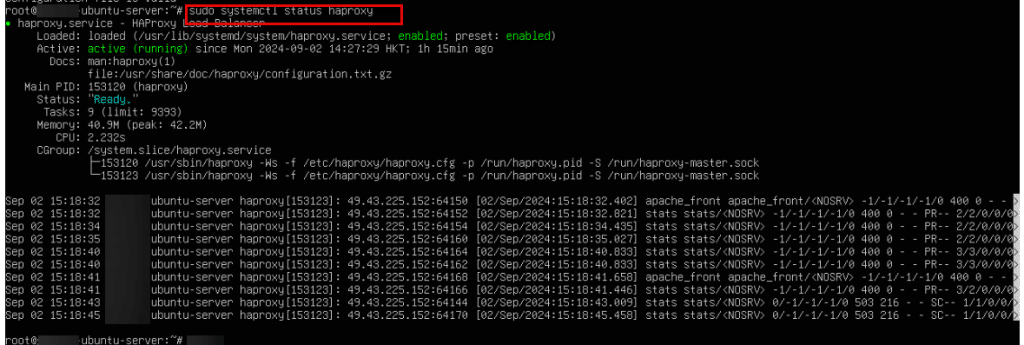
13. Check the status of haproxy
Command:
sudo systemctl status haproxy
Monitor your HAProxy server
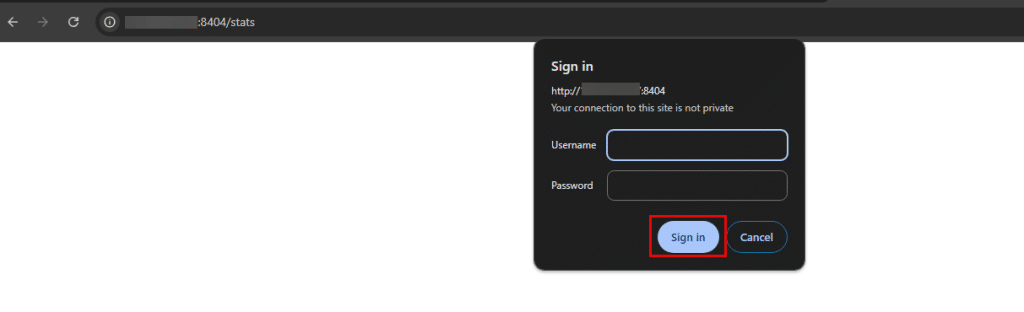
14. To learn about HAProxy statistics, open web browser and type http://your_ip_address:8404/stats.
You will be asked to enter username and password and click Sign in.
Note: For username and password, go to step 9.
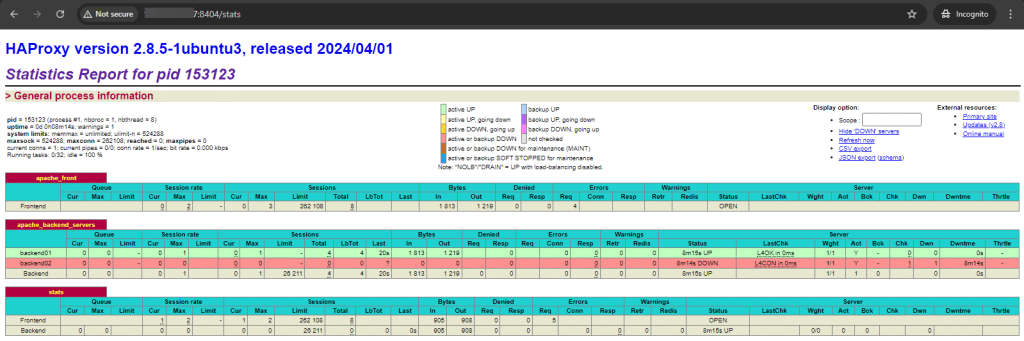
15. You can see the HAProxy statistics report. The HAProxy statistics page gives a real-time overview of the performance and status of your HAProxy load balancer. It helps you monitor and manage your load balancing setup effectively.
And that’s it! You have successfully installed HAProxy, and you are now able to enhance the availability of servers and manage traffic efficiently.